Free Shipping on Domestic Orders $75+

Samsung Galaxy A5 (2016) Back Cover Replacement

What you need

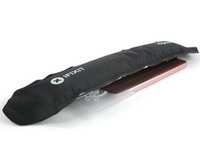
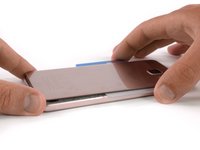
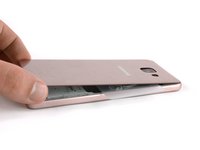
    1. Samsung Galaxy A5 (2016) Back Cover Replacement, Back Cover: step 1, image 1 of 3 Samsung Galaxy A5 (2016) Back Cover Replacement, Back Cover: step 1, image 2 of 3 Samsung Galaxy A5 (2016) Back Cover Replacement, Back Cover: step 1, image 3 of 3
      • Start by switching off your phone.

      • Take an iOpener to heat up and soften the glue behind the back cover.

      • With a suction handle lift the back cover to insert an opening pick.

      Ask FixBot

      Add Comment

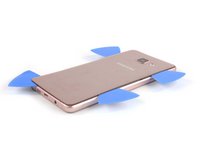
    2. Samsung Galaxy A5 (2016) Back Cover Replacement: step 2, image 1 of 3 Samsung Galaxy A5 (2016) Back Cover Replacement: step 2, image 2 of 3 Samsung Galaxy A5 (2016) Back Cover Replacement: step 2, image 3 of 3
      • Slide the pick up to the middle to separate the back cover from the frame.

      • Insert a second opening pick and move around the right corner along the bottom and around the left corner.

      Ask FixBot

      Add Comment

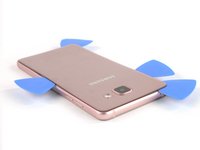
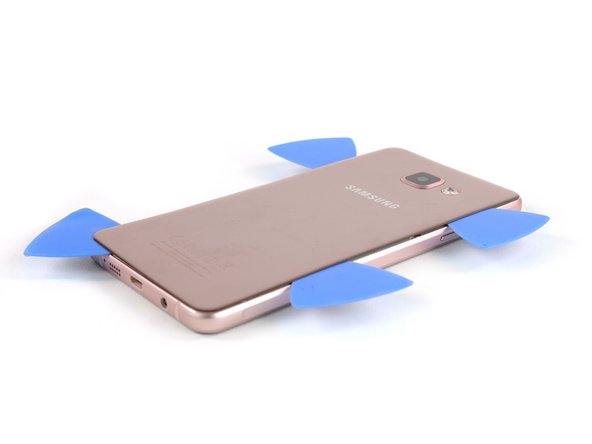
    3. Samsung Galaxy A5 (2016) Back Cover Replacement: step 3, image 1 of 3 Samsung Galaxy A5 (2016) Back Cover Replacement: step 3, image 2 of 3 Samsung Galaxy A5 (2016) Back Cover Replacement: step 3, image 3 of 3
      • Take another opening pick and continue towards the top corner.

      • Here you want to use one more pick for the last part at the top.

      Ask FixBot

      Add Comment

    4. Samsung Galaxy A5 (2016) Back Cover Replacement: step 4, image 1 of 3 Samsung Galaxy A5 (2016) Back Cover Replacement: step 4, image 2 of 3 Samsung Galaxy A5 (2016) Back Cover Replacement: step 4, image 3 of 3
      Tool used on this step:
      Plastic Cards
      $2.99
      Buy
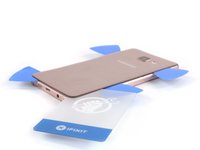
      • Insert a plastic card at the bottom and slide it underneath the back cover.

      Ask FixBot

      Add Comment

    5. Samsung Galaxy A5 (2016) Back Cover Replacement: step 5, image 1 of 3 Samsung Galaxy A5 (2016) Back Cover Replacement: step 5, image 2 of 3 Samsung Galaxy A5 (2016) Back Cover Replacement: step 5, image 3 of 3
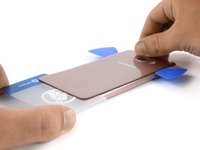
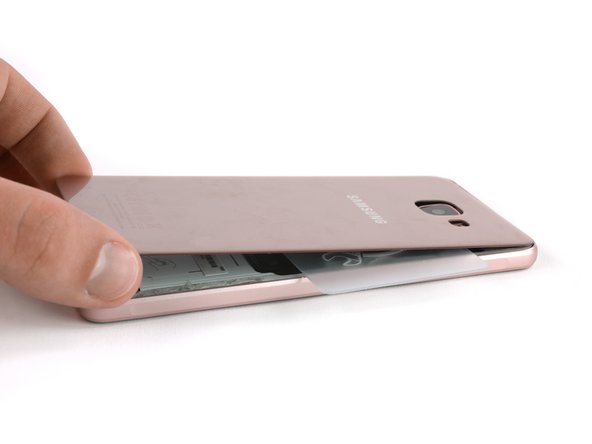
      • Heat up the back cover once again so you can slide the plastic card towards the top.

      • Always take a peek underneath the back cover to not damage any parts like the NFC antenna.

      • Move the plastic card until you reach the camera bump. Now slowly lift up the back cover and finally remove it.

      • Be sure to remove any residue from the glue and apply new adhesive when reassembling.

      Ask FixBot

      Add Comment

Conclusion

To reassemble your device, follow these instructions in reverse order.

Cancel: I did not complete this guide.

26 other people completed this guide.

Tobias Isakeit

Member since: 03/31/14

135,182 Reputation

189 Guides authored

Team

0 Guide Comments

Add Comment

View Statistics:

Past 24 Hours: 2

Past 7 Days: 13

Past 30 Days: 57

All Time: 49,566