Introduction
This guide will give step-by-step instructions for how to not only remove the battery, but replace it with a brand-new one. It will be helpful for devices where the battery is not holding charge or it will not turn on due to battery insufficiency. We aim to provide you with comprehensive instructions for safely removing the old battery and seamlessly installing a new one, also ensuring optimal functionality of your device. This repair can be time consuming and difficult. It will require advanced knowledge to replace the battery.
Special Skills
- Heat Gun Usage
What you need
-
-
-
Remove the SIM card and the SIM card tray.
-
Use an iOpener or heat gun to warm the adhesive that secures the back cover.
-
Insert an opening pick in the seam between the back cover and chassis while the adhesive is warm.
-
Slide the pick around the entire perimeter.
-
Remove the back cover.
 Ask FixBot
-
-
-
-
-
Remove all thirteen 3.6 mm Phillips screws that secure the midframe.
-
Use an opening pick to lift out the midframe.
-
-
-
-
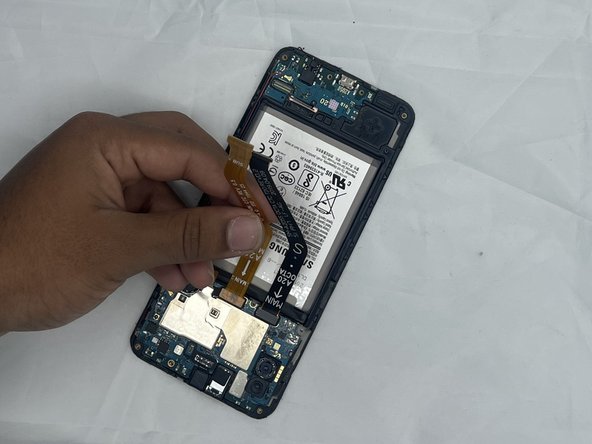
Use an opening tool to gently pry up the press connectors on both ends of the two ribbon cables.
-
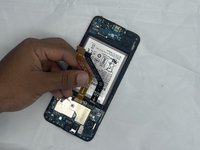
Remove the ribbon cables.
-
-
-
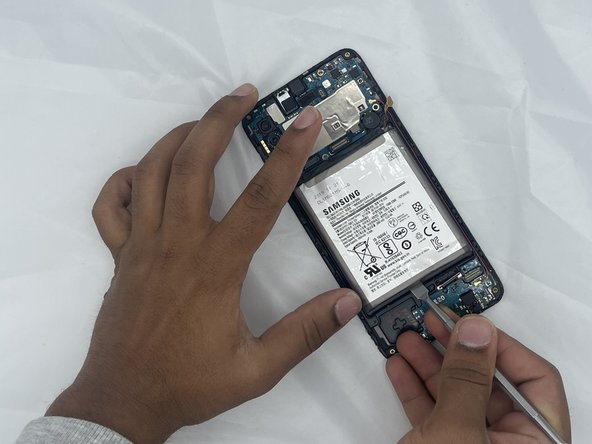
Apply a couple of drops of high-concentration isopropyl alcohol at the top of the battery to help loosen the adhesive that secures it.
-
Use an opening pick to gently pry up the battery.
-
Remove the battery.
-
-


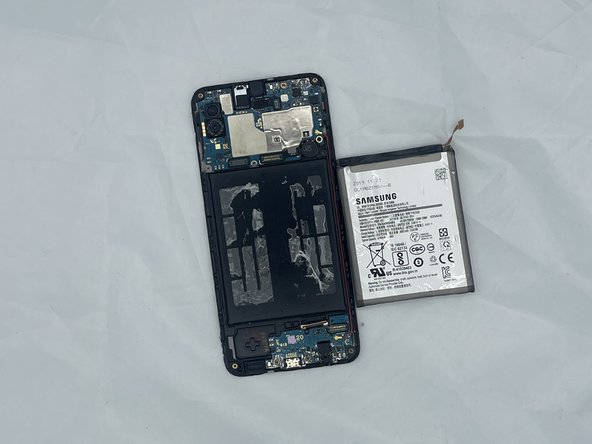
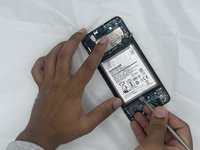
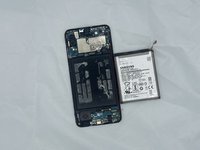
To reassemble your device, follow these instructions in reverse order.
Cancel: I did not complete this guide.
4 other people completed this guide.

Team

University of North Texas, Team 2-2, Kilpatrick Spring 2024 Member of University of North Texas, Team 2-2, Kilpatrick Spring 2024
UNT-KILPATRICK-S24S2G2
5 Members
60 Guides authored
1 Guide Comment
There should be a caution for the fingerprint sensor to pop off the back cover before the next step or else someone might accidentally rip the ribbon cable off the sensor
