Free Shipping on Domestic Orders $75+

Samsung Eternity Microphone Replacement

What you need

    • Remove the back battery cover.

    Ask FixBot
    Add Comment

  1. Samsung Eternity Microphone Replacement: step 2, image 1 of 1
    • Using a nylon spudger, remove the phone's battery.

    Ask FixBot

    Add Comment

  2. Samsung Eternity Microphone Replacement: step 3, image 1 of 1
    • Remove six (4.28 x 1.25)mm screws using the Phillips #00 screwdriver.

    Ask FixBot
    Add Comment

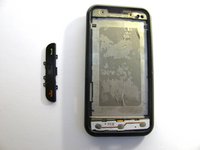
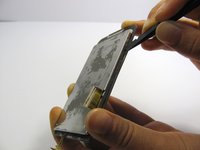
  3. Samsung Eternity Microphone Replacement: step 4, image 1 of 2 Samsung Eternity Microphone Replacement: step 4, image 2 of 2
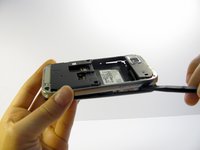
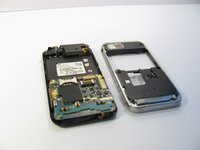
    • Use a nylon spudger to gently pry the silver plastic back plate from the body of the phone.

    Ask FixBot
    Add Comment

  4. Samsung Eternity Microphone Replacement, Motherboard: step 5, image 1 of 1
    • It is very easy to rip motherboard cables and damage fragile motherboard clips. Be careful when you are removing every component.

    • Pull the antenna plug out of its socket.

    Ask FixBot
    Add Comment

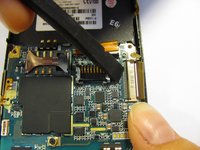
  5. Samsung Eternity Microphone Replacement: step 6, image 1 of 3 Samsung Eternity Microphone Replacement: step 6, image 2 of 3 Samsung Eternity Microphone Replacement: step 6, image 3 of 3
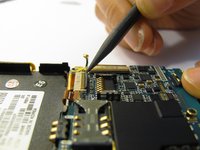
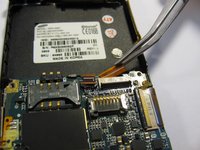
    • Pop the two black hinged-release levers toward their ribbons, then slide the ribbons out.

    Ask FixBot
    Add Comment

  6. Samsung Eternity Microphone Replacement: step 7, image 1 of 1
    • Pop the red hinged-release lever away from its ribbon. Then pull it out.

    Ask FixBot
    Add Comment

  7. Samsung Eternity Microphone Replacement: step 8, image 1 of 1
    • Peel the button sensor on the side of the motherboard off of the case.

    Ask FixBot

    Add Comment

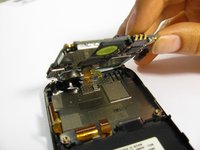
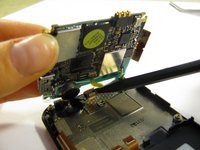
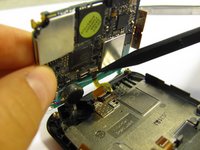
  8. Samsung Eternity Microphone Replacement: step 9, image 1 of 3 Samsung Eternity Microphone Replacement: step 9, image 2 of 3 Samsung Eternity Microphone Replacement: step 9, image 3 of 3
    • Slightly pull up one side of the motherboard.

    • Pull the button/microphone plug out of its socket.

    • Pop the red hinged-release lever away from its ribbon, then slide the ribbon out.

    Ask FixBot

    Add Comment

  9. Samsung Eternity Microphone Replacement: step 10, image 1 of 1
    • You have successfully removed the motherboard from the phone.

    Ask FixBot

    Add Comment

  10. Samsung Eternity Microphone Replacement, Digitizer and Screen: step 11, image 1 of 1
    • Flip the phone over so you are looking at the front screen of the phone.

    Ask FixBot

    Add Comment

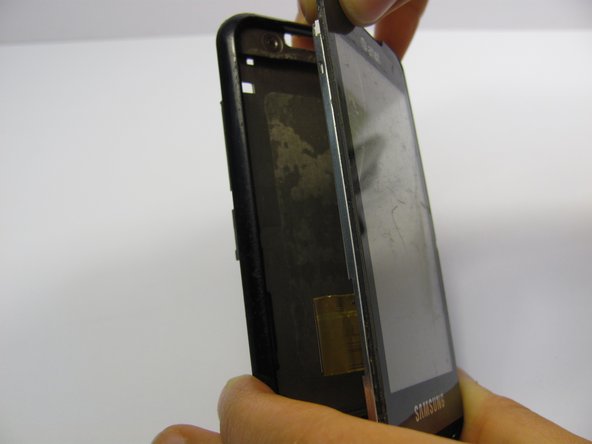
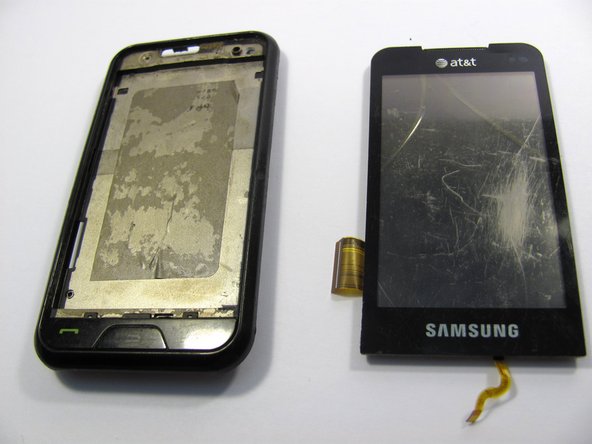
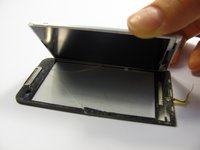
  11. Samsung Eternity Microphone Replacement: step 12, image 1 of 3 Samsung Eternity Microphone Replacement: step 12, image 2 of 3 Samsung Eternity Microphone Replacement: step 12, image 3 of 3
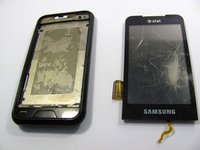
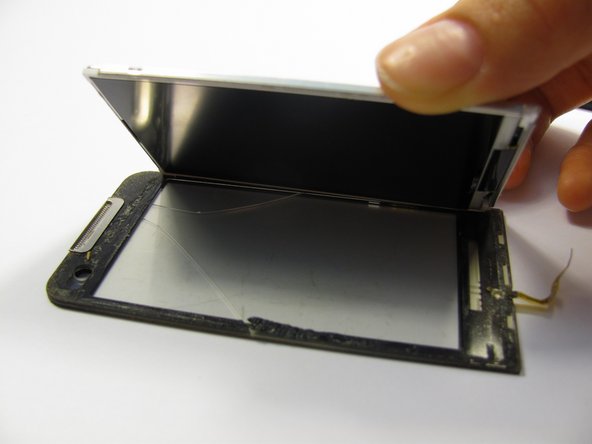
    • Use a small tool to pry the digitizer and screen (together) from the frame of the phone.

    • This may take some time and careful work because it is glued down to the frame.

    • Be careful when you pull the lower part of this piece away from the phone frame because there is a ribbon attached to the digitizer that you don't want to break. There is also a ribbon on the side of the screen to be aware of.

    Ask FixBot

    Add Comment

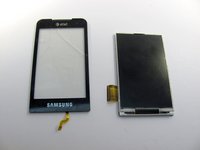
  12. Samsung Eternity Microphone Replacement: step 13, image 1 of 3 Samsung Eternity Microphone Replacement: step 13, image 2 of 3 Samsung Eternity Microphone Replacement: step 13, image 3 of 3
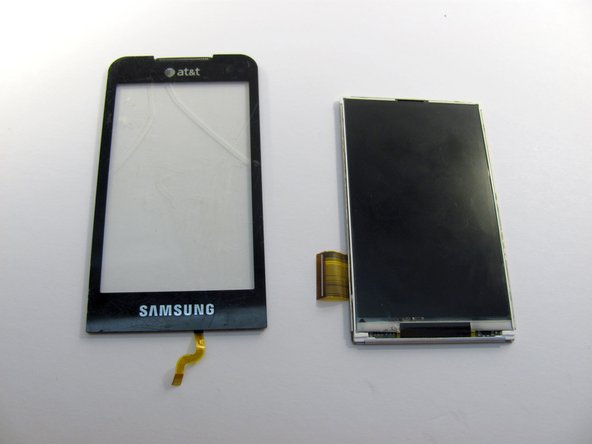
    • Next, carefully pull the digitizer away from the screen.

    • At this point you can replace either the screen or the digitizer.

    • Cleaning the screen with a glass cleaning cloth before reassembling will remove any smudges or fingerprints from disassembling the device.

    Ask FixBot

    Add Comment

  13. Samsung Eternity Microphone Replacement, Microphone: step 14, image 1 of 1
    • Pop the microphone up and out of its small housing.

    Ask FixBot

    Add Comment

  14. Samsung Eternity Microphone Replacement: step 15, image 1 of 1
    • Peel up the black tape on the bottom of the back case.

    Ask FixBot

    Add Comment

  15. Samsung Eternity Microphone Replacement: step 16, image 1 of 1
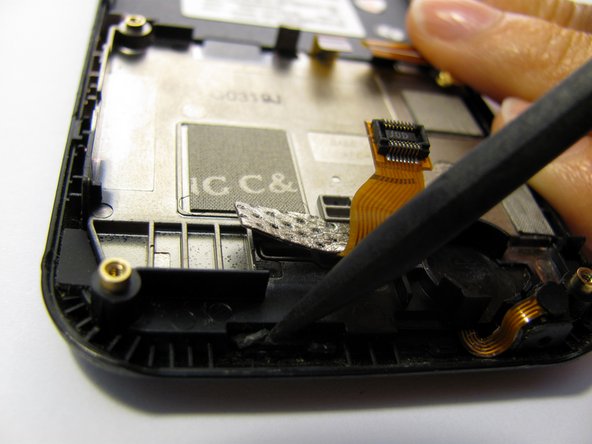
    • Use the spudger to release the front buttons from the phones frame.

    • Don't try and pull the front buttons completely away from the phone. There are clips that still are holding them to the phone.

    Ask FixBot

    Add Comment

  16. Samsung Eternity Microphone Replacement: step 17, image 1 of 3 Samsung Eternity Microphone Replacement: step 17, image 2 of 3 Samsung Eternity Microphone Replacement: step 17, image 3 of 3
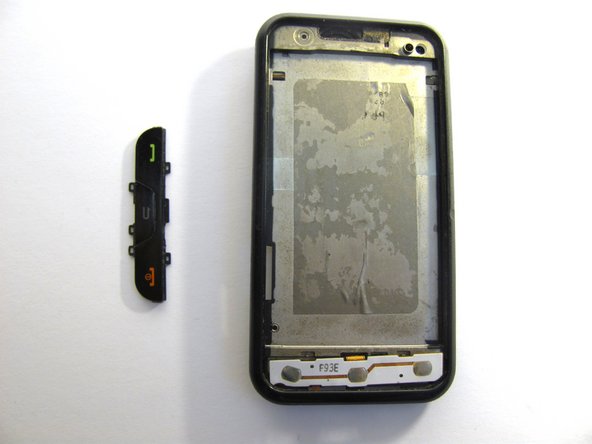
    • Use the spudger to remove three plastic lasso hooks that are holding the front buttons to the case.

    • The front button plastic assembly should come right off.

    Ask FixBot

    Add Comment

  17. Samsung Eternity Microphone Replacement: step 18, image 1 of 1
    Tool used on this step:
    Tweezers
    $4.99
    Buy
    • Use tweezers to release the button logic board away from the phone's casing.

    • Do not try and completely remove the component. There are logic ribbons that need to be guided through the phone's back casing.

    Ask FixBot

    Add Comment

  18. Samsung Eternity Microphone Replacement: step 19, image 1 of 1
    • You should be able to see two cables connected to the front button board.

    • Carefully slide these two cables through their respective holes in the body of the camera.

    Ask FixBot

    Add Comment

  19. Samsung Eternity Microphone Replacement: step 20, image 1 of 1
    • The front button board should slide out. At this time you can replace the button/microphone component.

    Ask FixBot

    Add Comment

Conclusion

To reassemble your device, follow these instructions in reverse order.

Cancel: I did not complete this guide.

One other person completed this guide.

Michelle Haddock

Member since: 04/20/11

51 Reputation

3 Guides authored

Team

Cal Poly, Team 15-11, Regan Spring 2011 Member of Cal Poly, Team 15-11, Regan Spring 2011

CPSU-REGAN-S11S15G11

5 Members

21 Guides authored

0 Guide Comments

Add Comment

View Statistics:

Past 24 Hours: 0

Past 7 Days: 3

Past 30 Days: 25

All Time: 2,471