
Samsung Eternity Digitizer and Screen Replacement

Heather Behrend and 8 other contributors
Last updated on Jan 13, 2025
Views: 7.5K
View statistics:
- Past 24 Hours:
- 2
- Past 7 Days:
- 16
- Past 30 Days:
- 89
- All Time:
- 7,541
Comments: 3
3 guide comments.
Go to guide commentsCompleted: 5 6
5 people have marked this guide "completed." Will you be next?
6 people have marked this guide "completed." Including you — great job!
Favorites: 5 6
5 people have favorited (and subscribed to) this guide. Will you be next?
6 people have favorited (and subscribed to) this guide — including you!
Incorrect Tools
Help make this guide better by using the correct tools in images and/or text.
Needs More Images
A few more images would make this guide's procedures crystal clear.
Action Shots
Be an action hero! This guide needs images that better demonstrate how to perform specific actions.
Better Introduction
Improve this guide by completing or revising its introduction.
Missing Details
Some of this guide's details are missing. Help users by adding tools, difficulty, or time.
Introduction
Go to step 1 ↓You will need to find a clean area to work in and have the necessary tools. Follow this guide to gain access to your cellphone's digitizer and screen.
What you need
Tools
-
Spudger4.9
-


-
-
-
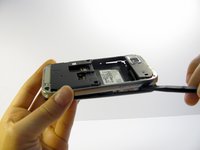
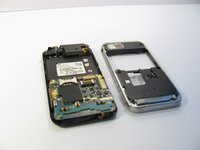
Use a nylon spudger to gently pry the silver plastic back plate from the body of the phone.
-
-
-
-
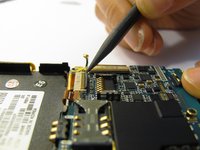
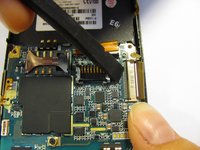
Pop the two black hinged-release levers toward their ribbons, then slide the ribbons out.
-
-
-
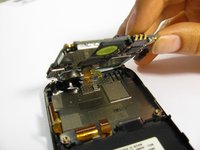
Slightly pull up one side of the motherboard.
-
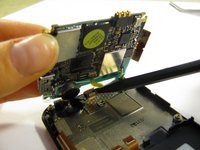
Pull the button/microphone plug out of its socket.
-
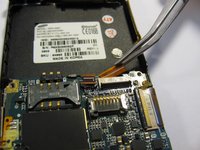
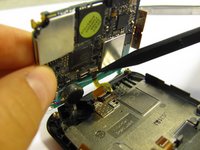
Pop the red hinged-release lever away from its ribbon, then slide the ribbon out.
-
-
-
-
-
Flip the phone over so you are looking at the front screen of the phone.
-
-
-
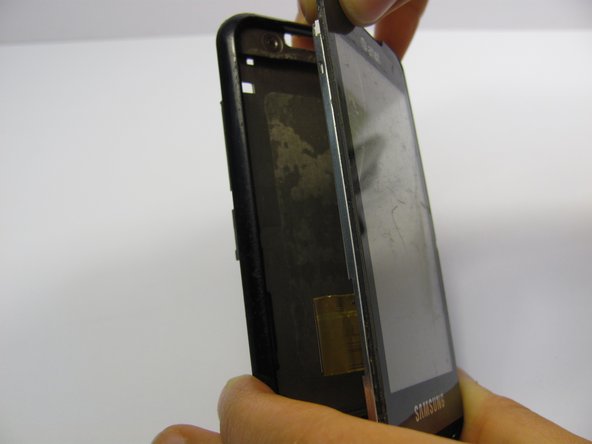
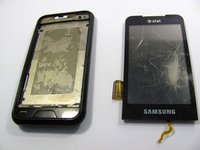
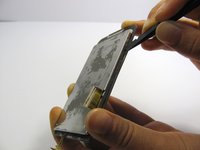
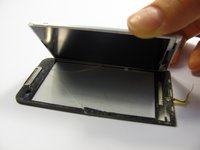
Use a small tool to pry the digitizer and screen (together) from the frame of the phone.
-
-
-
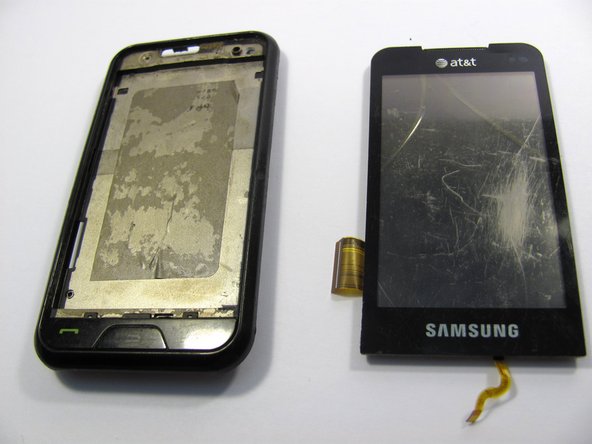
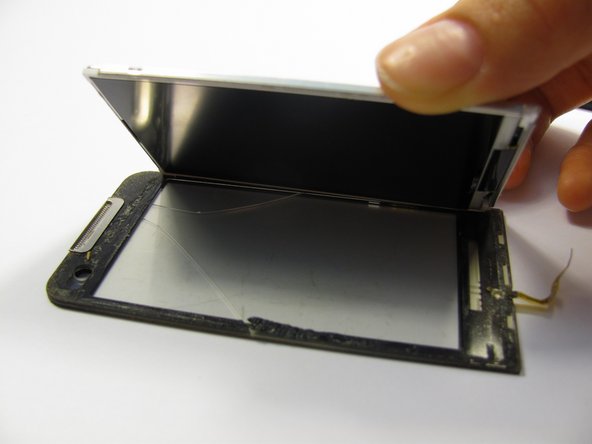
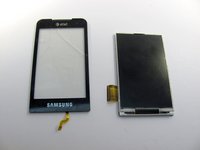
Next, carefully pull the digitizer away from the screen.
-
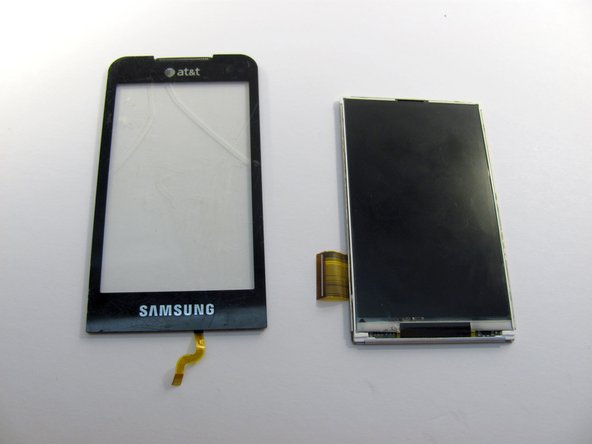
At this point you can replace either the screen or the digitizer.
-
-
 Ask FixBot









To reassemble your device, follow these instructions in reverse order.
Cancel: I did not complete this guide.
5 other people completed this guide.

Team

Cal Poly, Team 15-11, Regan Spring 2011 Member of Cal Poly, Team 15-11, Regan Spring 2011
CPSU-REGAN-S11S15G11
5 Members
84 Guides authored
3 Guide Comments
Do these steps also work for the Samsung Eternity 2?
Está mierda no sale
