Introduction
This guide will show you how to remove the current screen on your Samsung Droid Charge and install a new one.
What you need
-
-
-
Open up the back case on the phone from the groove in the bottom of the phone.
 Ask FixBot
-
-
-
-
-
Use the groove to lever out the battery gently, in order to not damage either the battery or phone. Store the battery in a safe place.
-
-
-
-
-
Push the SD card further into its metal slot until you hear a click.
-
Release the card, and it should automatically eject itself.
-
Remove the SD card.
-
-
-
-
-
-
Slide the SIM card out of its casing by pushing on it and sliding it upward.
-
-
-
-
-
Locate the 7 small black screws located around the edge of the phone under the battery cover.
-
With a small Philips head screwdriver, remove each of the screws and place them in a secure location.
-
-
-
Locate your pry tool.
-
Insert the pry tool into the plastic edge that runs along the sides of the phone. Doing so will allow you to remove part of the back casing.
-
Use a prying motion to lift the casing up.
-
Repeat this motion all around the screen edge until the casing pops off.
-
-
-
Release the one pop connector for the motherboard located on the right.
-
Release the volume button flex cable on the right.
-
Release the power button flex cable on the right.
-
Now the motherboard can be removed. Simply lift out the motherboard and set aside.
-
-
-
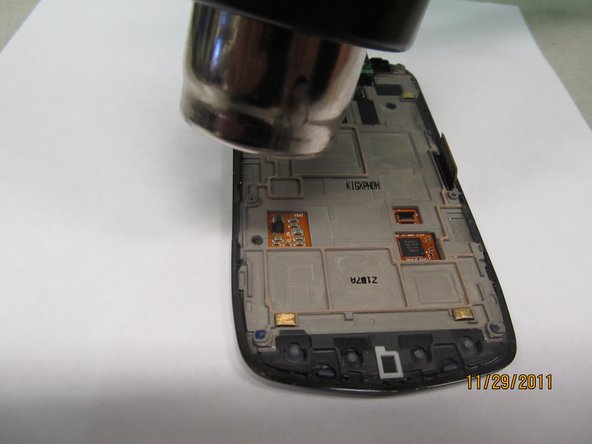
Using a hairdryer or heat gun, warm the phone. Doing so will warm the adhesive holding the screen in place, allowing us to continue disassembling the device.
-
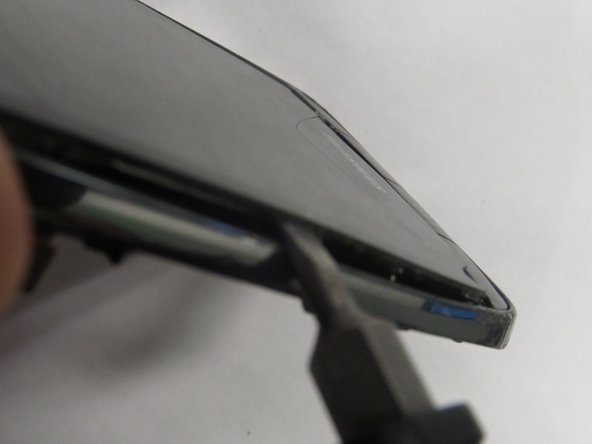
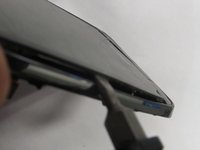
Use the pry tool to pry the screen off the casing. You may need to use force to overcome the adhesive.
-
-



Cancel: I did not complete this guide.
6 other people completed this guide.

Team

Cal Poly, Team 15-44, Forte Fall 2012 Member of Cal Poly, Team 15-44, Forte Fall 2012
CPSU-FORTE-F12S15G44
4 Members
72 Guides authored
