Free Shipping on Domestic Orders $75+

Samsung DVD-P230 LCD Screen Replacement

What you need

    1. Samsung DVD-P230 LCD Screen Replacement, Outer Cover & Faceplate: step 1, image 1 of 3 Samsung DVD-P230 LCD Screen Replacement, Outer Cover & Faceplate: step 1, image 2 of 3 Samsung DVD-P230 LCD Screen Replacement, Outer Cover & Faceplate: step 1, image 3 of 3
      • Open the tray by pressing the eject button

      • Remove the DVD tray faceplate by pushing the faceplate up off of the tray.

      Ask FixBot

      Add Comment

    2. Samsung DVD-P230 LCD Screen Replacement: step 2, image 1 of 1
      • Press the eject button to insert the tray

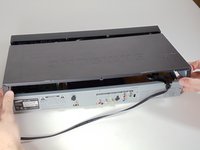
      • After the tray is closed unplug DVD player

      Ask FixBot

      Add Comment

    3. Samsung DVD-P230 LCD Screen Replacement: step 3, image 1 of 1
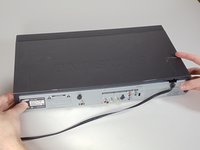
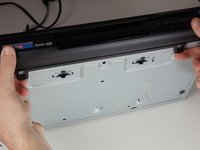
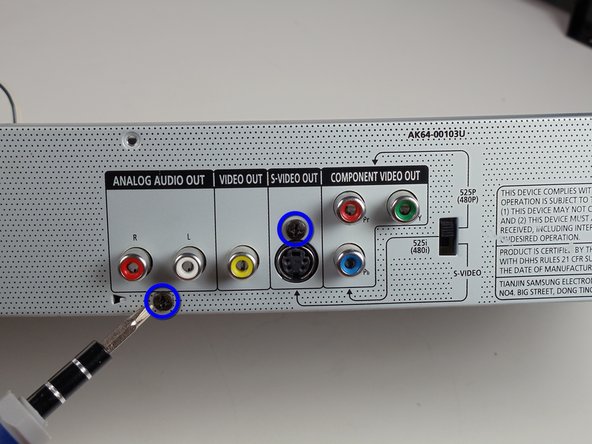
      • Unscrew the 3 screws in the back.

      Ask FixBot

      Add Comment

    4. Samsung DVD-P230 LCD Screen Replacement: step 4, image 1 of 2 Samsung DVD-P230 LCD Screen Replacement: step 4, image 2 of 2
      • Pull the outer case upward and then towards you.

      Ask FixBot

      Add Comment

    5. Samsung DVD-P230 LCD Screen Replacement: step 5, image 1 of 3 Samsung DVD-P230 LCD Screen Replacement: step 5, image 2 of 3 Samsung DVD-P230 LCD Screen Replacement: step 5, image 3 of 3
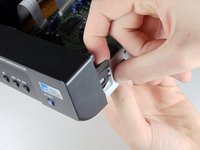
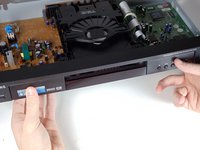
      • There are six symmetrically placed tabs holding in the front faceplate. Unhook these six tabs to loosen the faceplate.

      Ask FixBot

      Add Comment

    6. Samsung DVD-P230 LCD Screen Replacement: step 6, image 1 of 2 Samsung DVD-P230 LCD Screen Replacement: step 6, image 2 of 2
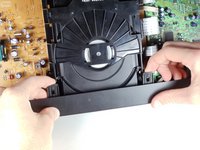
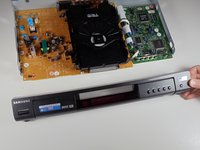
      • Pull off front faceplate. This may take a couple of tries to get all six tabs unhooked simultaneously.

      Ask FixBot

      Add Comment

    1. Samsung DVD-P230 LCD Screen Replacement, Power Cord: step 7, image 1 of 3 Samsung DVD-P230 LCD Screen Replacement, Power Cord: step 7, image 2 of 3 Samsung DVD-P230 LCD Screen Replacement, Power Cord: step 7, image 3 of 3
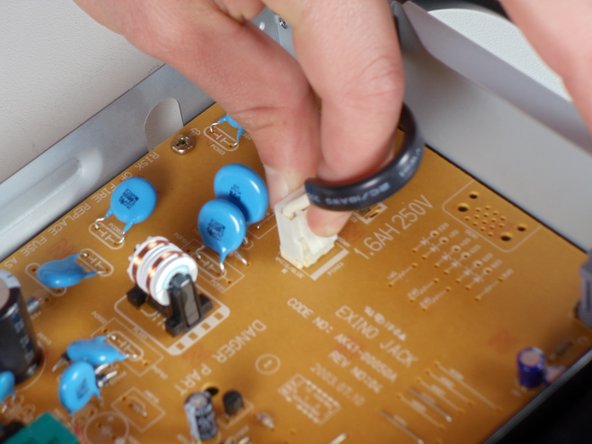
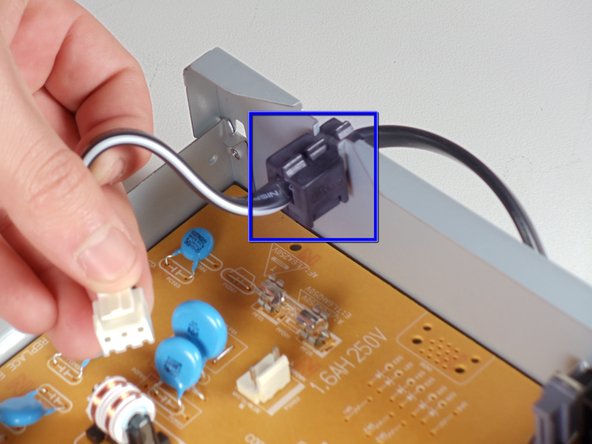
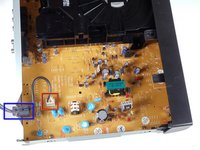
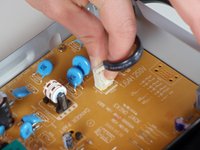
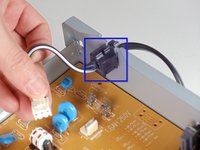
      • Locate the white clip that attaches the cord to the motherboard

      • Grasp clip and squeeze to release

      • Lift up and remove power cord

      • Slide cord mount from outer case

      Ask FixBot

      Add Comment

    1. Samsung DVD-P230 LCD Screen Replacement, Tray: step 8, image 1 of 3 Samsung DVD-P230 LCD Screen Replacement, Tray: step 8, image 2 of 3 Samsung DVD-P230 LCD Screen Replacement, Tray: step 8, image 3 of 3
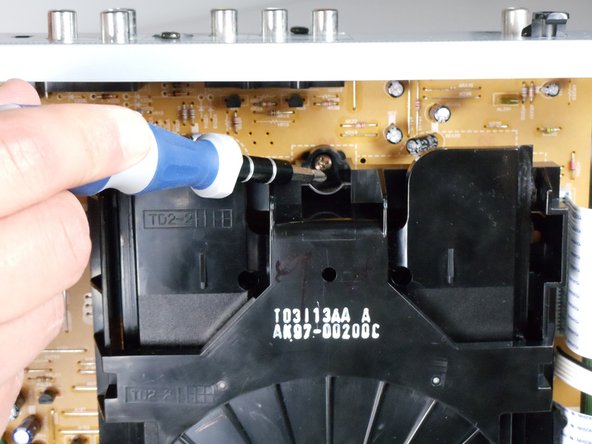
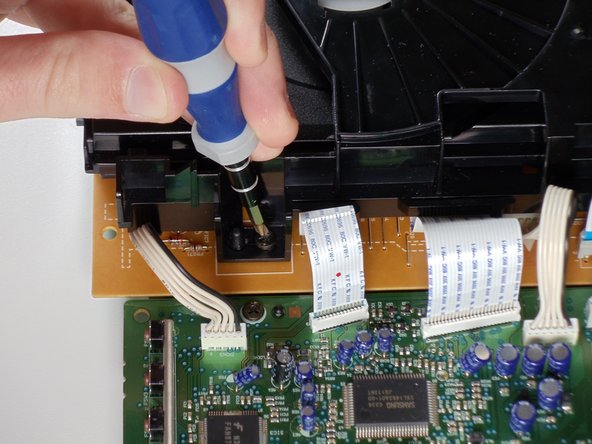
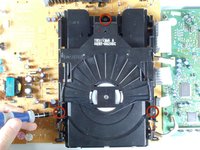
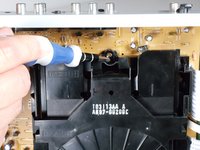
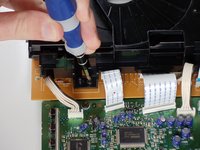
      • Remove the three screws holding in the DVD tray

      Ask FixBot

      Add Comment

    2. Samsung DVD-P230 LCD Screen Replacement: step 9, image 1 of 2 Samsung DVD-P230 LCD Screen Replacement: step 9, image 2 of 2
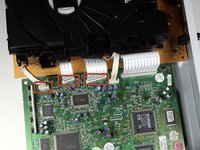
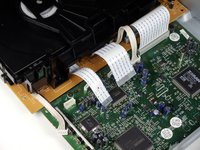
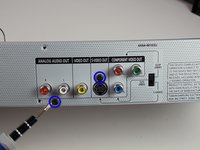
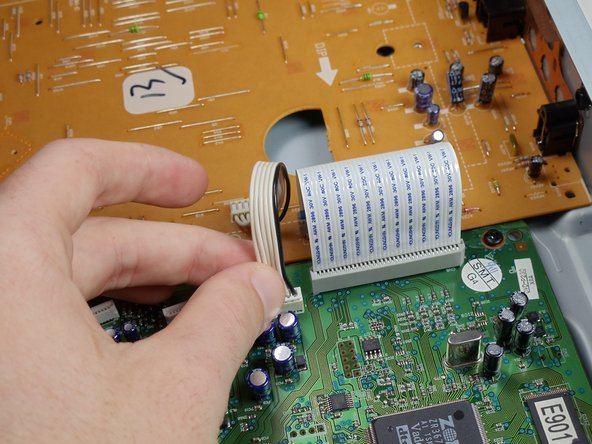
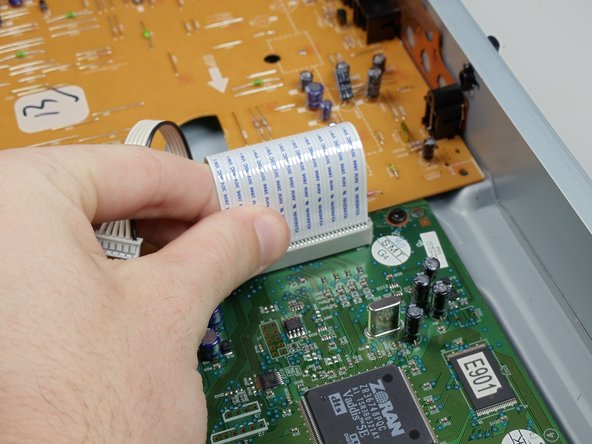
      • Remove the power cord and first two ribbons by pulling them directly out of their sockets.

      Ask FixBot

      Add Comment

    3. Samsung DVD-P230 LCD Screen Replacement: step 10, image 1 of 2 Samsung DVD-P230 LCD Screen Replacement: step 10, image 2 of 2
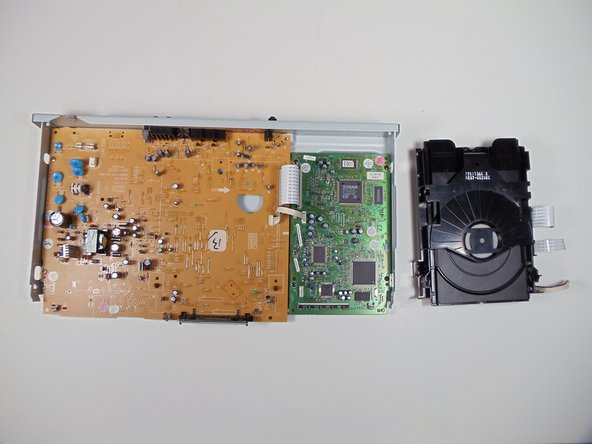
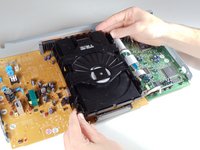
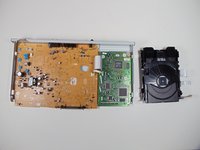
      • Gently lift the DVD tray off of the motherboard.

      Ask FixBot

      Add Comment

    1. Samsung DVD-P230 LCD Screen Replacement, Motherboard: step 11, image 1 of 2 Samsung DVD-P230 LCD Screen Replacement, Motherboard: step 11, image 2 of 2
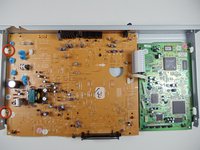
      • Unscrew the 2 screws on the motherboard

      • Unscrew the 2 screws on the back

      Ask FixBot

      Add Comment

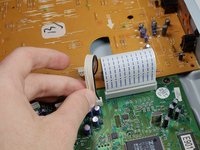
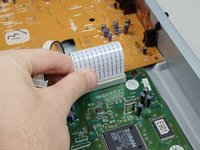
    2. Samsung DVD-P230 LCD Screen Replacement: step 12, image 1 of 3 Samsung DVD-P230 LCD Screen Replacement: step 12, image 2 of 3 Samsung DVD-P230 LCD Screen Replacement: step 12, image 3 of 3
      • Disconnect the wires and ribbon by pulling them out of their respective connections

      Ask FixBot

      Add Comment

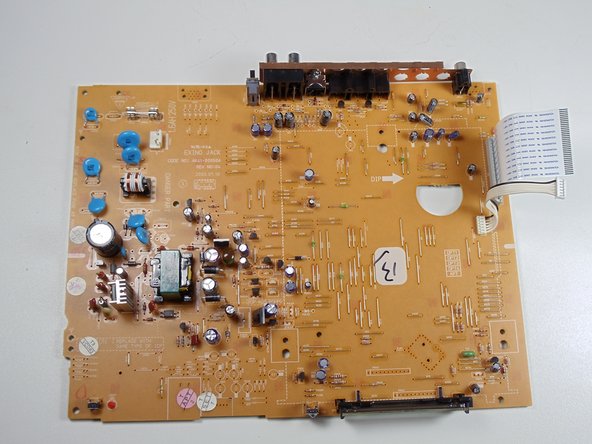
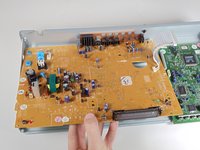
    3. Samsung DVD-P230 LCD Screen Replacement: step 13, image 1 of 2 Samsung DVD-P230 LCD Screen Replacement: step 13, image 2 of 2
      • Lift board up and out of the lower case

      Ask FixBot

      Add Comment

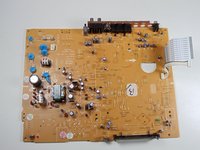
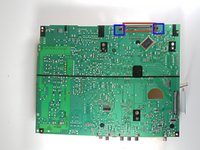
    1. Samsung DVD-P230 LCD Screen Replacement, LCD Screen: step 14, image 1 of 2 Samsung DVD-P230 LCD Screen Replacement, LCD Screen: step 14, image 2 of 2
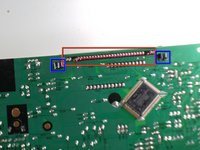
      • The LCD screen has pins attaching it to the motherboard. Flip the motherboard over.

      • De-solder LCD screen pins from the motherboard.

      • Pinch black tabs to remove LCD screen from motherboard.

      • Solder the new LCD screen pins into motherboard.

      Ask FixBot

      Add Comment

Conclusion

To reassemble your device, follow these instructions in reverse order.

Cancel: I did not complete this guide.

One other person completed this guide.

Evan Domingue

Member since: 01/28/11

410 Reputation

3 Guides authored

Team

Cal Poly, Team 3-30, Regan Winter 2011 Member of Cal Poly, Team 3-30, Regan Winter 2011

CPSU-REGAN-W11S3G30

4 Members

96 Guides authored

0 Guide Comments

Add Comment

View Statistics:

Past 24 Hours: 0

Past 7 Days: 3

Past 30 Days: 34

All Time: 3,395