
Samsung Chromebook XE550C22 Back Panel Replacement

Brenna Wolfe and 2 other contributors
Last updated on Jan 9, 2018
Views: 906
View statistics:
- Past 24 Hours:
- 2
- Past 7 Days:
- 24
- Past 30 Days:
- 97
- All Time:
- 906
Comments: 0
No one has left comments on this guide. Will you be first?
Go to guide commentsCompleted: 3 4
3 people have marked this guide "completed." Will you be next?
4 people have marked this guide "completed." Including you — great job!
Favorites: 1 2
1 person has favorited (and subscribed to) this guide. Will you be next?
2 people have favorited (and subscribed to) this guide — including you!
Introduction
Go to step 1 ↓Replace the back panel on a Chromebook XE550C22.
What you need
Tools
-
-
Spudger4.9


-
-
-
Using the spudger, remove the four 1/2 inch skid pads from the back of the laptop.
 Ask FixBot
-
-
-
-
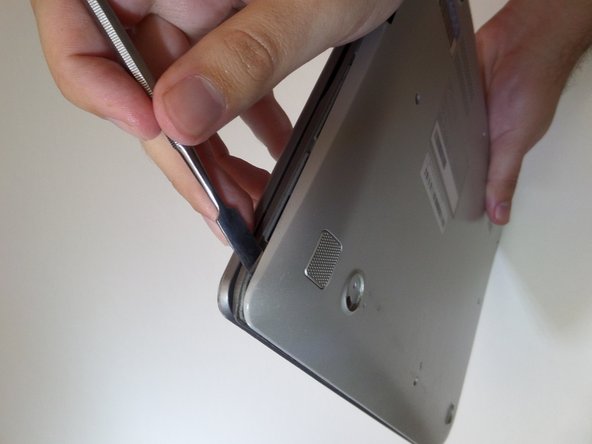
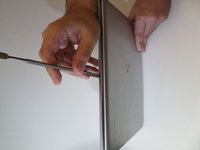
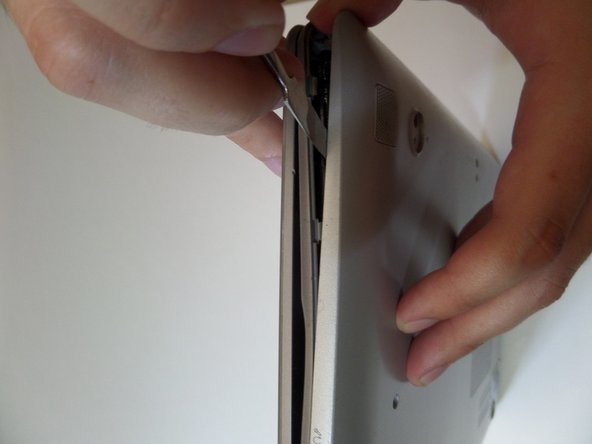
Starting at the center front of the laptop, insert the metal spudger between the keyboard panel and the bottom panel, separating the bottom panel from the laptop.
-
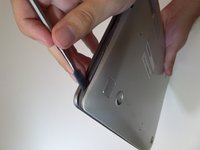
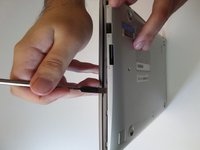
Continue prying around the sides to release more brackets.
-
-
-
After deconnecting all the brackets, pull the back panel away from the laptop.
-
-




To reassemble your device, follow these instructions in reverse order.
Cancel: I did not complete this guide.
3 other people completed this guide.

Team

CSU Fullerton, Team S2-G7, Bruce Fall 2017 Member of CSU Fullerton, Team S2-G7, Bruce Fall 2017
CSUF-BRUCE-F17S2G7
3 Members
84 Guides authored
