Samsung Brightside Speaker Module Replacement

oldturkey03 and one other contributor
Last updated on May 28, 2014
Views: 1.5K
View statistics:
- Past 24 Hours:
- 2
- Past 7 Days:
- 15
- Past 30 Days:
- 101
- All Time:
- 1,546
Comments: 0
No one has left comments on this guide. Will you be first?
Go to guide commentsCompleted: 0 1
No one has marked this guide "completed." Will you be the first?
1 person has marked this guide "completed." It's you — great job!
Favorites: 1 2
1 person has favorited (and subscribed to) this guide. Will you be next?
2 people have favorited (and subscribed to) this guide — including you!
Community-Contributed Guide
An awesome member of our community made this guide. It was not created by iFixit staff.
Introduction
Go to step 1 ↓I noticed that there was not to much information about working on this phone. I received one in a non-working condition and figured it would be a good chance for some guides. The phone is easy to work on and no hidden screws or clips, no excessive glue. A straight forward no nonsense phone.
What you need
Tools


-
-
-
Here is the Samsung SCH-U380 Brightside
-
Turn it over to gain access to the battery.
-
Remove the backcover by simply pulling it off the phone from the top down
 Ask FixBot
-
-
-
Remove the battery
-
Remove the six Phillips screws from the back frame
-
All six screws are identical M1.5X3
-
-
-
Use a plastic opening tool or similar tool to separate the top from the bottom frame. Applying slight pressure in a downwards direction will disengage the plastic clips
-
Continue to slide the tool along the slot until you feel the plastic locks disengage
-
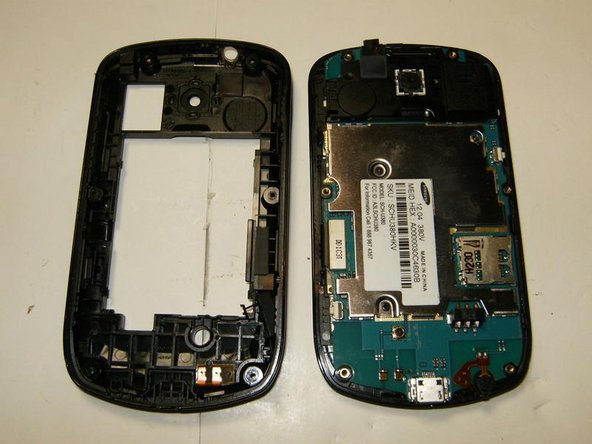
Once all locks have released, the bottom frame can simply be removed.
-
-
-
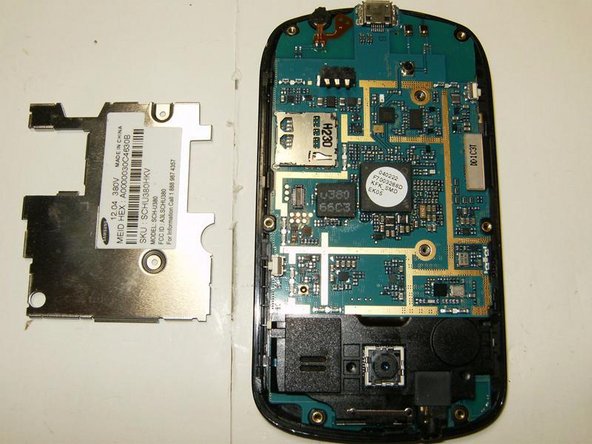
Remove the two Phillips screws from the EMI shield.
-
Both screws are identical M1.5X2
-
Remove the EMI shield
-
-
-
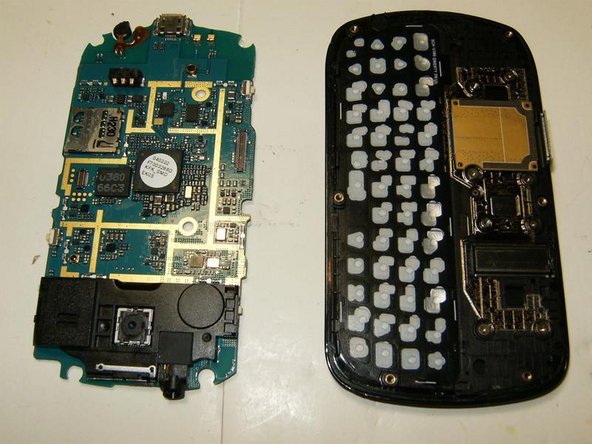
Detach the LCD connector.
-
Remove the logic board
-
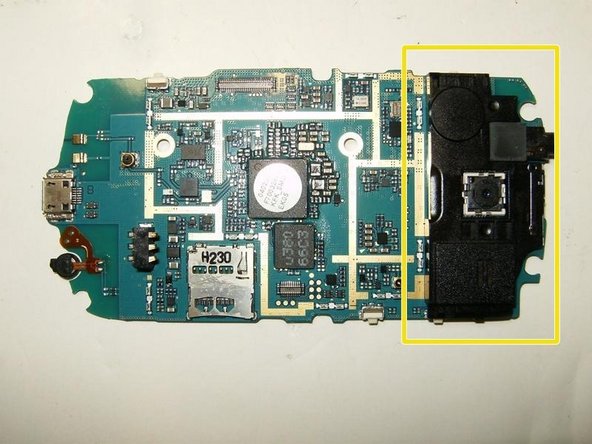
This is the speaker module. In the center is the camera, but it is not part of the module.
-
-
-
-
turn the logic board over. The speaker module is held in place
-
by one Phillips screw
-
and two clips
-
Remove the Phillips screw.
-
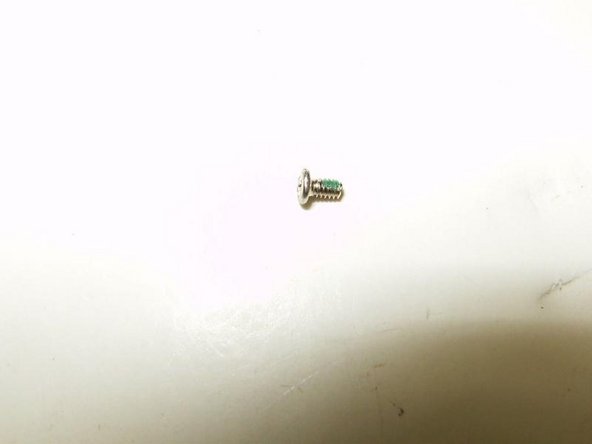
It is a M1X2 Phillips screw
-
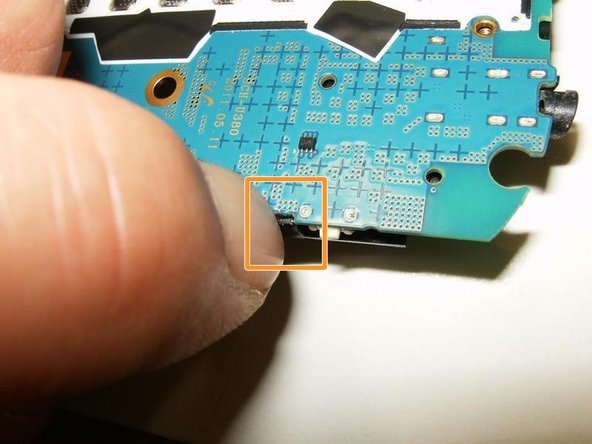
Next disengage one of the clips by simply applying some sideways pressure with your fingernail. This will loosen the module.
-
-
-
Turn the logic board around. With the speaker module loose, simply lift it off the board.
-
Speaker module removed.
-
Camera
-
and audio jack
-
are not part of this module and will remain on the board.
-
-











To reassemble your device, follow these instructions in reverse order.