Introduction
I noticed that there was not to much information about working on this phone. I received one in a non-working condition and figured it would be a good chance for some guides. The phone is easy to work on and no hidden screws or clips, no excessive glue. A straight forward no nonsense phone.
What you need
-
-
-
Here is the Samsung SCH-U380 Brightside
-
Turn it over to gain access to the battery.
-
Remove the backcover by simply pulling it off the phone from the top down
 Ask FixBot
-
-
-
Remove the battery
-
Remove the six Phillips screws from the back frame
-
All six screws are identical M1.5X3
-
-
-
-
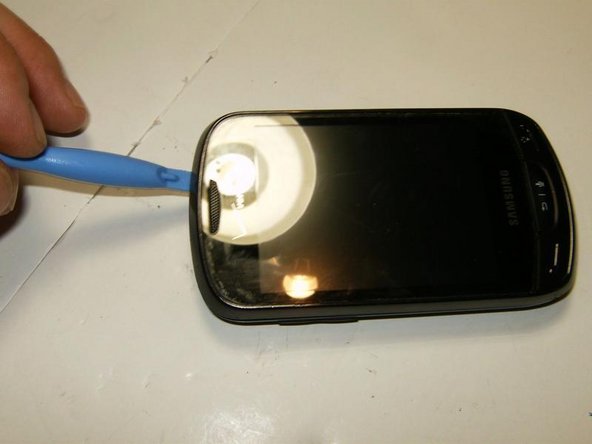
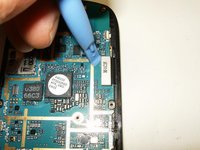
Use a plastic opening tool or similar tool to separate the top from the bottom frame. Applying slight pressure in a downwards direction will disengage the plastic clips
-
Continue to slide the tool along the slot until you feel the plastic locks disengage
-
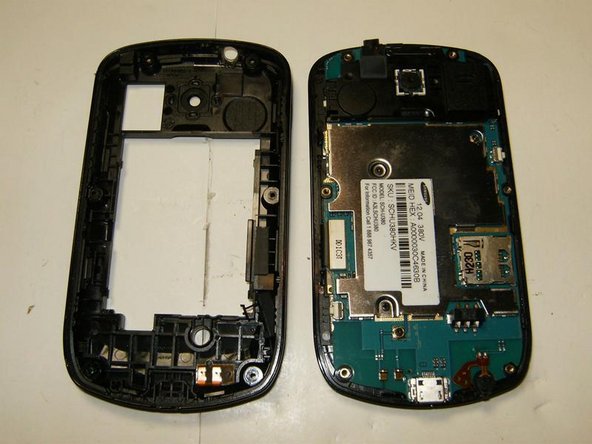
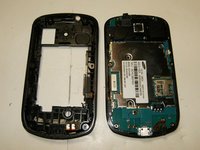
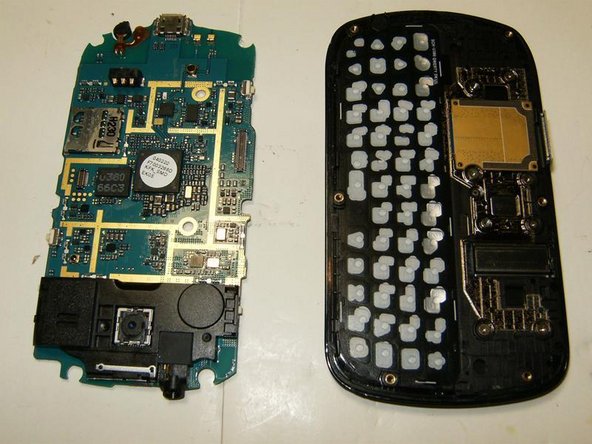
Once all locks have released, the bottom frame can simply be removed.
-
-
-
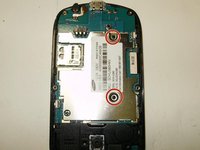
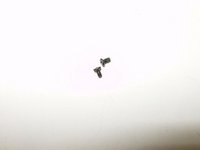
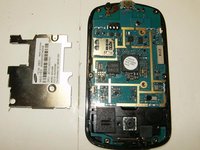
Remove the two Phillips screws from the EMI shield.
-
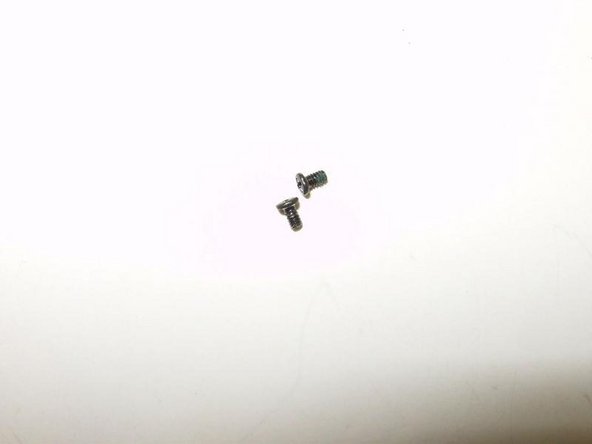
Both screws are identical M1.5X2
-
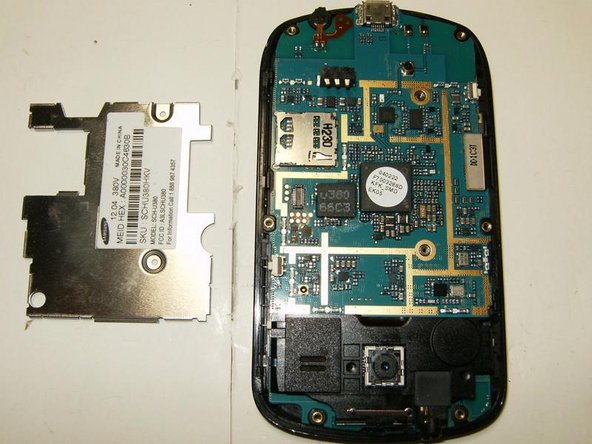
Remove the EMI shield
-
-




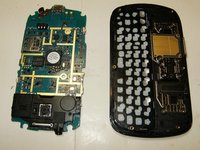
To reassemble your device, follow these instructions in reverse order.
Cancel: I did not complete this guide.
3 other people completed this guide.