Introduction
I create this guide, so that it can be useful to other owners who want to open it for repairs and other projects.
Feel free to replicate and improve this guide elsewhere on the internet.
What you need
-
-
-
Remove screws from the handle.
-
two above near the buttons and trigger
-
two below above the spring
 Ask FixBot
-
-
-
Using a screwdriver or equivalent tool, remove the blue display.
-
Its clips are on the side of the blue display.
-
Press the sides inward.
-
-
-
Your staples are above and below in center.
-
it's easier to press the bottom ones first.
-
-
-
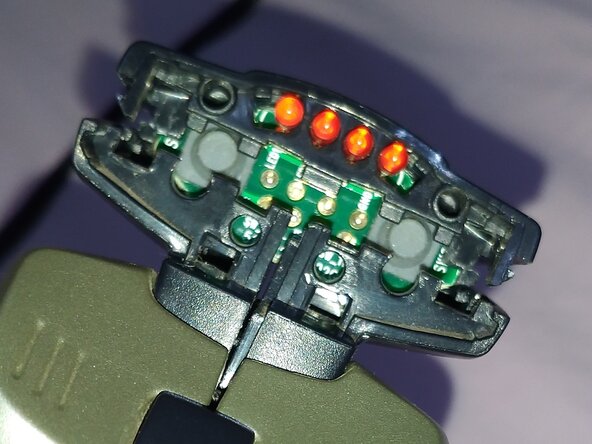
Locate the plastic hidden clips of the top buttons.
-
obs: I started by releasing the large buttons by their side latches, then I discovered that releasing the hidden latches in a UU-shape also allows you to release the button.
-
-
-
With a thin screwdriver, press the latches.
-
They are shaped like 2 UU upside down, where they are attached to a plastic cylinder.
-
-
-
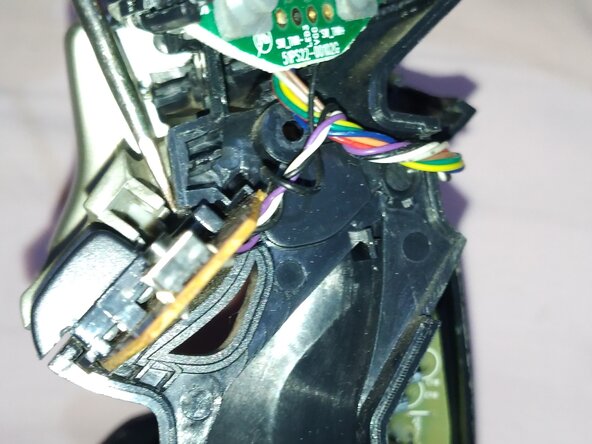
Always be careful, because of the wiring.
-
-
-
-
OBS: I managed to remove the top cover with two plastic spatulas, one on each side. But then I discovered that removing it would be unnecessary. Just split the casing and it will be possible to release the top cover.
-
-
-
1 - Remove the plastic adhesive using a spatula or a utility knife.
-
Remove the 4 screws from the base using a small Phillips screwdriver.
-
-
-
After removing the base cover, you will see the metal parts; remove them by prying them outwards with a tool.
-
These parts are responsible for keeping the base stable.
-
-
-
1- Locate the footrest and the base.
-
2-Unscrew it using a small TORX key.
-
obs: Pay attention to the nut on the opposite side of the bolt.
-
-
-
After removing the screws securing the three legs, the plastic cylinders located in the base's mounting holes might remain in place and fall out on their own.
-
Finally, if you prefer not to keep the feet and the orange disc, install the metal parts and screw the base cover into place.
-
-








To reassemble your device, follow these instructions in reverse order.

