This translation was generated by a machine and has not been reviewed by a person yet. Speak this language? Review it.

Saeco Royal HD8920 Function Valve Replacement

VauWeh and 2 other contributors
Last updated on Sep 2, 2026
Views: 592
View statistics:
- Past 24 Hours:
- 3
- Past 7 Days:
- 17
- Past 30 Days:
- 63
- All Time:
- 592
Comments: 3
3 comments on steps.
Completed: 0 1
No one has marked this guide "completed." Will you be the first?
1 person has marked this guide "completed." It's you — great job!
Favorites: 0 1
No one has favorited (and subscribed to) this guide. Will you be the first?
1 person has favorited (and subscribed to) this guide — and that's you!
Community-Contributed Guide
An awesome member of our community made this guide. It was not created by iFixit staff.
Introduction
Go to step 1 ↓The HD8920 model is a later version of the Royal that differs significantly on the inside from the old SUP... series. A function valve is installed for venting the fluid system. This can become calcified and start to leak—the machine will then no longer function properly. You can try to remove and overhaul it, but often a replacement is better.
This guide may also help with other Saeco models and with automatic coffee machines from Philips and Gaggia—the devices all come from the same manufacturer and are built very similarly.
What you need
Tools
-
-
T15 Torx Screwdriver$7.99


-
-
-
The coffeebean supply is fixed with two screws. Unscrew them and lift it off.
-
There is a black rubber lid under the bean hopper that you can easily lift off, leaving a large opening.
-
The adjuster of the grinder has to be solved. Mark the position or just take a picture. This type is fixed with a screw, others are only sticked together.
-
-
-
-
The screws are situated on the underneath of the cover. This type is held by four screws.
-
-
-
Now the cover can be raised: first grip on left and right rear side and lift about 10 cm (4 in). Sometimes the cover jams a little bit.
-
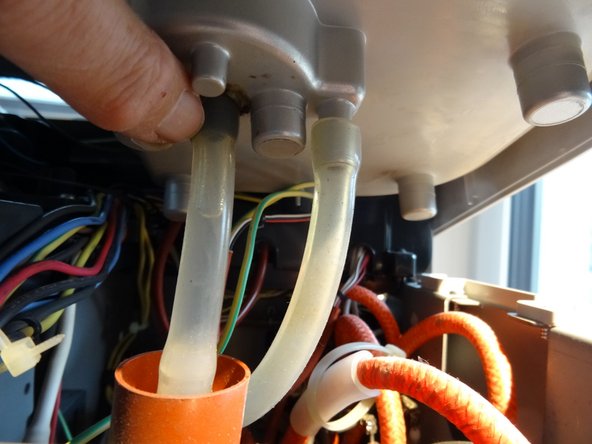
Solve the hoses which lead to the water tank. Perhaps you have to pull out some contacts, (e.g. the yellow-green protection lead), don´t forget to put them on again later.
-
The cover can be drawn aslant towards the front, sliding it over the hot water pipe.
-
Most repairs can be done with the cover being laid up partially , it must not be completely removed.
-
-
-
-
Disconnect all connections:
-
Disconnect all silicone tubes, if you have not already done so.
-
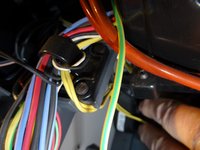
Very carefully disconnect the warming plate connector. Unscrew both eyelets on the green-yellow ground cables of the warming plate.
-
Carefully disconnect the connector on the water level sensor and release the cable.
-
It is a bit tricky to release the sensor for the bean container lid: release the side tabs and lift the sensor housing slightly upward, then pull the sensor mounting out of the housing. Pull the sensor outward and let it drop through the opening.
-
-
-
Lay the machine on its side so that the bottom is facing you.
-
Insert a Torx T10 screwdriver through the hole in the bottom plate and unscrew the screw.
-
-
-
The valve is now only hanging by the two pressure hoses. These are attached with somewhat inconvenient Oetiker clamps. You can cut the clamps off and replace them later with small hose clamps. However, if they are still in good condition, you can leave them on and simply remove the upper connector and transfer it to the new valve:
-
Pull out the large metal clip on the side of the connector and remove the connector.
-
Pull out the metal clip on the replacement part, attach the connector including the pressure hoses with the new seal, and secure it with the clip.
-
-

 Ask FixBot


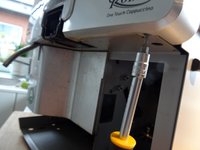
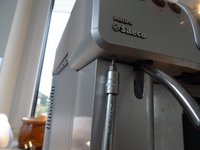
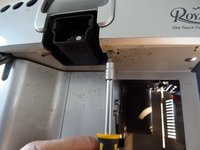



Follow the steps in reverse order to reassemble your device.