Introduction
Good grindstones are essential for an aromatic coffee. The beans are then not squeezed but nicely cut, and the ground is finer.
These instructions may also help with other Saeco models and with coffee makers from Philips and Gaggia—they are all made by the same manufacturer and have a very similar design.
What you need
-
-
The coffeebean supply is fixed with two screws. Unscrew them and lift it off.
-
There is a black rubber lid under the bean hopper that you can easily lift off, leaving a large opening.
-
The adjuster of the grinder has to be solved. Mark the position or just take a picture. This type is fixed with a screw, others are only sticked together.
-
-
-
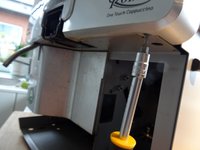
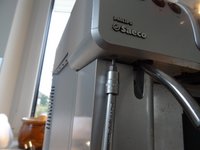
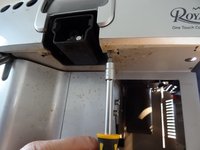
The screws are situated on the underneath of the cover. This type is held by four screws.
-
-
-
-
Now the cover can be raised: first grip on left and right rear side and lift about 10 cm (4 in). Sometimes the cover jams a little bit.
-
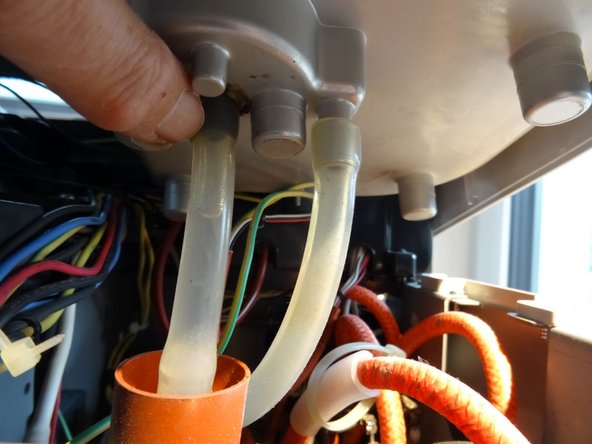
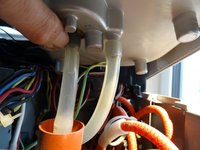
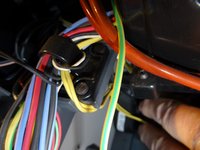
Solve the hoses which lead to the water tank. Perhaps you have to pull out some contacts, (e.g. the yellow-green protection lead), don´t forget to put them on again later.
-
The cover can be drawn aslant towards the front, sliding it over the hot water pipe.
-
Most repairs can be done with the cover being laid up partially , it must not be completely removed.
-
-
-
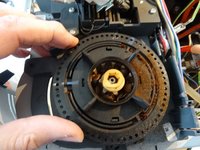
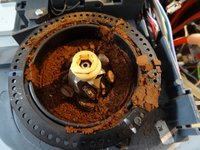
Note the blue markings. Turn the outer ring anti clockwise until the blue marks line up to each other.
-
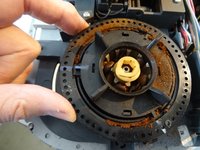
Then the ring can be lifted off. Siphon off all ground coffee immediately.
-
-
-
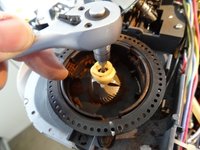
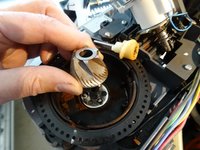
After loosening the screw you can first lift the auger, then carefully the grinding cone. You can see the three balls of the slip clutch. Carefully lift out and keep safely.
-
-
-
The driver can be pulled up. Pay attention to the three springs on which the balls of the slip clutch lie, these also safe to store.
-
All parts are thoroughly cleaned and degreased.
-
-
-
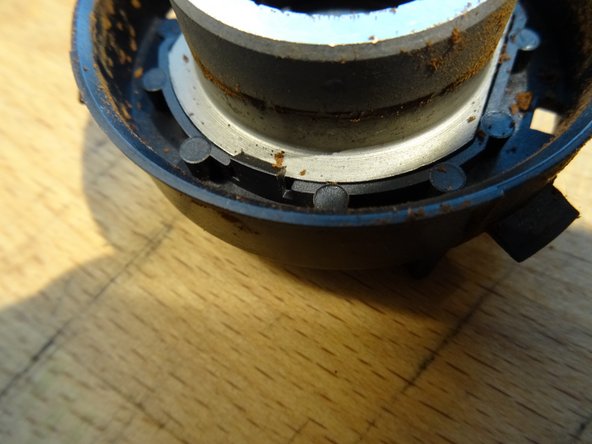
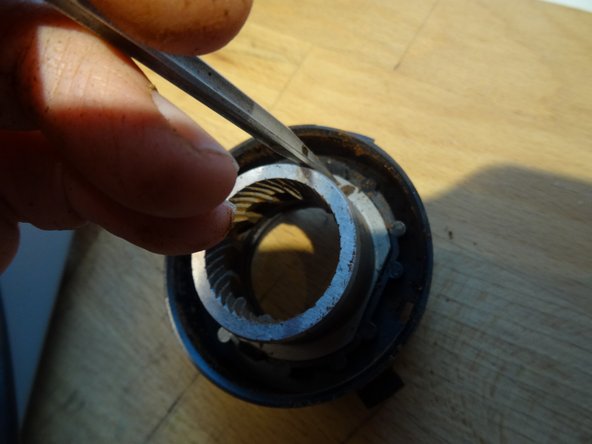
The cap of the grinding ring can be removed by pushing the small notches alternately left and right with a screwdriver.
-
The grinding ring is fastened with clamps. Press with the screwdriver to the side, then the Mahlring can be solved.
-
Again, everything is cleaned well, then pressed the new ring and the lid put on.
-
-
-
Here are all parts.
-
The driver is reinstated. Then the three feathers and beads inserted. When adjusting the new grinding cone, make sure that the balls are in the recesses on the bottom.
-
Then insert the auger so that it engages correctly in the grooves.
-
Finally, insert the central bolt, push the cone down slightly and tighten the bolt. Reminder: left-hand thread, that is "falschrum".
-
-
-
The mounted grinding ring is inserted. At first, the markers face each other. The outer ring is turned on until a resistance can be felt. So the millstones sit on each other.
-
Then he is turned back about 15 stops. This is about the middle setting of the degree of grinding, but can also be fine-tuned later.
-

 Ask FixBot











Repeat the steps in order to reassemble your device.
Cancel: I did not complete this guide.
6 other people completed this guide.
Special thanks to these translators:
100%


These translators are helping us fix the world! Want to contribute?
Start translating ›

10 Guide Comments
Hallo,
unabhängig aller Farben und Pfeilen auf dem Mahlring bzw. Einstellring ist der Mahlring beliebig in die drei Nuten des Einstellringes einzusetzen. Danach den Einstellring im Uhrzeigersinn soweit drehen, dass Widerstand spürbar ist. Danach ca. 14 Rastungen gegen Uhrzeigersinn drehen. Feineinstellung nach Mahltest.
Achtung! Viele der neu gekauften Mahlsets sind falsch, Mahlstein und Mahlring sind nicht zueinander abgestimmt. Zu erkennen, wenn der Mahlstein im Mahlring auf glatter Fläche aufliegt und der Spalt zu Mahlring mehr als 1-2 mm groß ist.
Guten Tag,
OK-Taste funktioniert nicht mehr, anscheinend elektronische Kontakt kaputt, kann man es reparieren?
Bitte um Info
Danke schön
Schwer zu sagen, einen Versuch wäre es wert. Der Taster ist wahrscheinlich nur ein billiger Mikrotaster. Aber ist er wirklich defekt? Bei diesem Händler kann man Glück mit gebrauchten Ersatzteilen haben.
Ich würde halt aufmachen und die Steuerplatine inspizieren. Viel Glück!
Wenn ich den Einstellring des Mahlwerkes 14 Raster gegen den Uhrzeigersinn gedreht habe, kann ich den oberen Mahlring noch immer anheben. Was habe ich falsch gemacht?
