
Saeco Minuto Flowmeter replacement

VauWeh and 3 other contributors
Last updated on Jul 2, 2026
Views: 13K
View statistics:
- Past 24 Hours:
- 6
- Past 7 Days:
- 62
- Past 30 Days:
- 315
- All Time:
- 13,165
Comments: 55
55 comments on steps.
Completed: 3 4
3 people have marked this guide "completed." Will you be next?
4 people have marked this guide "completed." Including you — great job!
Favorites: 1 2
1 person has favorited (and subscribed to) this guide. Will you be next?
2 people have favorited (and subscribed to) this guide — including you!
Community-Contributed Guide
An awesome member of our community made this guide. It was not created by iFixit staff.
Introduction
Go to step 1 ↓If the display shows error 5, the flow meter is reporting insufficient flow. The electronics can be disturbed, the thin inlet duct is often dirty - or the water stops later, e.g. because the heater is calcified. Thus guide shos, how the flowmeter is removed, opened and revised or replaced.
These instructions may also help with other Saeco models and with coffee makers from Philips and Gaggia—they are all made by the same manufacturer and have a very similar design.
What you need
Tools


-
-
-
Remove the water tank.
-
Remove all the coffee beans.
-
Remove the brewing assembly.
-
Remove the drip tray and the coffee grounds drawer.
 Ask FixBot
-
-
-
Pry up with a plastic opening tool at the bottom edge of the chrome-plated cover to lift up the coffee dispensing spout. This cover is often very tight, so you have to pry hard and hope that the part does not break.
-
When the lower edge of the spout is released, you can pry on the side edge until the chrome cover comes off completely.
-
-
-
Remove the Torx T10 screw at the top edge of the coffee dispensing spout.
-
-
-
Lift off the black cover over the coffee dispensing spout. The sliding nozzles will come off at the same time.
-
-
-
Remove both Torx T10 screws on the left and right at the bottom edge of the coffee dispensing spout.
-
Pull off the hot water dispensing spout.
-
-
-
Remove the Torx T20 screw on the finger guard of the grinder. Remove the finger guard.
-
Remove three Torx T10 screws in the bean container.
-
-
-
Grab the upper cover on the sides and lift it up.
-
Take off the silicone tube.
-
-
-
Remove the water level sensor cable from its brackets.
-
Carefully remove the plug from the water level sensor.
-
The cover is now free and can be removed.
-
-
-
-
-
Open the service Dior.
-
Remove five Torx T10 screws.
-
-
-
If you haven't already done so: Unscrew the center Torx T10 screw at the bottom of the coffee spout distributor.
-
Unscrew the Torx T10 screw in the middle left front.
-
Lift the service door up and remove it.
-
-
-
Unscrew the Torx T10 screw securing the coffee spout distributor inside.
-
-
-
Lift the coffee spout distributor up and remove it.
-
The coffee spout distributor tends to be dirty. Open it and clean it thorougly.
-
-
-
-
Lift the inner frame up and remove it from the outer case. It may get stuck a bit, help with a plastic lever tool.
-
-
-
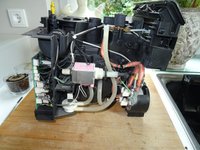
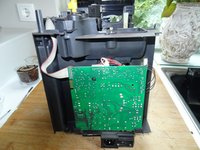
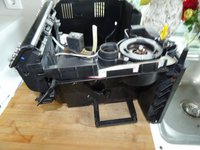
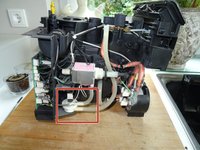
This is what the inner frame looks like from three sides. All components are easily accessible, especially the pump, the flowmeter and the heater.
-
-
-
And this is what the completely gutted outer case looks like. It can now be cleaned well.
-
-
-
-
-
Lay the machine on its side so the flow meter is on top.
-
Disconnect the silicone tubes from the flow meter.
-
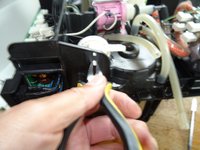
The flowmeter is locked into the inner frame. Using pliers press the white plastic catches on the underside together and press the flowmeter out.
-
Disconnect the flowmeter.
-
Remove the flowmeter.
-
-
-
Blow into into the lower nozzle into the flowmeter. It should be quite easy and you should hear the turbine buzzing.
-
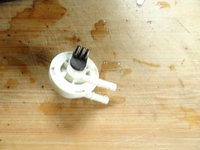
The upper half of the flowmeter is locked in place with a bayonet catch. Turn the upper part a little counterclockwise.
-
Lift off the upper half. Pay attention to the gasket. The turbine can be easily lifted out.
-
Now you can clean and decalcify everything well. Clean in particular the entrance nozzle, for example with a needle. The opening is quite narrow.
-
-
-
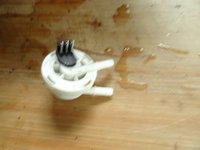
Reassemble the flowmeter and check again by blowing into it to make sure that the water flews free and that the turbine is buzzing nicely.
-
-


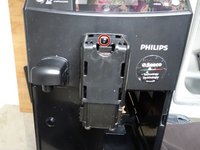
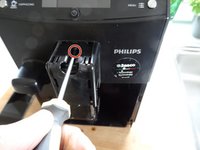


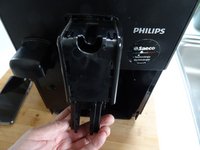
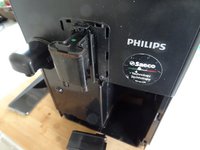


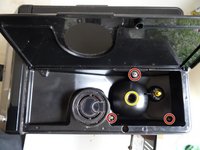
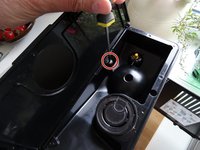


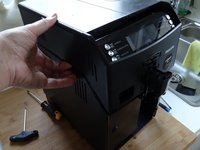
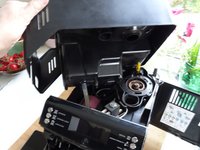
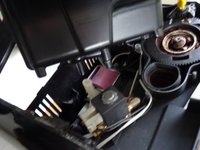


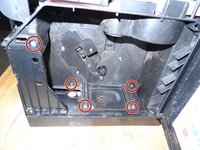
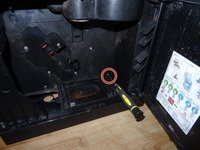
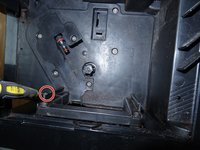


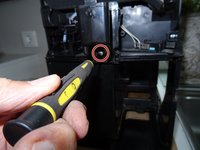
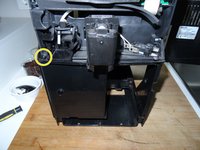


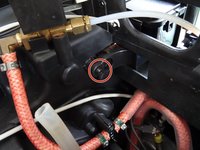
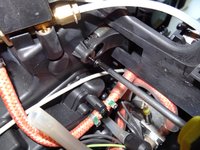







Repeat the steps in reverse order to reassemble your device.
Cancel: I did not complete this guide.
3 other people completed this guide.
Special thanks to these translators:
100%


These translators are helping us fix the world! Want to contribute?
Start translating ›

