Introduction
I have a 2007 Saab 9-3 Aero petrol Automatic car. It has been a joy to own and ride, but recently it started to show warning messages:
"Steering lock Malfunction. Please come to a safe stop and call service" (or something like that)
On other occasions, the key would refuse to turn. Disconnecting the battery for a while would sometimes fix the issue, but this was clearly not a safe car to drive any longer.
Googling the issue revealed that there are two components involved in starting the car:
The ISM (Ignition Switch Module) is where the key is inserted.
The CIM (Column Integration Module) is located inside the steering wheel. It is the security centre and controls the central locking, ignition, immobilisation, steering lock etc.
Both of these could be the culprit. However, whereas the ISM _can_ be replaced by a layman (i.e. me!!), the CIM requires both special tools and the electronic equipment to be able to remove and replace, and pair up with a new set of keys.
So, equipped with a Haynes "Saab 9-3 Sept 2007 to 2011 Owners Workshop Manual", a set of star shaped screwdrivers, and a camera to record all the steps, as well as a pile of clear plastic bags to put the screws in and label them (they are all subtly different in size, thread and length), I set about to replace the ISM with a unit I bought on eBay. This involves removing the centre console to get to the ISM itself.
What you need
-
-
-
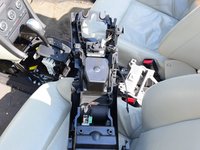
Our starting point: The center console with the ignition switch in the middle
 Ask FixBot
-
-
-
Step one is to remove the front side panels. There is a single (covered) screw in the footwell on each side that can be removed, and the panel slides rearwards, down and out.
-
-
-
Next, locate the rear cover visible from the back seats, between the two front seats. Pull it sharply to the rear, and remove.
-
-
-
The rear side panels in front of the rear cover are now easily accessible and can be removed.
-
-
-
Next, remove the rubber mat in front of the gear lever.
-
-
-
The (shiny) gear lever surround trim can now be prized off, starting at the rear, and removed.
-
-
-
Removing the gear lever surround trim exposes a single screw holding a retaining frame underneath the gear change mechanism.
-
-
-
-
Slide out horizontally the protective plastic cover underneath the hand brake.
-
-
-
and remove the CD holder itself. This exposes another single screw. Remove this.
-
-
-
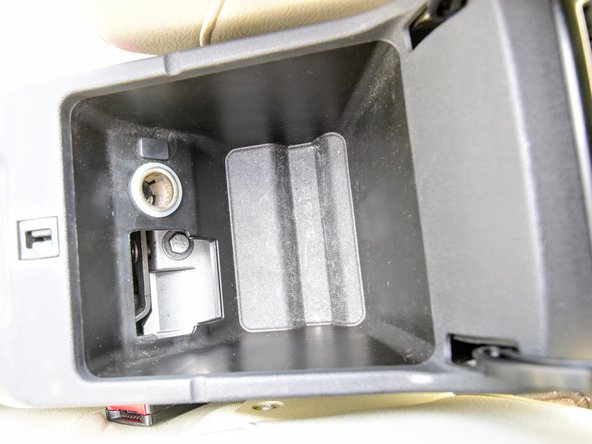
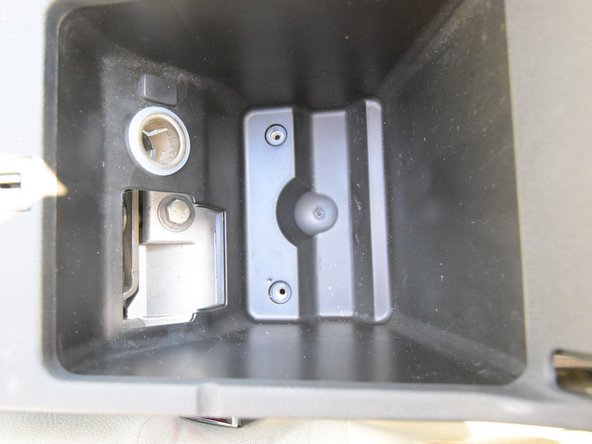
Remove the bottom rubber cover in the centre console storage unit.
-
-
-
There are no screws underneath, but this is a good opportunity to remove it and clean it separately.
-
-
-
Underneath the air vent controlling air flow to the passengers from the center console sits a square duct.
-
-
-
The Haynes manual suggests pulling this out next, and although it is possible to do so, it requires force, and is much easier to do later when all other fixings have been removed.
-
-
-
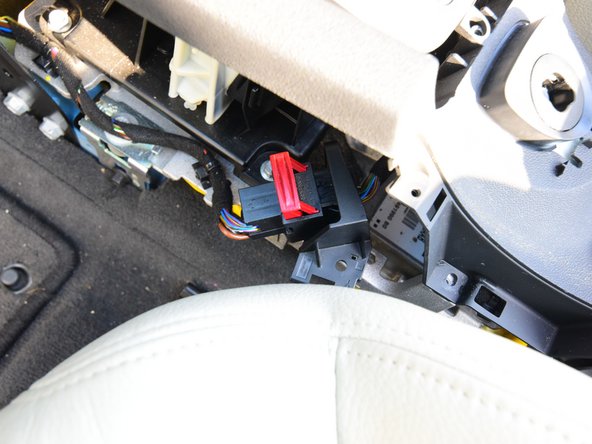
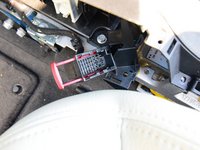
There are two cable bundles connected to the center console from the rest of the car. One is connected via a large, square plug with a red tab.
-
-
-
Push a screwdriver inside the red tab and pull, and the connector splits neatly apart.
-
-
-
The other is an earth connector near the rear of the console. This can easily be pulled away.
-
-
-
Remove two screws located in front of the gear lever.
-
-
-
The next bit is a bit fiddly to get to: There are two screws going horizontally, one underneath the handbrake,
-
-
-
the other on the CD holder side. These need to be removed. There is limited workspace. Use a separate loose screwdriver bit, and a spanner to twist it.
-
-
-
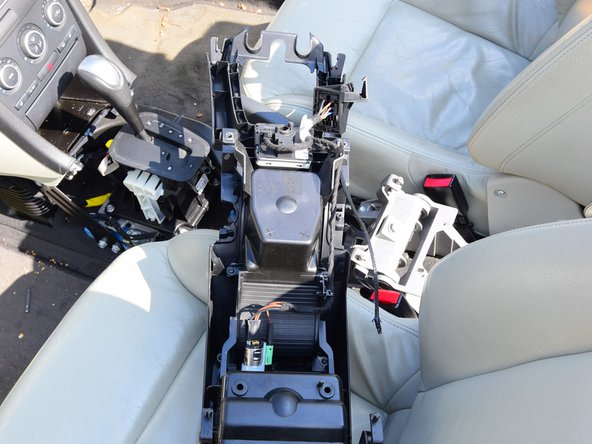
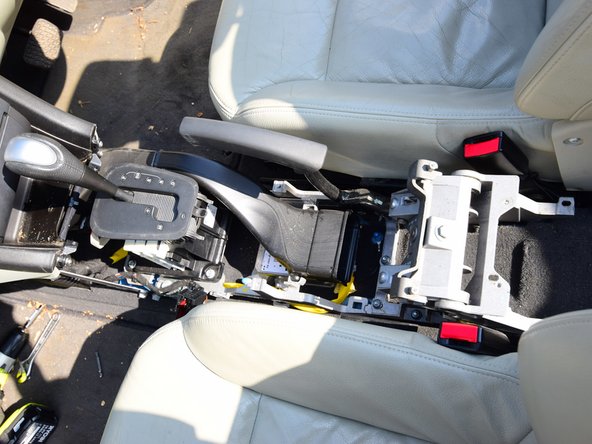
The center console is now loose, and can be puller backwards and upwards, and removed from the car.
-
-
-
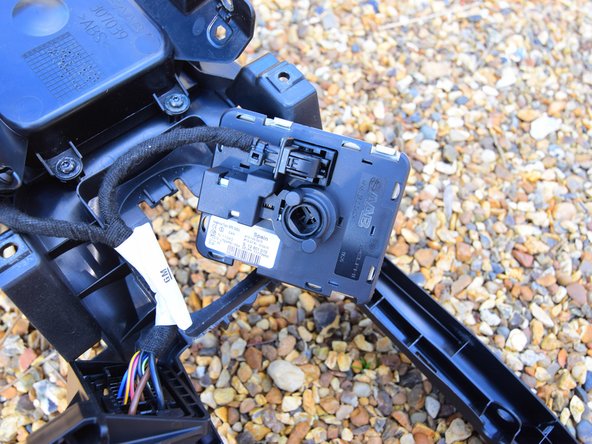
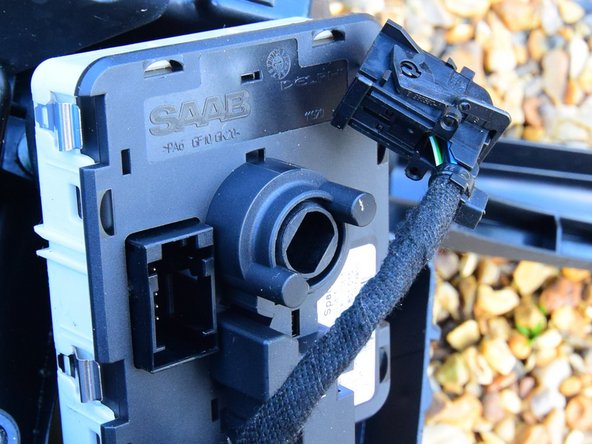
Tip the centre console upside down and locate the ISM ignition switch.There are four spring clips holding it in place. Use a screwdriver to compress each clip in turn, whilst pushing the switch out of its socket.
-
-
-
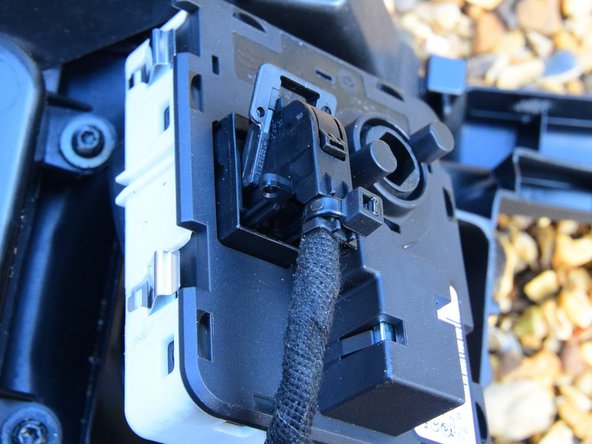
The switch is connected to a cable via a connector. Locate the torque lever and twist this to release the connector.
-
-
-
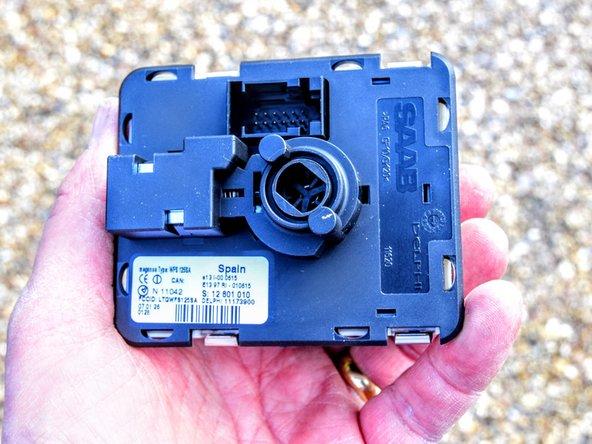
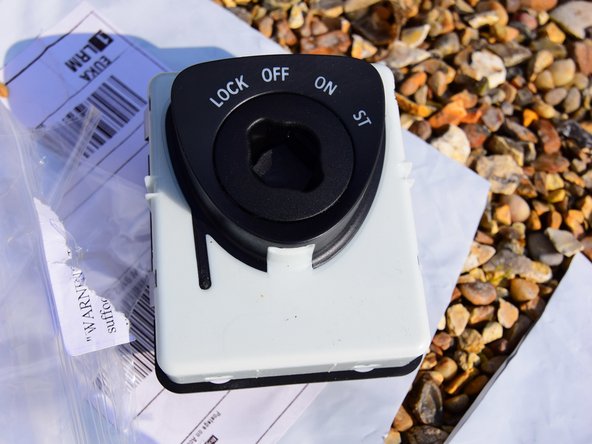
You now have the ISM in your hand. Swap this with a replacement unit. Mine cost £126,00 new from eBay. Clip it in the same spot, and connect the cable again.
-
-
-
The rest of the procedure is doing the dismantling in reverse. However, this is the best order that I found (choosing the wrong order once or twice):
-
-
-
The square air conditioning duct goes in first. The console goes in next. It is a bit awkward to riggle past all the lugs, screws, tabs and cables, but just persevere. Once in, fit all the screws holding it in place, including the awkward ones.
-
-
-
Connect the two cables. The earth connector is push-on, and the square plug self-locks when the red tab is pushed.
-
-
-
Next, fit the retaining frame underneath the gear lever, all screws around it, then the shiny gear lever surround trim, and finally the rubber mat in front of it. Fit the side rear panels, then the front panels (fasten them with the single screw), then the rear cover.
-
-
-
With all side panels in place, re-fit the screws around the gear lever and CD holder. Finally, slide the handbrake cover in place, and screw the CD holder in. All rubber mats put in place (you *did* clean them whilst you had the chance, right..?). You are done!
-
-
-
Touch Wood, my car is now purring, with none of the issues I had before. Having heard quotes from around £1,000 upwards for a complete ISM / CIM refit, I am well pleased with the result.
-
-

















To reassemble your device, follow these instructions in reverse order.
Cancel: I did not complete this guide.
17 other people completed this guide.

26 Guide Comments
And the key worked once plugged in and the battery is reconnected?
Instructuctions spot on. In 1.5hrs I had the ISM out, cleaned and back in. And no more steering lock errors. !!!
Does anyone have advice on how to replace the ignition switch on a 1998 9.3 automatic transmission Saab
Most of these steps are not necessary at all, you can pull the ISM out from the side when you have removed the side panel, its tight but more than possible. This is very easy, 3h is a joke it takes 30 minutes at most!
