Free Shipping on Domestic Orders $75+

SYNOLOGY DS718+ Teardown

Views: 11K

View statistics:

Past 24 Hours:
3
Past 7 Days:
47
Past 30 Days:
218
All Time:
11,484
Comments: 5

1 comment on steps, 4 guide comments.

Go to guide comments
Completed: 6

6 people have marked this guide "completed." Will you be next?

Favorites: 2

2 people have favorited (and subscribed to) this guide. Will you be next?

Time Required: 20 minutes
Difficulty: Moderate
Community-Contributed Guide

An awesome member of our community made this guide. It was not created by iFixit staff.

SYNOLOGY DS718+ Teardown

Introduction

Go to step 1 ↓

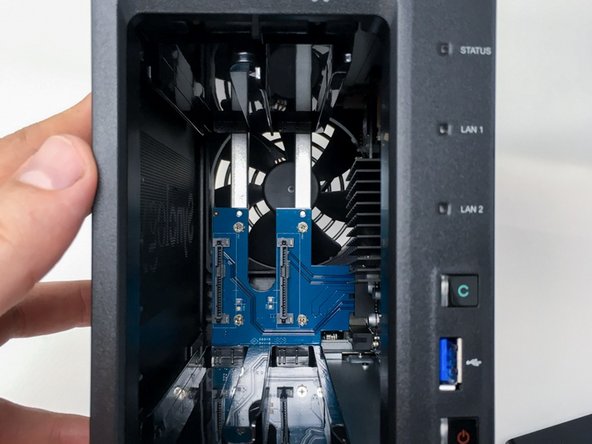
Here's a step-by-step tutorial to dismount each piece of the NAS until you reach the motherboard.

'Note: the interest of this tutorial is however limited.'

Indeed, most of the components that a user can be brought to add or change are now accessible directly, without disassembly (storage disks, memory expansion).

*This is a step forward, the previous revision must be completely removed to change a single RAM array.

Only the memory stack on the motherboard and fans remain inaccessible directly and require the disassembly of the NAS described in this tutorial to be changed (whether they are HS or replace them by better components).

The dismantling time is estimated at one hour (but with photographies). That said, it is certainly achievable in 20/30 minutes.

The photographs were taken with an iPhone SE, using a portable LED studio.

  • : info. must be checked.
    1. SYNOLOGY DS718+ Teardown, Case presentation:  front panel: step 1, image 1 of 1
      • This NAS DS718 + is equipped with 4 GB of RAM (6 GB max.), an INTEL Celeron J3455 64-bit Quad processor, two bays for SATA drives (HDD, or SSD).

      • FRONT PANEL : you can notice on the right side, disks LEDs disapeared. You can find them now just on the top of the disk bays.

      • status LEDs

      • power buton (startup / shutdown)

      • 1 x USB 3 port

      • "copy" buton

      • 2 x disk support (caddy / cage)

      • disk bay lock

      Ask FixBot

      Add Comment

    2. SYNOLOGY DS718+ Teardown, Cas presentation: rear panel: step 2, image 1 of 1
      • REAR PANEL

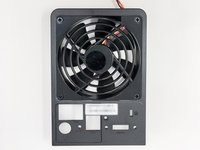
      • 1 x 92mm fan

      • 2 x EHTERNET RJ45 Gigabit port

      • 2 x USB 3 port

      • 1 x eSATA port

      • 1 x power connector

      • 1 x Kensington security incision (K-lock)

      • RESET buton

      Ask FixBot

      Add Comment

    3. SYNOLOGY DS718+ Teardown, Backplane and memory access: step 3, image 1 of 3 SYNOLOGY DS718+ Teardown, Backplane and memory access: step 3, image 2 of 3 SYNOLOGY DS718+ Teardown, Backplane and memory access: step 3, image 3 of 3
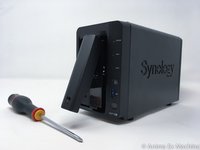
      • Before teardown, unlock the disk media with the key.

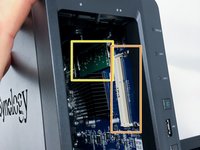
      • It's a new appreciable feature, the memory slots are now directly reachable.

      • first memory slot

      • seonc memory slot (not populated)

      • The previous revision (DS716+ II) allowed this operation but a piece of metal prevent to remove memory.

      Ask FixBot

      Add Comment

    4. SYNOLOGY DS718+ Teardown, Teardown: Rear Panel - Step 1 / 3: step 4, image 1 of 3 SYNOLOGY DS718+ Teardown, Teardown: Rear Panel - Step 1 / 3: step 4, image 2 of 3 SYNOLOGY DS718+ Teardown, Teardown: Rear Panel - Step 1 / 3: step 4, image 3 of 3
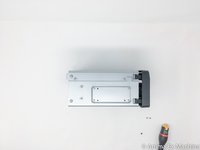
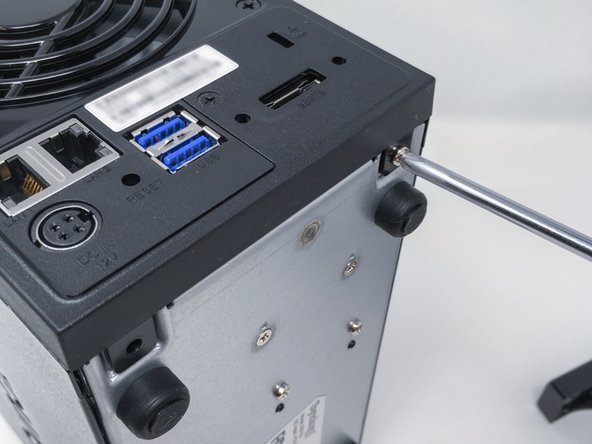
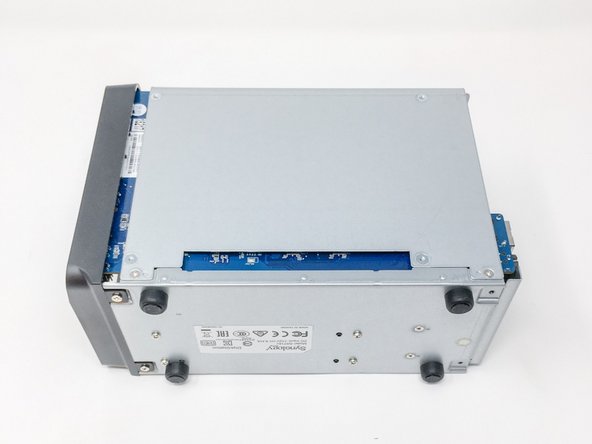
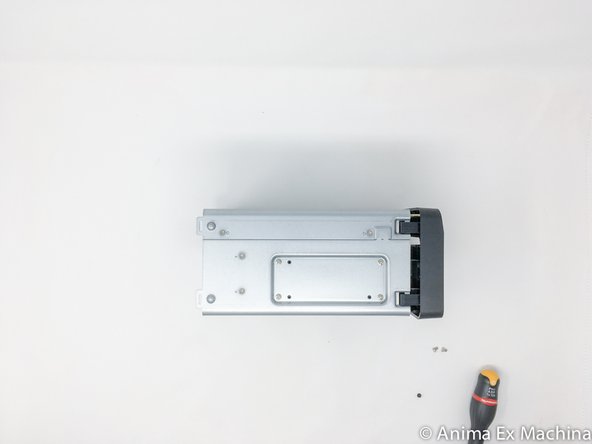
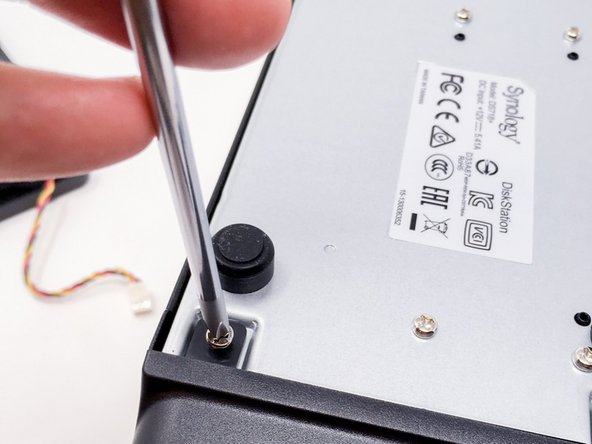
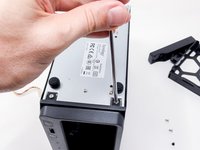
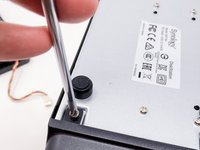
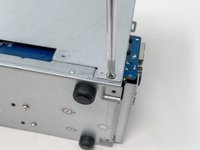
      • 1 - Remove the two screws placed under the NAS, on rear side.

      • 2 - Remove the screw placed in the middle of the rear panel.

      Ask FixBot

      Add Comment

    5. SYNOLOGY DS718+ Teardown, Teardown: rear panel - step 2 / 3: step 5, image 1 of 3 SYNOLOGY DS718+ Teardown, Teardown: rear panel - step 2 / 3: step 5, image 2 of 3 SYNOLOGY DS718+ Teardown, Teardown: rear panel - step 2 / 3: step 5, image 3 of 3
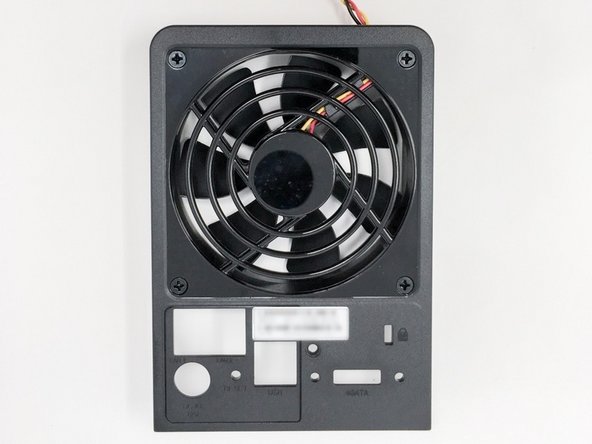
      • To remove the rear panel …

      • slightly pull the lower part of the rear panel so that the lugs do not touch the case, then ...

      • drag the facade upwards …

      • The back cover is held by two notches into the case.

      Ask FixBot

      Add Comment

    6. SYNOLOGY DS718+ Teardown, Teardown: rear panel - step 3 / 3: step 6, image 1 of 3 SYNOLOGY DS718+ Teardown, Teardown: rear panel - step 3 / 3: step 6, image 2 of 3 SYNOLOGY DS718+ Teardown, Teardown: rear panel - step 3 / 3: step 6, image 3 of 3
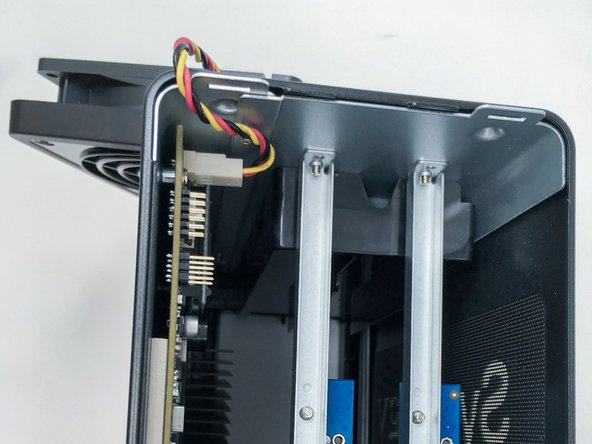
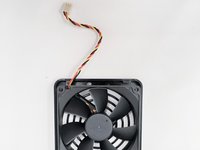
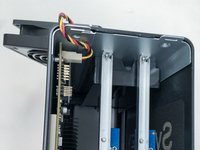
      • Once removed, remove the fan connector from the motherboard.

      Ask FixBot

      Add Comment

    7. SYNOLOGY DS718+ Teardown, Removing the Metal Housing: step 7, image 1 of 3 SYNOLOGY DS718+ Teardown, Removing the Metal Housing: step 7, image 2 of 3 SYNOLOGY DS718+ Teardown, Removing the Metal Housing: step 7, image 3 of 3
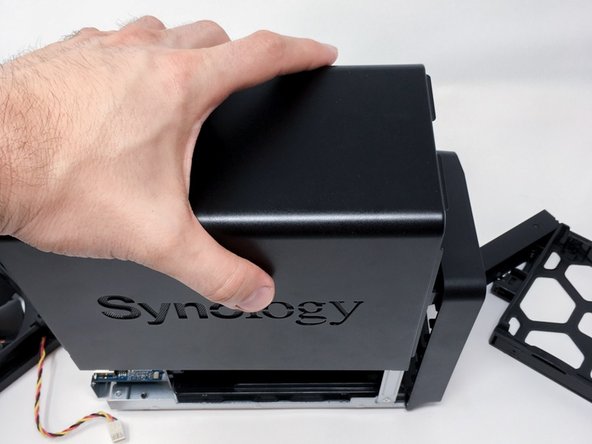
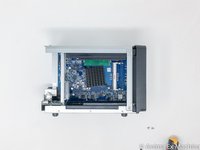
      • Once the rear panel is removed, the housing can be removed. To do so drag the cover about 1 cm to the back of the NAS then lift the hood upwards.

      Ask FixBot

      Add Comment

    8. SYNOLOGY DS718+ Teardown, Naked case before disassembling metal housing: step 8, image 1 of 3 SYNOLOGY DS718+ Teardown, Naked case before disassembling metal housing: step 8, image 2 of 3 SYNOLOGY DS718+ Teardown, Naked case before disassembling metal housing: step 8, image 3 of 3
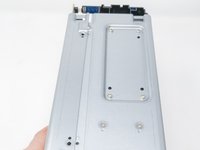
      • Now remains the front to remove ...

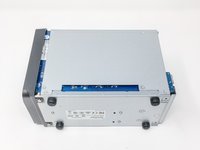
      • Here are some photographs of the case and the internal structure + screws.

      Ask FixBot

      Add Comment

    9. SYNOLOGY DS718+ Teardown, Teradown: front panel - step 1 / 2: step 9, image 1 of 3 SYNOLOGY DS718+ Teardown, Teradown: front panel - step 1 / 2: step 9, image 2 of 3 SYNOLOGY DS718+ Teardown, Teradown: front panel - step 1 / 2: step 9, image 3 of 3
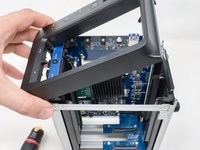
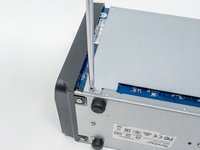
      • Remove the two screws under the box on the front side and then ...

      • in the same way as for the rear panel, lift the hood slightly ...

      Ask FixBot

      Add Comment

    10. SYNOLOGY DS718+ Teardown, Teardown: front panel - step 2 / 2: step 10, image 1 of 2 SYNOLOGY DS718+ Teardown, Teardown: front panel - step 2 / 2: step 10, image 2 of 2
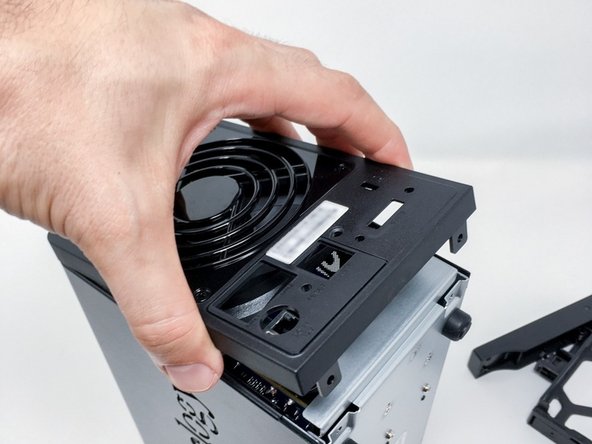
      • and remove the front panel …

      Ask FixBot

      Add Comment

    11. SYNOLOGY DS718+ Teardown, Teardown: crankcase and expansion card 1/3: step 11, image 1 of 3 SYNOLOGY DS718+ Teardown, Teardown: crankcase and expansion card 1/3: step 11, image 2 of 3 SYNOLOGY DS718+ Teardown, Teardown: crankcase and expansion card 1/3: step 11, image 3 of 3
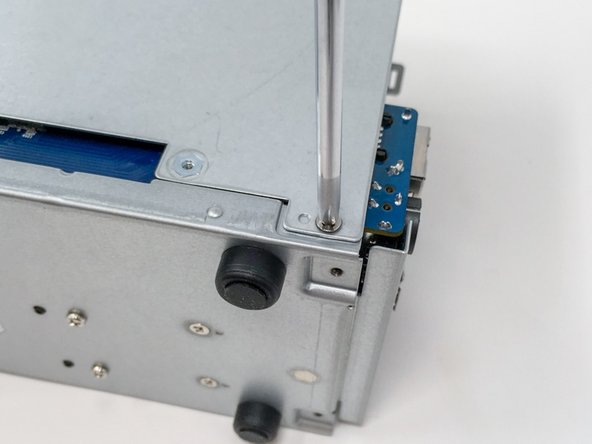
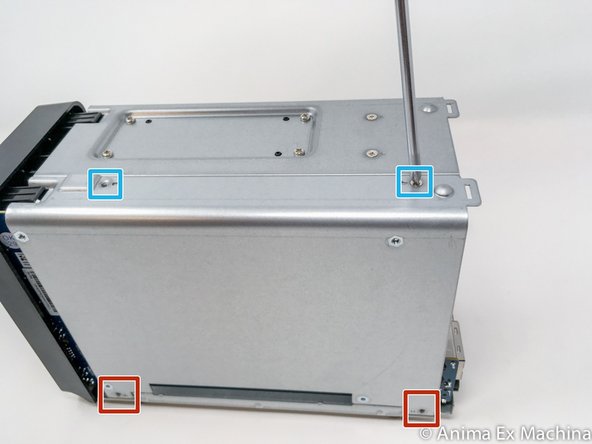
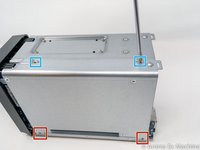
      • x 4 screws to remove …

      • x 2 on the right side panel

      • and x 2 on the upper part

      Ask FixBot

      Add Comment

    12. SYNOLOGY DS718+ Teardown, Teardown: crankcase and expansion card 2/3: step 12, image 1 of 3 SYNOLOGY DS718+ Teardown, Teardown: crankcase and expansion card 2/3: step 12, image 2 of 3 SYNOLOGY DS718+ Teardown, Teardown: crankcase and expansion card 2/3: step 12, image 3 of 3
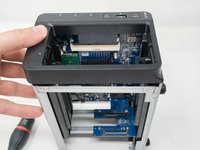
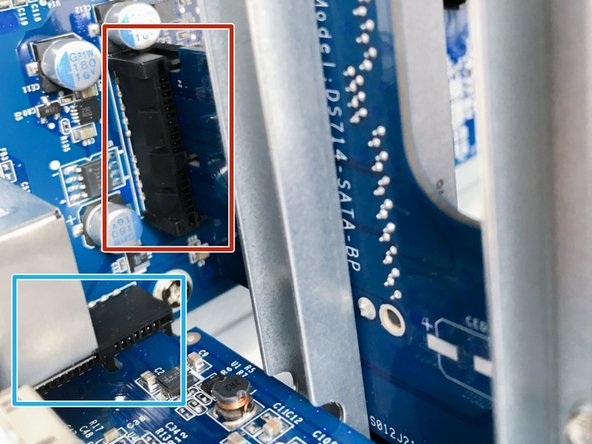
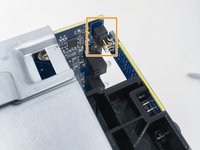
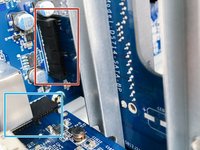
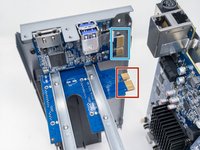
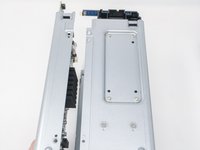
      • This part is delicate to assembly as to disassembly. Read full instructions carefully before handling.

      • The guidance remains relatively accurate but the connector for the LED card drives is fragile. Do not force when removing or inserting the side flange.

      • electronic card LED disks

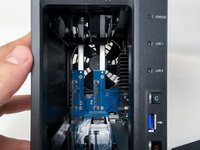
      • riser for SATA backplane (electronic card or daughter card)

      • electronic card riser (USB and e-SATA)

      Ask FixBot

      Add Comment

    13. SYNOLOGY DS718+ Teardown, Teardown: crankcase and expansion card 3/3: step 13, image 1 of 3 SYNOLOGY DS718+ Teardown, Teardown: crankcase and expansion card 3/3: step 13, image 2 of 3 SYNOLOGY DS718+ Teardown, Teardown: crankcase and expansion card 3/3: step 13, image 3 of 3
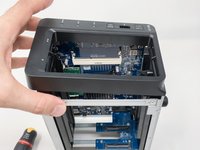
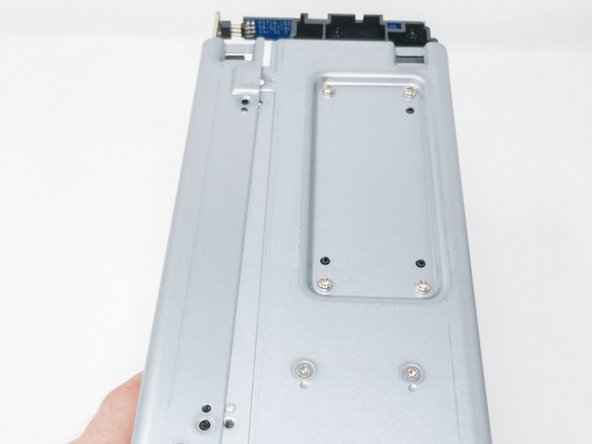
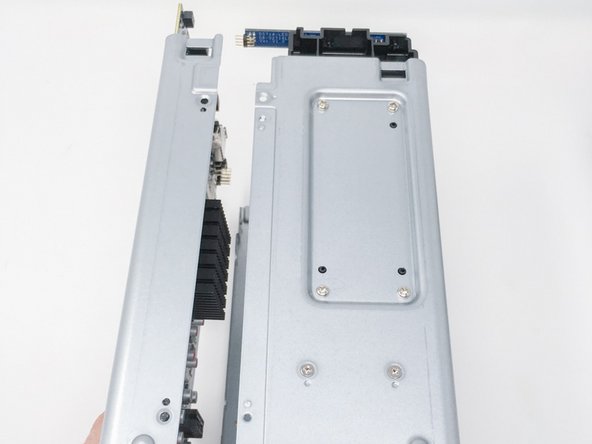
      • INSTRUCTIONS :

      • use both hands ...

      • pull gradually ...

      • everything must come without forcing!

      • Pay attention also to the metallic tape ... take it off if possible!

      Ask FixBot

      Add Comment

    14. SYNOLOGY DS718+ Teardown, Teardown: motherboard and memory: step 14, image 1 of 2 SYNOLOGY DS718+ Teardown, Teardown: motherboard and memory: step 14, image 2 of 2
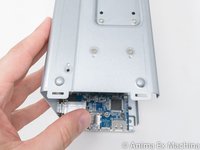
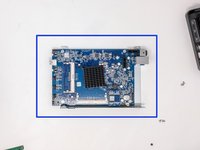
      • motherboard (processor side)

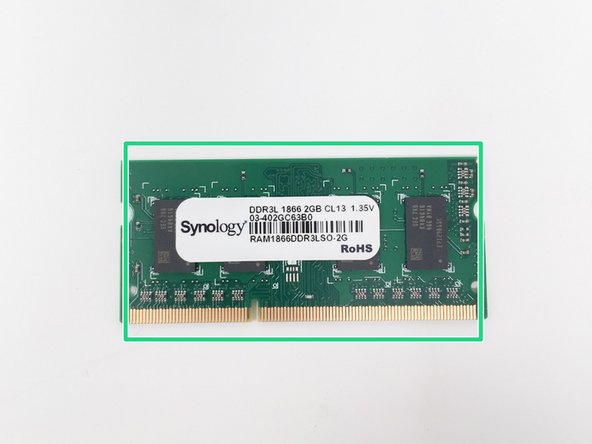
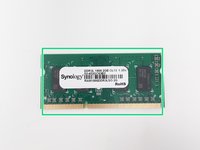
      • memory card

      • last pictures are bad …

      Ask FixBot

      Add Comment

Conclusion

To reassemble your device, follow the instructions in reverse order.

Cancel: I did not complete this guide.

6 other people completed this guide.

Special thanks to these translators:

fr en

100%

These translators are helping us fix the world! Want to contribute?
Start translating ›

Sébastien

Member since: 12/14/15

4,801 Reputation

6 Guides authored

Team

AEM (ANIMA EX MACHINA) Member of AEM (ANIMA EX MACHINA)

Business

1 Member

72 Guides authored

4 Guide Comments

1 hour? I did it in 20 minutes that's teardown and reassembly!!?!

Ken Richner - Reply Share

PLZ read the introduction more carefully !

Sébastien - Reply Share

How to replace a larger heat pipe radiator??

love3kkk - Reply Share

Any suggestions on Mother board update for the DS218+ & DS718+ ?

WA FOR SALE - Reply Share

Add Comment

View Statistics:

Past 24 Hours: 3

Past 7 Days: 47

Past 30 Days: 218

All Time: 11,484