
SRM Power Meter Battery Replacement

midiman127 and 2 other contributors
Last updated on Mar 7, 2024
Views: 18K
View statistics:
- Past 24 Hours:
- 3
- Past 7 Days:
- 36
- Past 30 Days:
- 188
- All Time:
- 17,874
Comments: 5
4 comments on steps, 1 guide comment.
Go to guide commentsCompleted: 6 7
6 people have marked this guide "completed." Will you be next?
7 people have marked this guide "completed." Including you — great job!
Favorites: 0 1
No one has favorited (and subscribed to) this guide. Will you be the first?
1 person has favorited (and subscribed to) this guide — and that's you!
Community-Contributed Guide
An awesome member of our community made this guide. It was not created by iFixit staff.
Better Introduction
Improve this guide by completing or revising its introduction.
Introduction
Go to step 1 ↓In case you are far away from Germany or don’t want to spend the extra money sending your PM to SRM, this guide shows you how to attempt a DIY. I had no knowledge of the product design or variants of the mechanical aspects. This guide was created through observation and basic electronics knowledge. I did perform the battery swap on my own PM that I continue to use for training.
In case you are lucky to get a later model, I believe the battery replacement can now be performed by yourself.
Good Luck!
What you need
Parts
Tools


-
-
-
Remove the chain rings. On some models there are little screws to open the cap. On my FSA Model there is a tab to pop open the cap.
-
Make sure the seals stay intact.
-
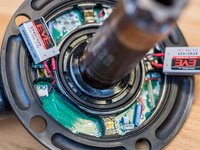
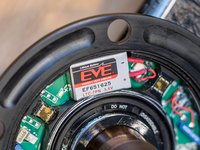
There are 2 batteries glued in. They are connected with a power cable that has a little 2 pin plug.
 Ask FixBot
-
-
Tool used on this step:Desoldering Pump$3.99
-
ATTENTION: Make sure you don't damage the thin cooper wires marked in yellow.
-
Unplug the batteries from the circuit board. (red)
-
With the solder gun remove the cables from the old batteries. Make sure not to melt the cables or plug.
-
-
-
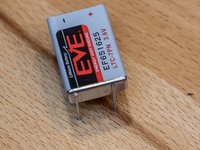
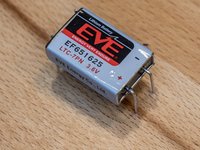
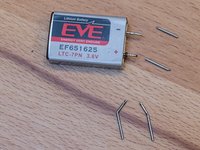
My batteries had mounting pins attached to the silver side. They have to be remove with pliers.
-
The terminal pins have to be bent straight.
-
Finally the pins have to be cut to the same length as the old batteries.
-
-
-
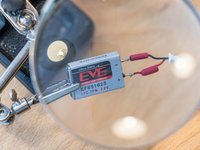
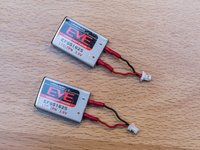
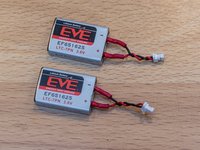
Add heat shrink to cables and solder them to battery. Red to (+) and black to (-)
-
Push the heat shrink up to cover the entire pin and soldering connection.
-
Twist the wired back together gently.
-
-
-
-
Attach the new batteries. There is a + on the circuit board on the side where the red wire goes.
-
Push the batteries gently back into place.
-
Connect the power meter and check the battery status of the sensor. On my Garmin I see NEW.
-
-







Cancel: I did not complete this guide.
6 other people completed this guide.

