Free Shipping on Domestic Orders $75+

SONY ZS-BTG900 Radio Adapter Replacement

What you need

    1. SONY ZS-BTG900 Radio Adapter Replacement, SONY ZS-BTG900 Disassembly: step 1, image 1 of 2 SONY ZS-BTG900 Radio Adapter Replacement, SONY ZS-BTG900 Disassembly: step 1, image 2 of 2
      • Lift up the handle to reveal the screws.

      • Use your Phillips #2 screwdriver to remove the eight 1/2 inch screws.

      Ask FixBot

      Add Comment

    2. SONY ZS-BTG900 Radio Adapter Replacement: step 2, image 1 of 3 SONY ZS-BTG900 Radio Adapter Replacement: step 2, image 2 of 3 SONY ZS-BTG900 Radio Adapter Replacement: step 2, image 3 of 3
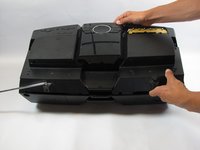
      • Flip your device over.

      • Use your Phillips #2 screwdriver to remove the six 3/4inch screws.

      • In removing the screws within the two holes on the back of the device, you may want to use your shaft extension to provide extra torque as they may be very tight.

      Ask FixBot

      Add Comment

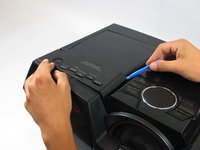
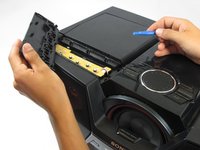
    3. SONY ZS-BTG900 Radio Adapter Replacement: step 3, image 1 of 2 SONY ZS-BTG900 Radio Adapter Replacement: step 3, image 2 of 2
      • Flip your device back over to access the top of the device.

      • Use your plastic opening tool to pry up and remove the panel on the top, left hand side of the device.

      • This will reveal two additional screws.

      Ask FixBot

      Add Comment

    4. SONY ZS-BTG900 Radio Adapter Replacement: step 4, image 1 of 1
      • Use your Phillips #2 screwdriver to remove the two 1/2 inch screws underneath the now-removed panels.

      Ask FixBot

      Add Comment

    5. SONY ZS-BTG900 Radio Adapter Replacement: step 5, image 1 of 2 SONY ZS-BTG900 Radio Adapter Replacement: step 5, image 2 of 2
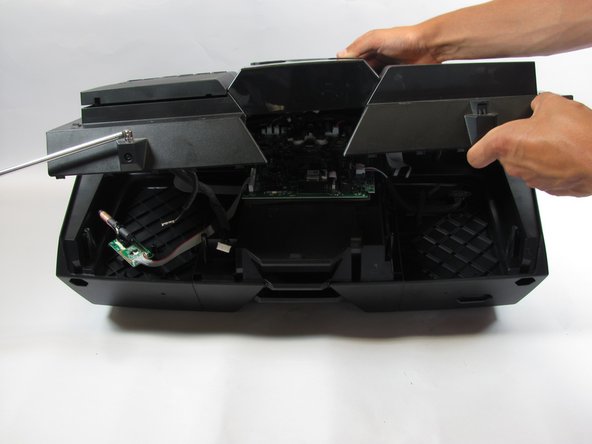
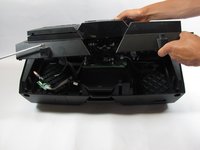
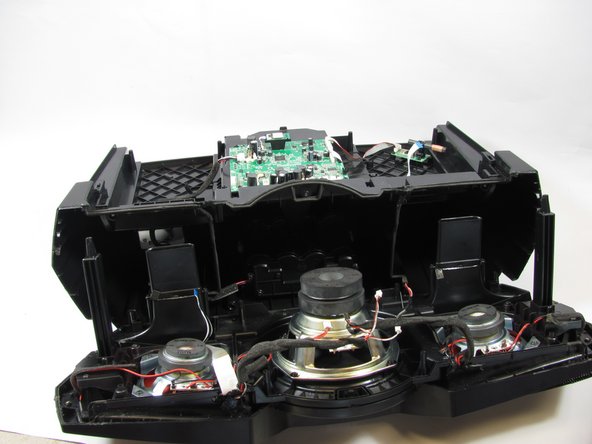
      • Lift off the top, beginning from the back of the device.

      • Take care when lifting the top portion as there are many wires connected to the inside of the device and you do not want to disconnect these just yet.

      Ask FixBot

      Add Comment

    6. SONY ZS-BTG900 Radio Adapter Replacement: step 6, image 1 of 2 SONY ZS-BTG900 Radio Adapter Replacement: step 6, image 2 of 2
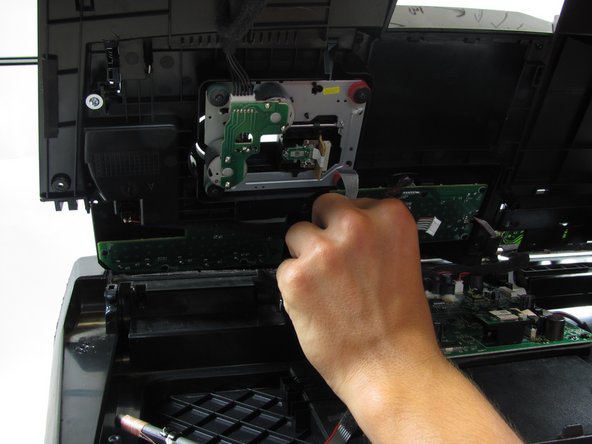
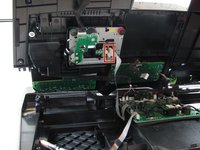
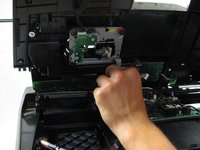
      • Disconnect the CD drive ribbon cable from the top of the device.

      Ask FixBot

      Add Comment

    7. SONY ZS-BTG900 Radio Adapter Replacement: step 7, image 1 of 2 SONY ZS-BTG900 Radio Adapter Replacement: step 7, image 2 of 2
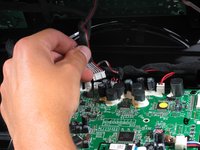
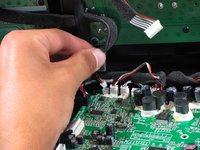
      • Disconnect the antenna cables.

      Ask FixBot

      Add Comment

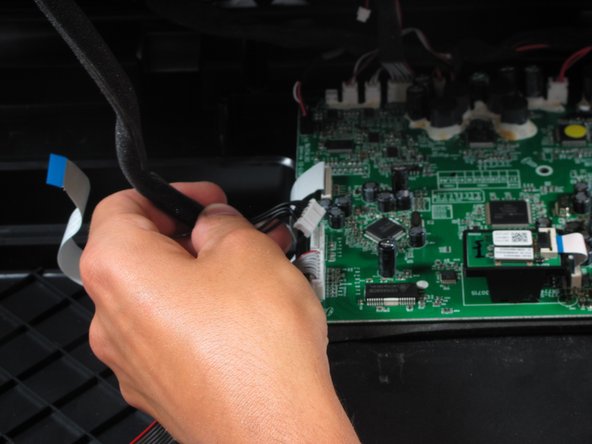
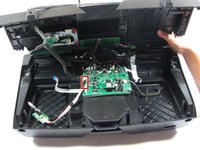
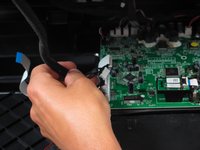
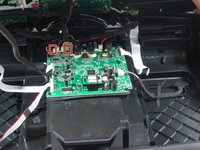
    8. SONY ZS-BTG900 Radio Adapter Replacement: step 8, image 1 of 3 SONY ZS-BTG900 Radio Adapter Replacement: step 8, image 2 of 3 SONY ZS-BTG900 Radio Adapter Replacement: step 8, image 3 of 3
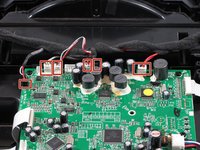
      • Disconnect the remaining cables from the motherboard.

      Ask FixBot

      Add Comment

    9. SONY ZS-BTG900 Radio Adapter Replacement: step 9, image 1 of 2 SONY ZS-BTG900 Radio Adapter Replacement: step 9, image 2 of 2
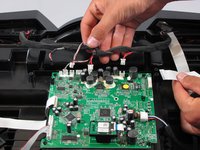
      • Once you have removed the top, we will begin removing the front of the device.

      • Begin by disconnecting the 6 cables that lead from the front of the device to the motherboard.

      Ask FixBot

      Add Comment

    10. SONY ZS-BTG900 Radio Adapter Replacement: step 10, image 1 of 1
      • Use your Philips #2 screwdriver to remove the two 1 inch screws on the outermost part of the device.

      • Use your Philips #2 screwdriver to remove the two 3/4 inch screws on the outermost part of the device.

      • Use your Philips #2 screwdriver to remove the one 5/6 inch screw on the middle part of the device.

      Ask FixBot

      Add Comment

    11. SONY ZS-BTG900 Radio Adapter Replacement: step 11, image 1 of 2 SONY ZS-BTG900 Radio Adapter Replacement: step 11, image 2 of 2
      • Firmly pull off the front of device.

      • There will be a small amount of black glue. You can simply ignore this, and continue to pull, or use a sharp edge to cut the glue once you've revealed it.

      Ask FixBot

      Add Comment

    1. SONY ZS-BTG900 Radio Adapter Replacement, Radio Adapter: step 12, image 1 of 1
      • Use a Phillips #2 screwdriver to unscrew the two 1/2 inch screws

      Ask FixBot

      Add Comment

    2. SONY ZS-BTG900 Radio Adapter Replacement: step 13, image 1 of 1
      • Lift and replace.

      • Disconnect white cable from motherboard.

      Ask FixBot

      Add Comment

Conclusion

To reassemble your device, follow these instructions in reverse order.

Cancel: I did not complete this guide.

Al R.

Member since: 04/11/16

1,004 Reputation

8 Guides authored

0 Guide Comments

Add Comment

View Statistics:

Past 24 Hours: 3

Past 7 Days: 11

Past 30 Days: 47

All Time: 965