Introduction
Over time, the O-ring in your manual standing desk may wear out, causing difficulties in height adjustment. This guide will walk you through the process of replacing the O-ring on the IKEA SKARSTA manual standing desk (model # 004.585.55), ensuring your desk continues to function smoothly.
The O-ring plays a critical role in the desk's height adjustment mechanism. A worn-out O-ring can lead to uneven or difficult adjustments.
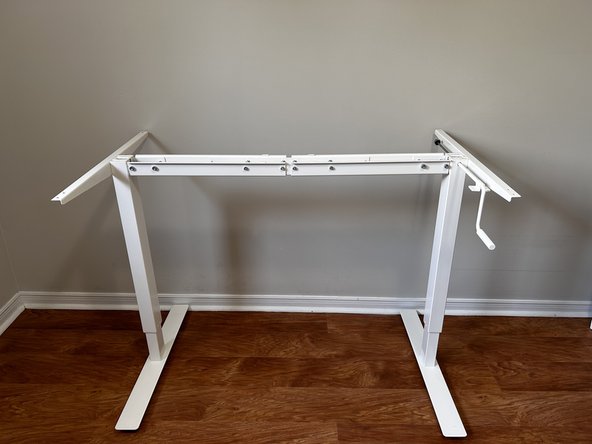
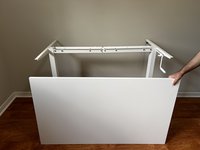
Before starting, ensure the desk is clear of items. In Steps 3 and 11, you may want assistance to lift the table off and back on the table stand.
What you need
-
-
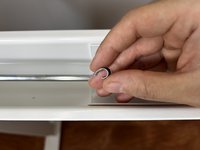
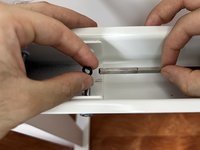
Remove the height adjustment crank by pulling it down and out from its clip.
 Ask FixBot
-
-
-
Position yourself so you can comfortably reach underneath the desk. This might involve kneeling or sitting next to/under the desk.
-
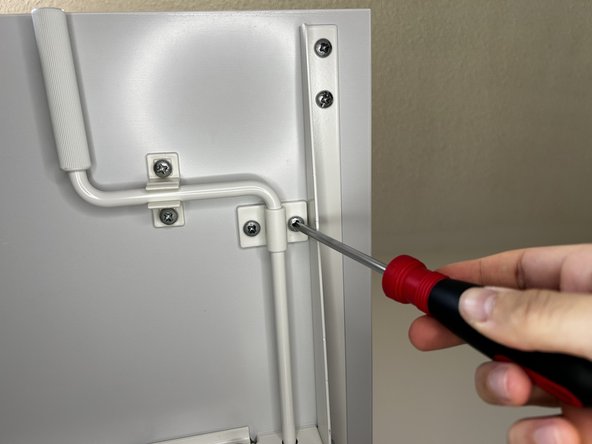
Remove the two 15.2 mm Phillips #2 screws connecting the crank to the table.
-
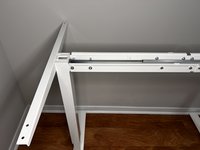
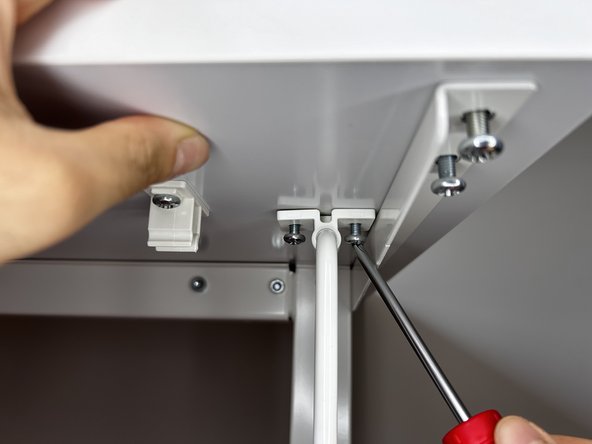
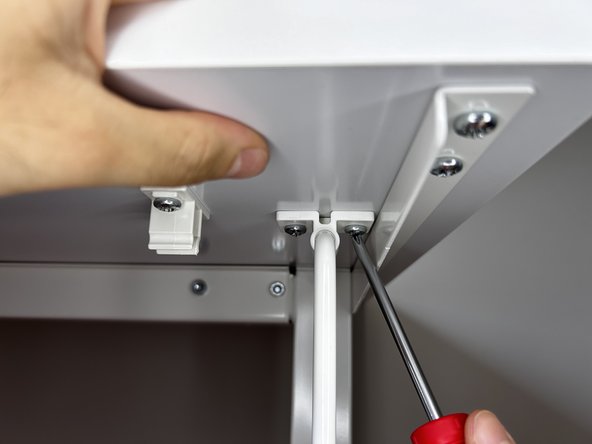
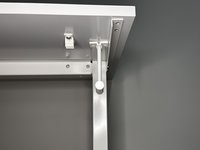
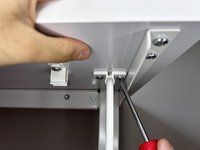
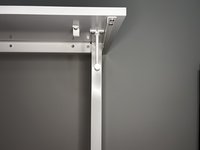
Remove the eight 15.2 mm Phillips #2 screws connecting the table to the legs.
-
-
-
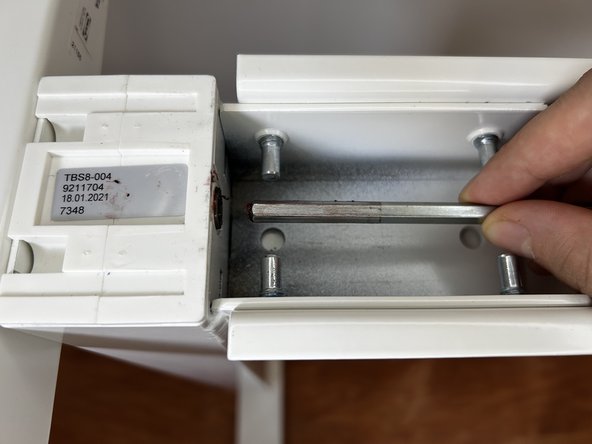
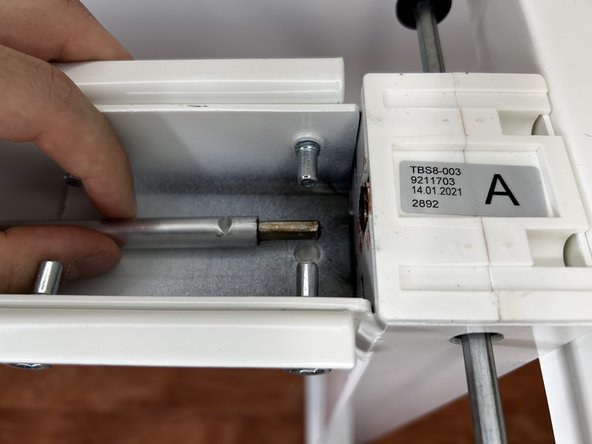
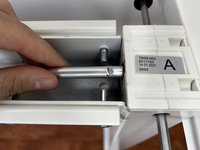
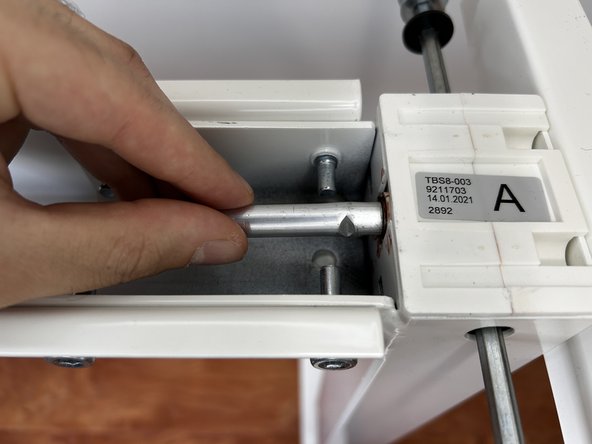
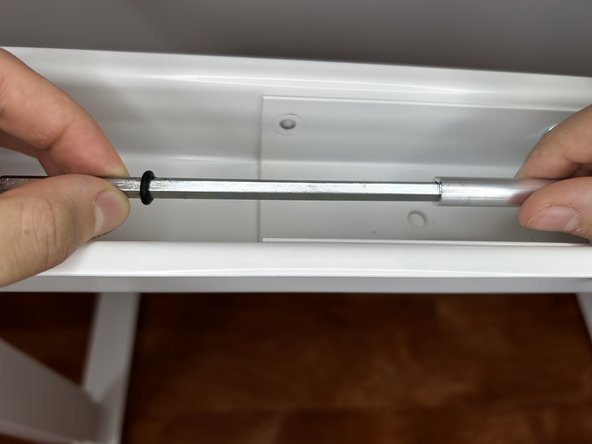
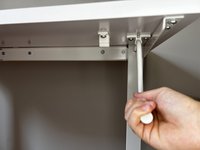
Pull the rod out to detach it from the stand.
-
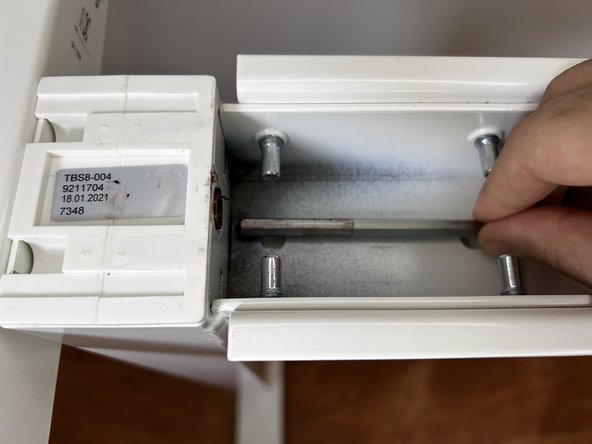
Set the rod down to use at reassembly.
-
-
-
-
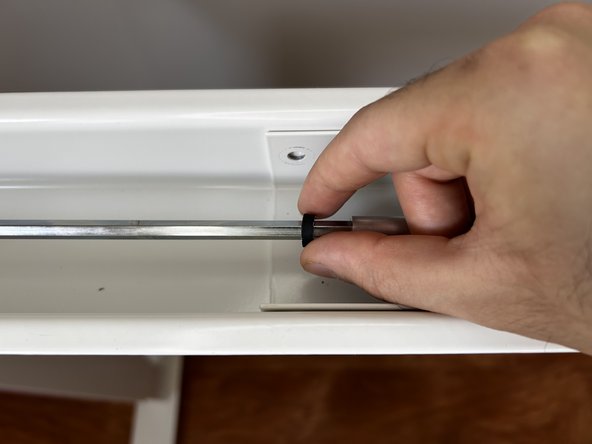
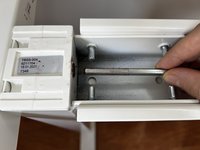
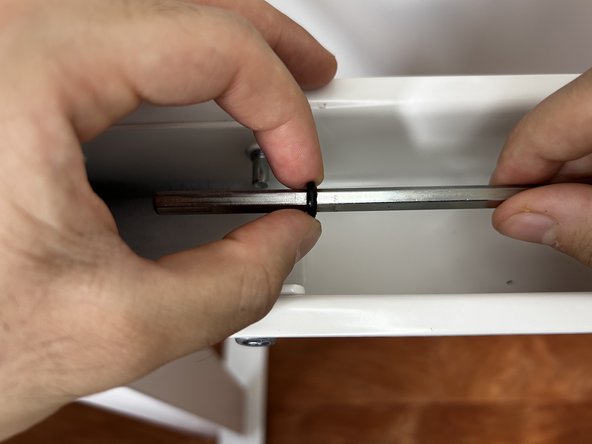
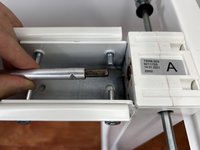
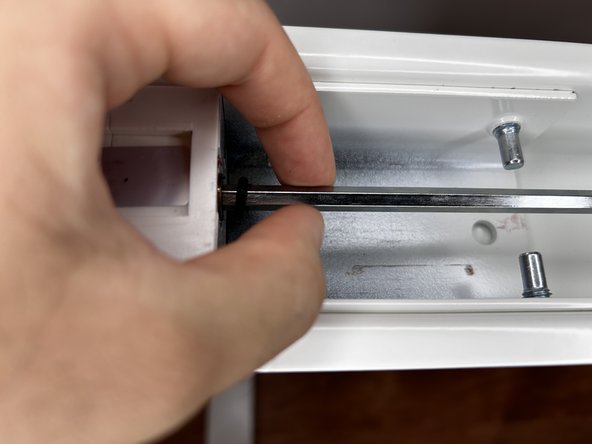
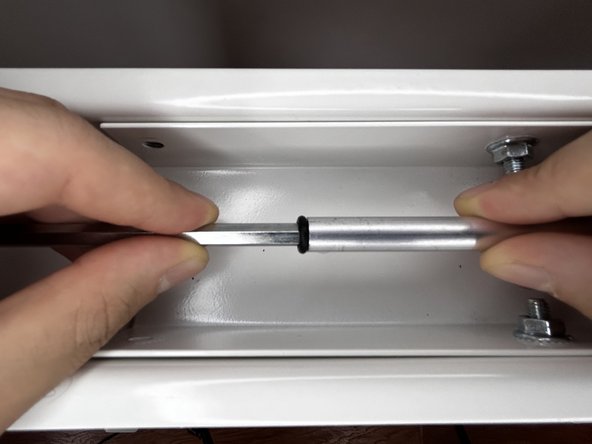
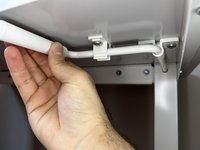
Hold the thick end of the rod in place while sliding the thin end outwards.
-
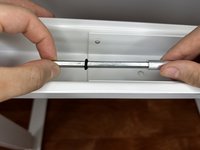
Push the thin end back into the stand while holding the thick end in place.
-
-
-
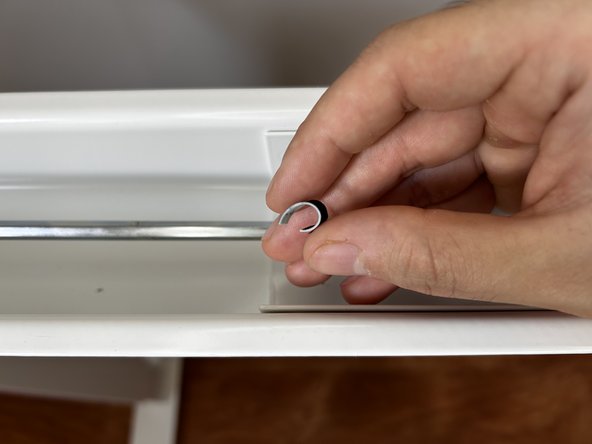
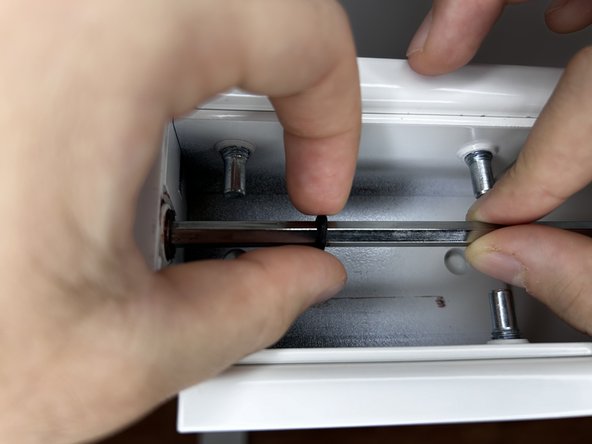
Slide the O-ring towards the thicker end of the rod.
-
Pull the thick and thin ends apart and push the O-ring as close to the thick end as possible to secure the rod in place.
-
-
-
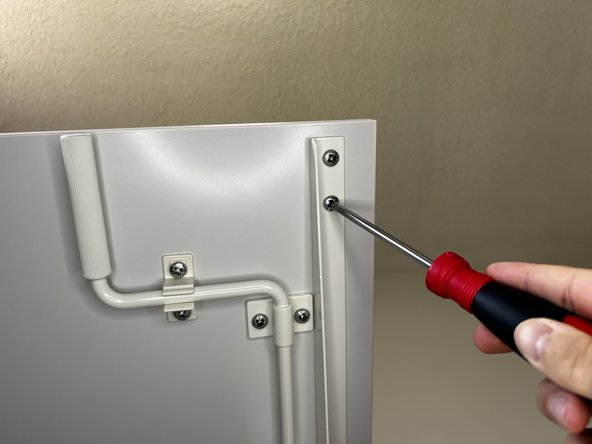
Use a Phillips #2 screwdriver to replace the eight 15.2 mm screws securing the table to the stand.
-
Use a Phillips #2 screwdriver to replace the two 15.2 mm screws that secure the hand crank.
-


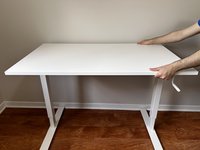


Congratulations! The repair is complete.

Team

York University, Team N-9, O'Regan Summer 2024 Member of York University, Team N-9, O'Regan Summer 2024
YORK-O'REGAN-SU24SNG9
1 Member
1 Guide authored