Free Shipping on Domestic Orders $75+

SGIN X15S Motherboard Replacement

What you need

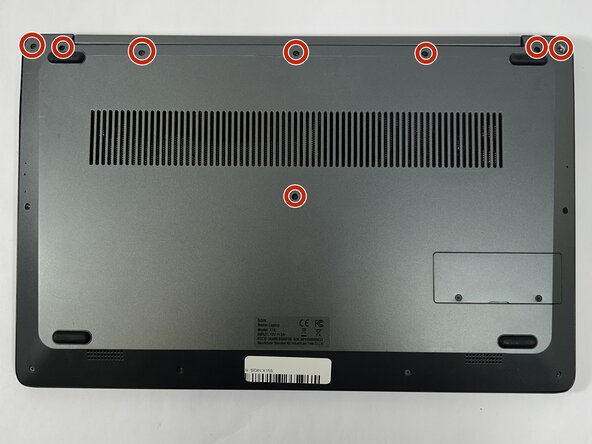
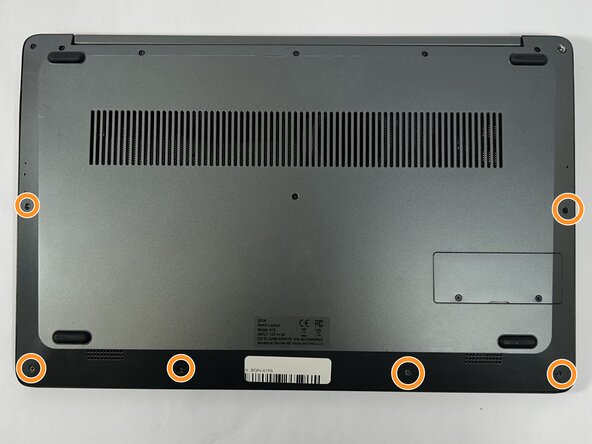
  1. SGIN X15S Motherboard Replacement, Back Panel: step 1, image 1 of 3 SGIN X15S Motherboard Replacement, Back Panel: step 1, image 2 of 3 SGIN X15S Motherboard Replacement, Back Panel: step 1, image 3 of 3
    • Remove the eight top and middle 7.3 mm screws using the Phillips #0 screwdriver.

    • Remove the six bottom and side 4.4 mm screws using the Phillips #0 screwdriver.

    Ask FixBot
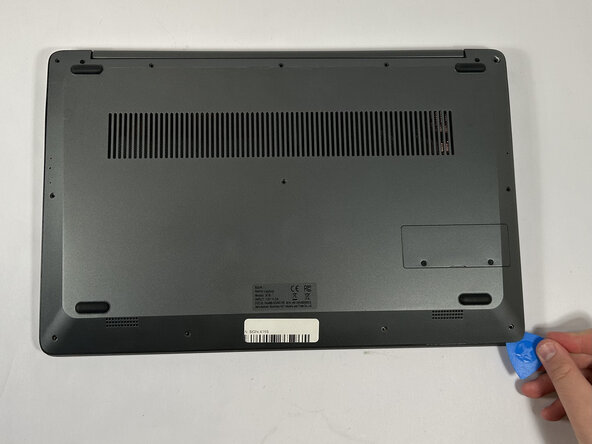
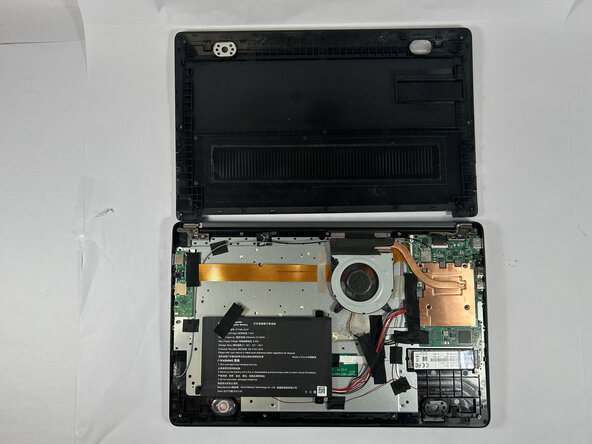
  2. SGIN X15S Motherboard Replacement: step 2, image 1 of 3 SGIN X15S Motherboard Replacement: step 2, image 2 of 3 SGIN X15S Motherboard Replacement: step 2, image 3 of 3
    • Use the nylon spudger to gently pry a bit of the back panel open. With the opening pick, go all the way around until the back panel is loose.

    • Pull the back panel off the laptop.

    Ask FixBot
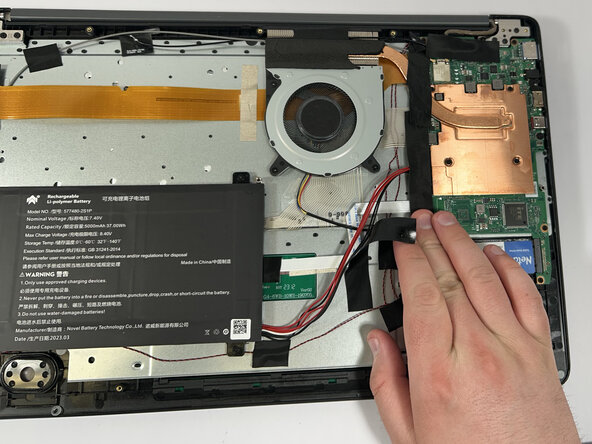
  3. SGIN X15S Motherboard Replacement, Unplugging SGIN X15S Battery: step 3, image 1 of 2 SGIN X15S Motherboard Replacement, Unplugging SGIN X15S Battery: step 3, image 2 of 2
    • Gently remove the tape holding the battery's cord to the motherboard, followed by the tape in the middle of the cord.

    • If your battery is swollen, halt this guide and follow the swollen battery disposal guide.

    Ask FixBot
  4. SGIN X15S Motherboard Replacement: step 4, image 1 of 3 SGIN X15S Motherboard Replacement: step 4, image 2 of 3 SGIN X15S Motherboard Replacement: step 4, image 3 of 3
    • Use the nylon spudger to detach the battery from the motherboard.

    Ask FixBot
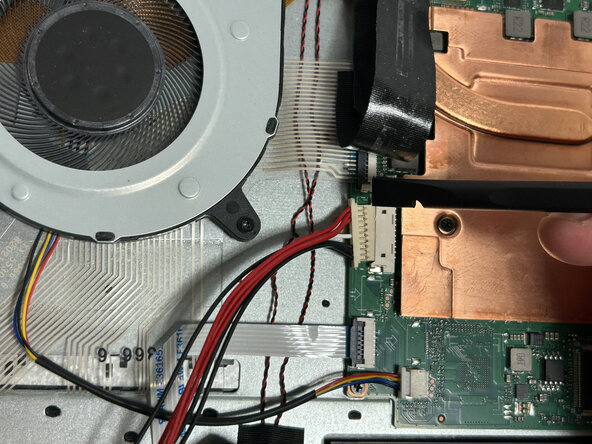
  5. SGIN X15S Motherboard Replacement, Unplugging Wires From SGIN X15S Motherboard: step 5, image 1 of 3 SGIN X15S Motherboard Replacement, Unplugging Wires From SGIN X15S Motherboard: step 5, image 2 of 3 SGIN X15S Motherboard Replacement, Unplugging Wires From SGIN X15S Motherboard: step 5, image 3 of 3
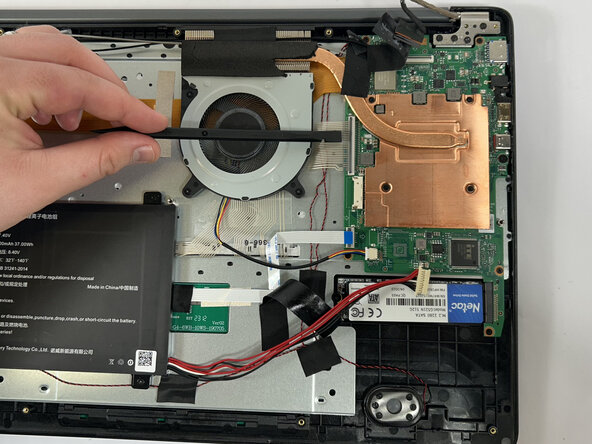
    • Using the nylon spudger, unclip the clip holding the touchpad cable down.

    • Disconnect the touchpad cable.

    Ask FixBot
  6. SGIN X15S Motherboard Replacement: step 6, image 1 of 3 SGIN X15S Motherboard Replacement: step 6, image 2 of 3 SGIN X15S Motherboard Replacement: step 6, image 3 of 3
    • Using the nylon spudger, unclip the clip holding the keyboard ribbon cable in place.

    • Disconnect the keyboard ribbon cable.

    Ask FixBot
  7. SGIN X15S Motherboard Replacement: step 7, image 1 of 3 SGIN X15S Motherboard Replacement: step 7, image 2 of 3 SGIN X15S Motherboard Replacement: step 7, image 3 of 3
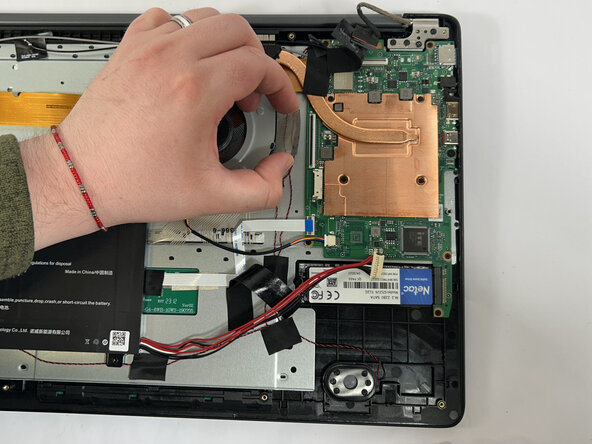
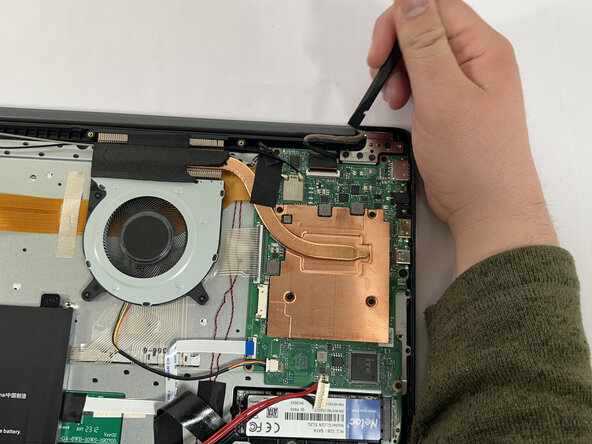
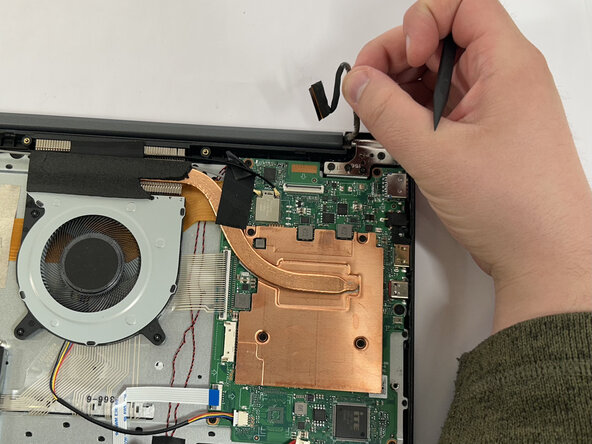
    • Using the nylon spudger, unclip the clip holding the screen cable in place.

    • Disconnect the screen cable from the motherboard.

    Ask FixBot
  8. SGIN X15S Motherboard Replacement: step 8, image 1 of 2 SGIN X15S Motherboard Replacement: step 8, image 2 of 2
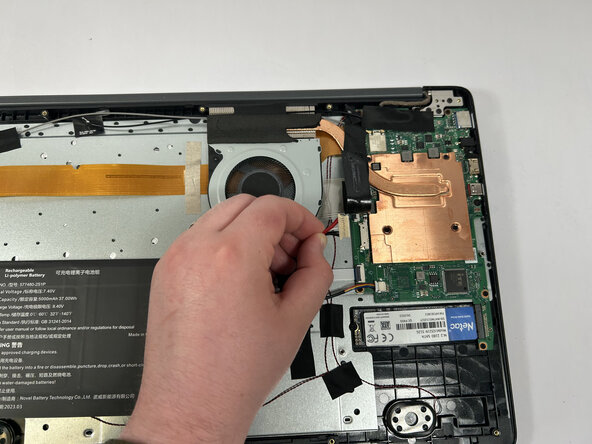
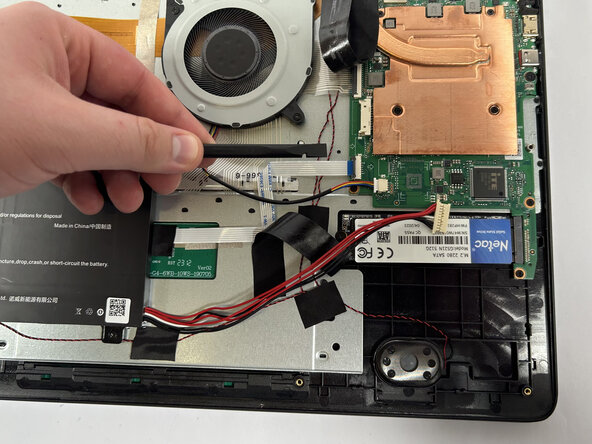
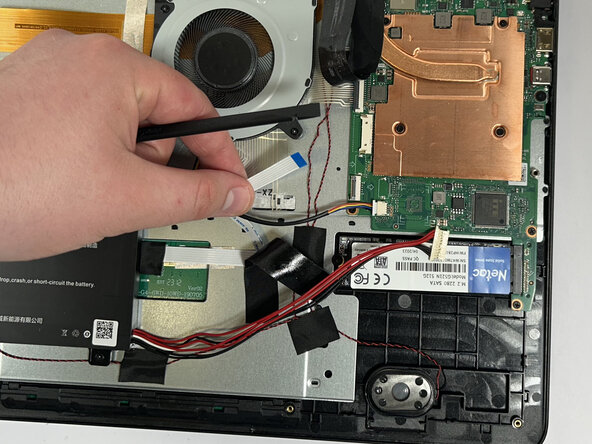
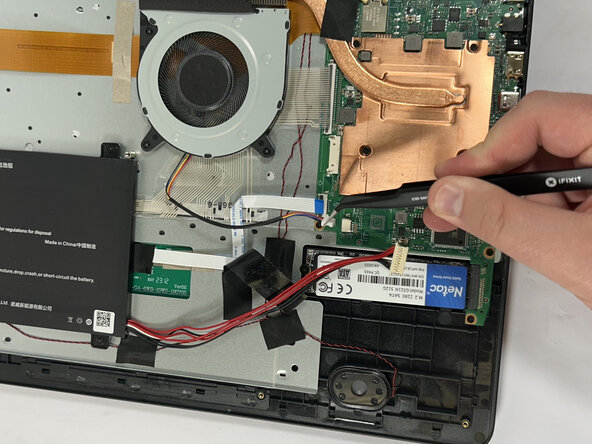
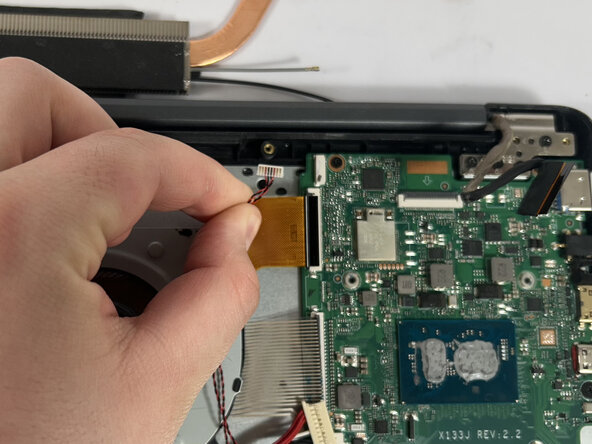
    • Using the tweezers, grab the wire connector.

    • When removing connectors, be sure to grip the edges of the wire connector and not the wires themselves.

    • With the tweezers in place, push away from the motherboard to disconnect the wire.

    Ask FixBot
  9. SGIN X15S Motherboard Replacement: step 9, image 1 of 3 SGIN X15S Motherboard Replacement: step 9, image 2 of 3 SGIN X15S Motherboard Replacement: step 9, image 3 of 3
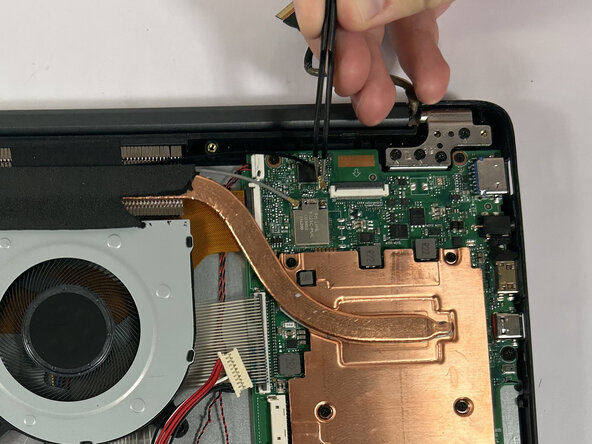
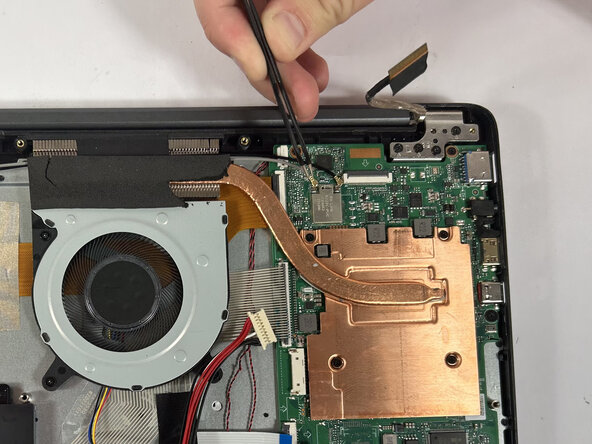
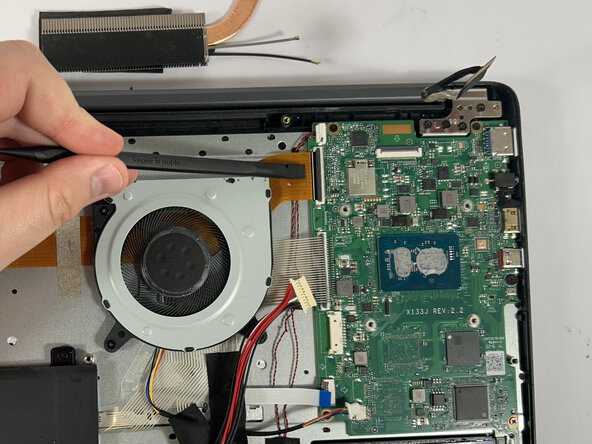
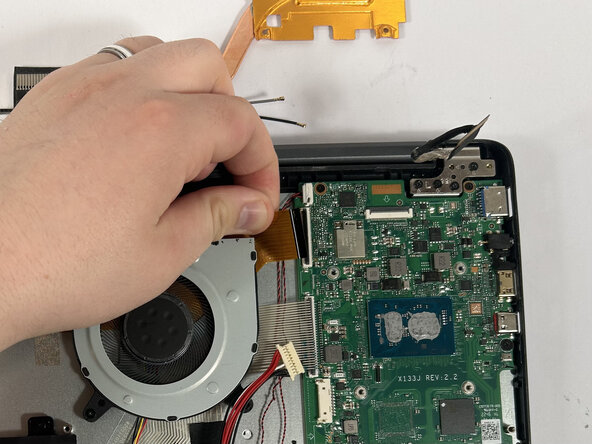
    • Using the angled tweezers, firmly grip the black Wi-Fi cable.

    • With a firm grip, pull the black Wi-Fi cable off the motherboard.

    • Do the same to the grey cable.

    Ask FixBot
  10. SGIN X15S Motherboard Replacement, Heat Sink: step 10, image 1 of 3 SGIN X15S Motherboard Replacement, Heat Sink: step 10, image 2 of 3 SGIN X15S Motherboard Replacement, Heat Sink: step 10, image 3 of 3
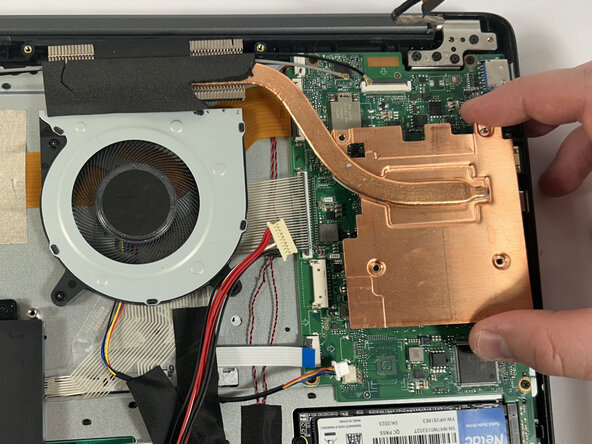
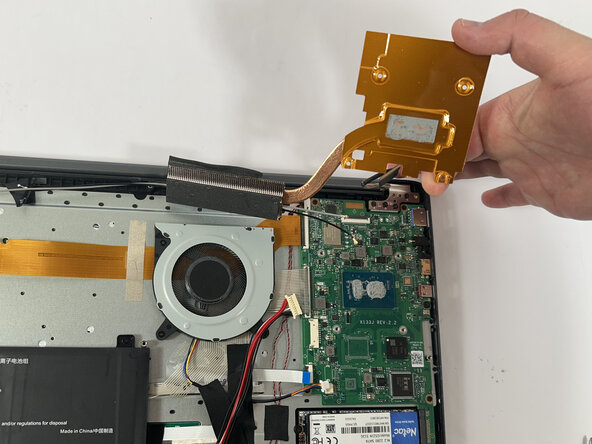
    • Remove the four 3 mm screws holding the heatsink in place using a Phillips #0 screwdriver.

    • Lift and remove the heatsink.

    • There is thermal paste on the bottom that will need to be cleaned off and reapplied if the motherboard is replaced.

    Ask FixBot
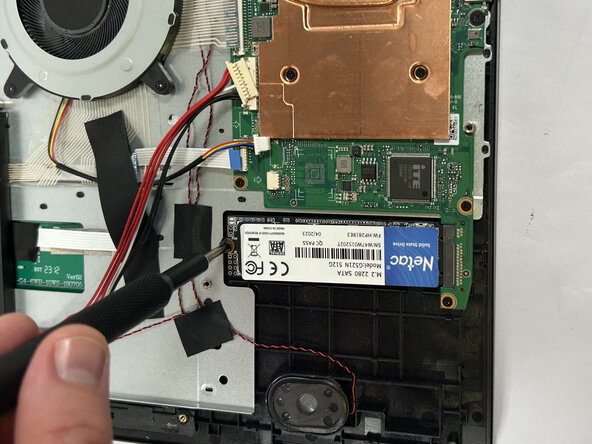
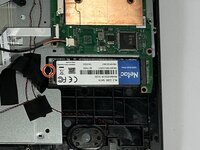
  11. SGIN X15S Motherboard Replacement, M.2 SSD: step 11, image 1 of 2 SGIN X15S Motherboard Replacement, M.2 SSD: step 11, image 2 of 2
    • Remove the single 3 mm screw holding the SSD in place using a Phillips #0 screwdriver.

    Ask FixBot
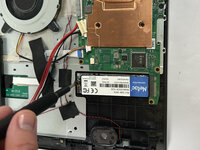
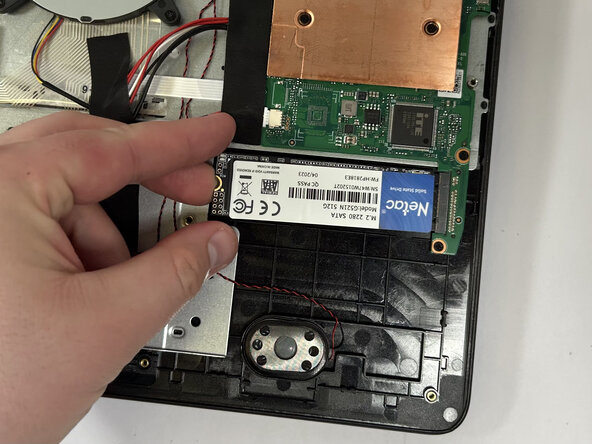
  12. SGIN X15S Motherboard Replacement: step 12, image 1 of 3 SGIN X15S Motherboard Replacement: step 12, image 2 of 3 SGIN X15S Motherboard Replacement: step 12, image 3 of 3
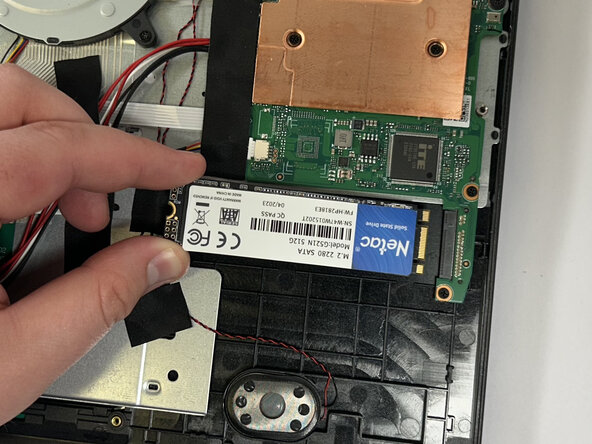
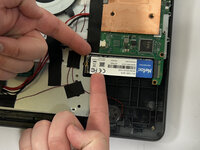
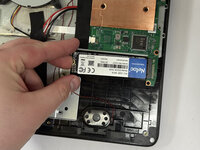
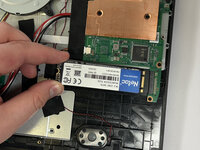
    • Give the SSD a little upward force near the screw side so that it is bent at an angle.

    • Pull the SSD out of its slot.

    Ask FixBot
  13. SGIN X15S Motherboard Replacement, Motherboard: step 13, image 1 of 3 SGIN X15S Motherboard Replacement, Motherboard: step 13, image 2 of 3 SGIN X15S Motherboard Replacement, Motherboard: step 13, image 3 of 3
    • Using the nylon spudger, unclip the clip holding down the ribbon cable.

    • Disconnect the ribbon cable.

    Ask FixBot
  14. SGIN X15S Motherboard Replacement: step 14, image 1 of 2 SGIN X15S Motherboard Replacement: step 14, image 2 of 2
    • Using the tweezers, grab the wire connector.

    • When removing connectors, be sure to grip the edges of the wire connector and not the wires themselves.

    • With the tweezers in place, push away from the motherboard to disconnect the wire.

    Ask FixBot
  15. SGIN X15S Motherboard Replacement: step 15, image 1 of 3 SGIN X15S Motherboard Replacement: step 15, image 2 of 3 SGIN X15S Motherboard Replacement: step 15, image 3 of 3
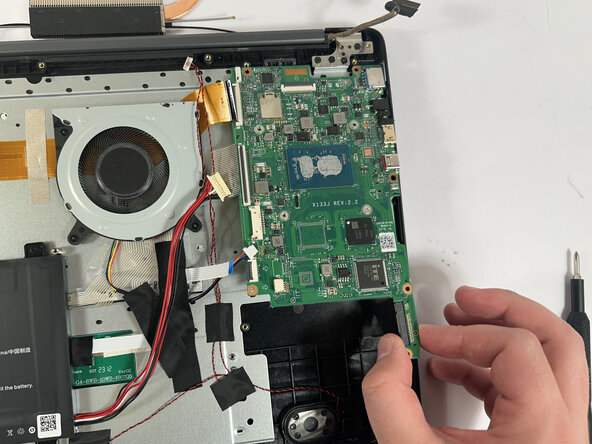
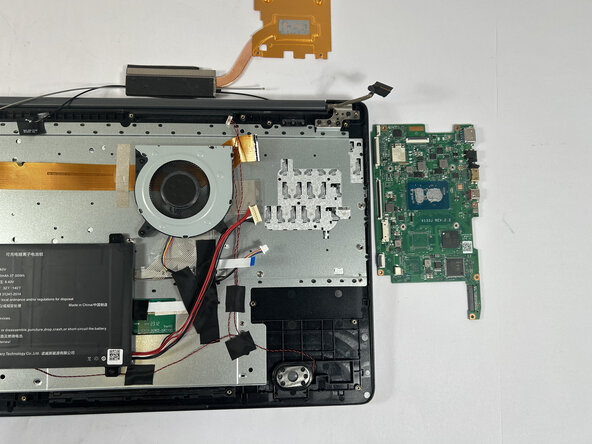
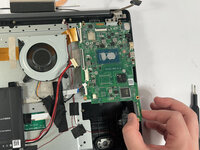
    • Using the Phillips #0 screwdriver remove the six 3 mm screws.

    • Carefully grab the sides of the motherboard and make sure not to touch any of the components on the top or bottom.

    • Remove the motherboard.

    Ask FixBot
Conclusion

To reassemble your device, follow these instructions in reverse order and remember to reapply thermal paste on the heatsink.

One other person completed this guide.

JadenS

Member since: 02/25/25

673 Reputation

7 Guides authored

1 Guide Comment

I need to replace the power port on the motherboard but cannot find a part number to try and order one. If anyone knows the part number and/or where to get it, please let me know. I'll check back periodically. Thanks.

cheap guy - Reply Share

Add Comment

View Statistics:

Past 24 Hours: 0

Past 7 Days: 11

Past 30 Days: 29

All Time: 355