Introduction
This is a guide to replacing the fan on an SGIN X15S. The fan passes air through the heat sink of the computer's CPU in order to cool it off. If your laptop is overheating or your fan no longer works, then replacing the fan can solve these problems. While working on your device, if you notice that the battery is swollen, stop your replacement and follow the swollen battery disposal guide. Before working on your device, ensure that it is turned off and completely unplugged from any power sources.
What you need
-
-
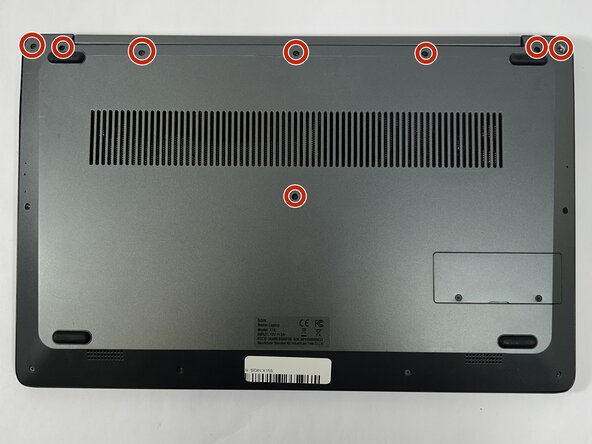
Remove the eight top and middle 7.3 mm screws using the Phillips #0 screwdriver.
-
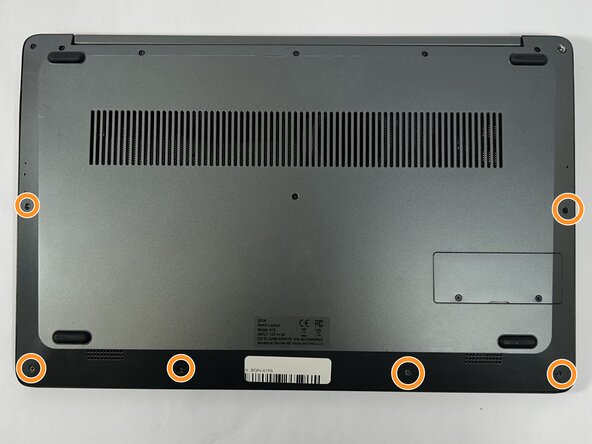
Remove the six bottom and side 4.4 mm screws using the Phillips #0 screwdriver.
 Ask FixBot
-
-
-
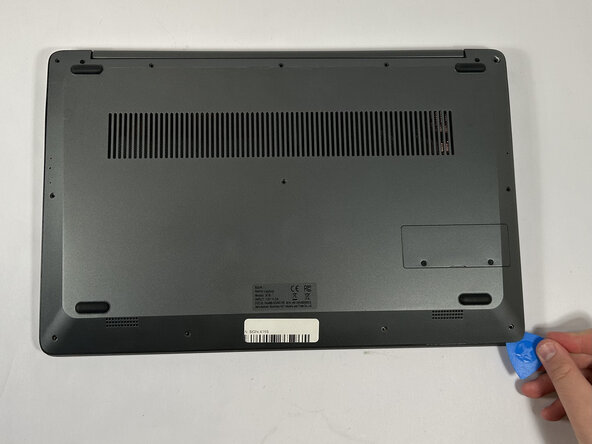
Use the nylon spudger to gently pry a bit of the back panel open. With the opening pick, go all the way around until the back panel is loose.
-
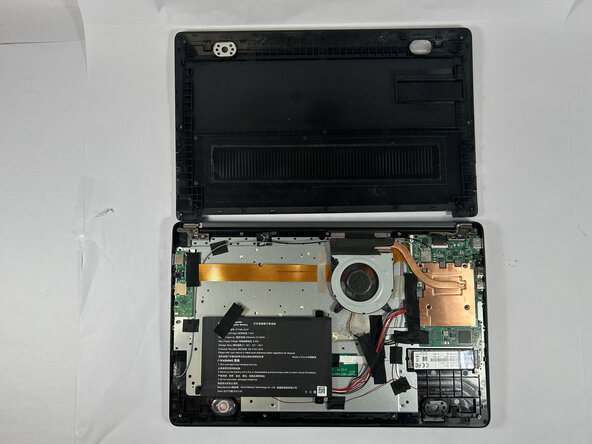
Pull the back panel off the laptop.
-
-
-
-
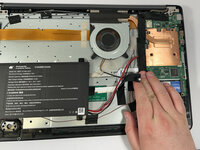
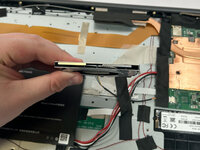
Gently remove the tape holding the battery's cord to the motherboard, followed by the tape in the middle of the cord.
-
-
-
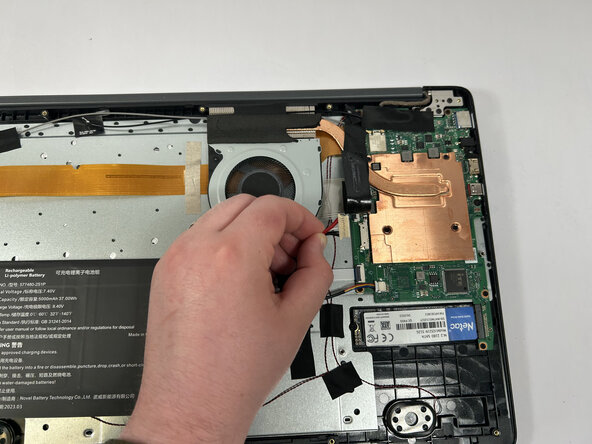
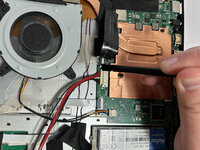
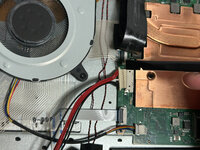
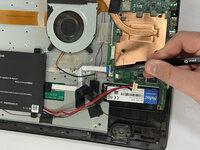
Using the tweezers, grab the wire connector.
-
With the tweezers in place, push away from the motherboard to disconnect the wire.
-
-
-
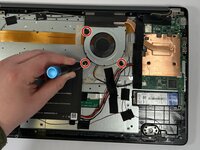
Remove the three 5.5 mm screws holding the fan in place using a Phillips #0 screwdriver.
-
Pull the thermal pad off of the fan.
-
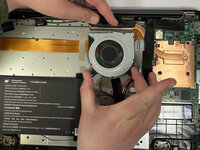
Pull the fan, hooked by magnets, away from the heatsink.
-


To reassemble your device, follow these instructions in reverse order.
Team

Idaho State University, Team 1-1, Watkins Spring 2025 Member of Idaho State University, Team 1-1, Watkins Spring 2025
ISU-WATKINS-S25S1G1
3 Members
9 Guides authored