
SEGA Genesis Flashback Back Cover Replacement

Viet Nguyen and 5 other contributors
Last updated on Jun 19, 2018
Views: 1.2K
View statistics:
- Past 24 Hours:
- 1
- Past 7 Days:
- 13
- Past 30 Days:
- 57
- All Time:
- 1,203
Comments: 0
No one has left comments on this guide. Will you be first?
Go to guide commentsCompleted: 1 2
1 person has marked this guide "completed." Will you be next?
2 people have marked this guide "completed." Including you — great job!
Favorites: 0 1
No one has favorited (and subscribed to) this guide. Will you be the first?
1 person has favorited (and subscribed to) this guide — and that's you!
Introduction
Go to step 1 ↓This guide will help you remove the back cover of your device. You’ll need a Phillips #000 screwdriver to complete this guide.
What you need
Tools
-
-
Spudger4.9
-


-
-
-
Scratch off the right-hand side of the sticker at the center of the bottom case using the spudger until the screw is visible.
-
Remove this screw with the Phillips #000 screwdriver.
 Ask FixBot
-
-
-
Remove the two visible screws on the bottom with the Phillips #000 screwdriver.
-
-
-
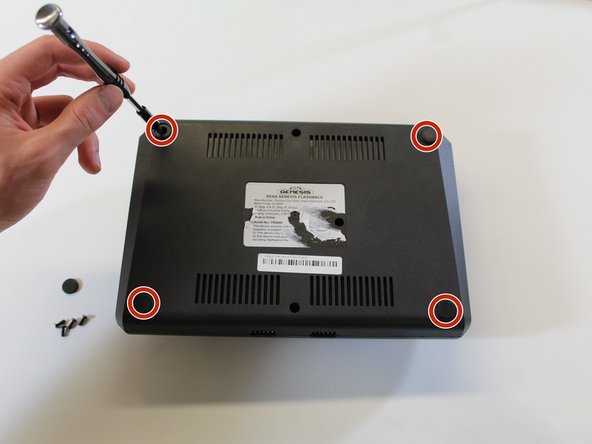
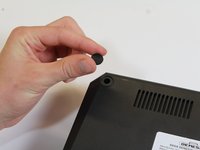
Use your fingers to peel off the four corner rubber feet on the bottom.
-
Use the Phillips #000 screwdriver to remove the four screws beneath the rubber feet.
-
-
-
-
Flip the case to its upright position.
-
Place one hand on the bottom plate of the case and one on the top plate. Gently pull apart the two plates by tilting the top plate about the front of the device. Treat the front of the device as a hinge.
-
Remove the back cover from the device.
-
-



To reassemble your device, follow these instructions in reverse order.
Cancel: I did not complete this guide.
One other person completed this guide.

Team

Cal Poly, Team S24-G12, Maness Spring 2018 Member of Cal Poly, Team S24-G12, Maness Spring 2018
CPSU-MANESS-S18S24G12
4 Members
60 Guides authored
