Free Shipping on Domestic Orders $75+

SAFFUN Wireless N64 Controller Button Replacement

What you need

  1. SAFFUN Wireless N64 Controller Button Replacement, Back Plate: step 1, image 1 of 1
    • Before you begin, make sure the controller is disconnected and the LED indicator light is off.

    Ask FixBot
  2. SAFFUN Wireless N64 Controller Button Replacement: step 2, image 1 of 2 SAFFUN Wireless N64 Controller Button Replacement: step 2, image 2 of 2
    • Use a Phillips #1 screwdriver to remove the seven 9.3 mm screws from the backplate.

    Ask FixBot
  3. SAFFUN Wireless N64 Controller Button Replacement: step 3, image 1 of 2 SAFFUN Wireless N64 Controller Button Replacement: step 3, image 2 of 2
    • Use a Phillips #1 screwdriver to remove the two 9.3 mm screws.

    • Use a screwdriver with a shaft length of at least 60 mm to reach the deep-set screws.

    Ask FixBot
  4. SAFFUN Wireless N64 Controller Button Replacement: step 4, image 1 of 3 SAFFUN Wireless N64 Controller Button Replacement: step 4, image 2 of 3 SAFFUN Wireless N64 Controller Button Replacement: step 4, image 3 of 3
    • Slide an opening pick along the edge of the rear cover to release the clips.

    • Gently remove the back plate from the controller.

    Ask FixBot
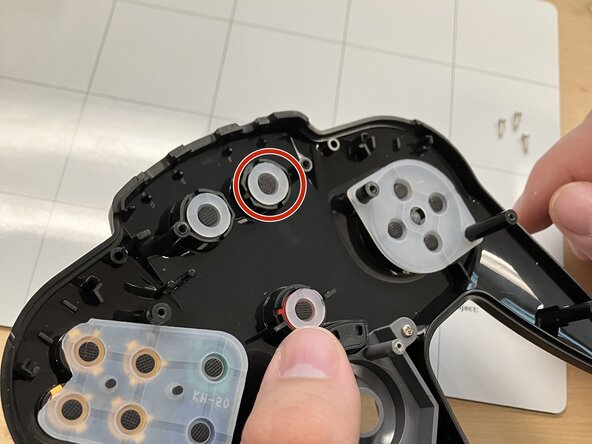
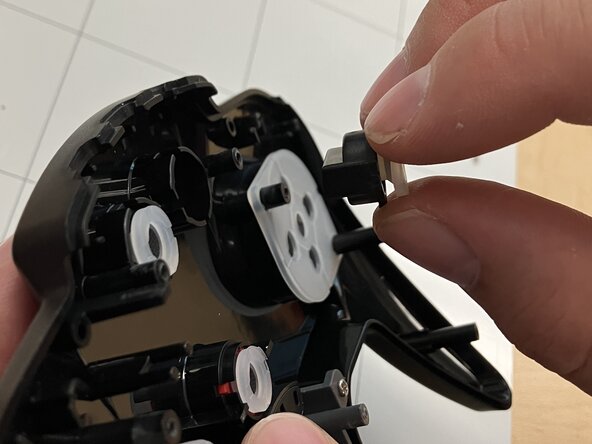
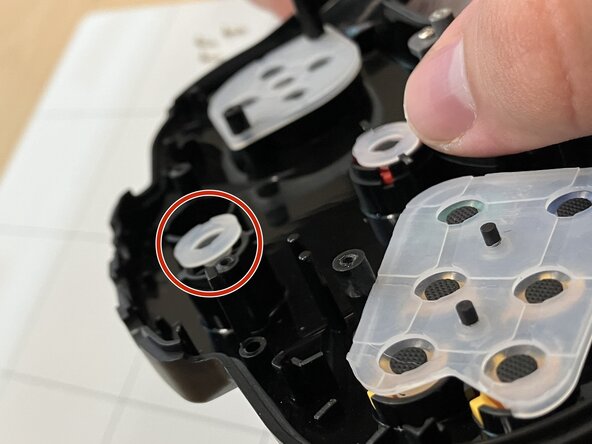
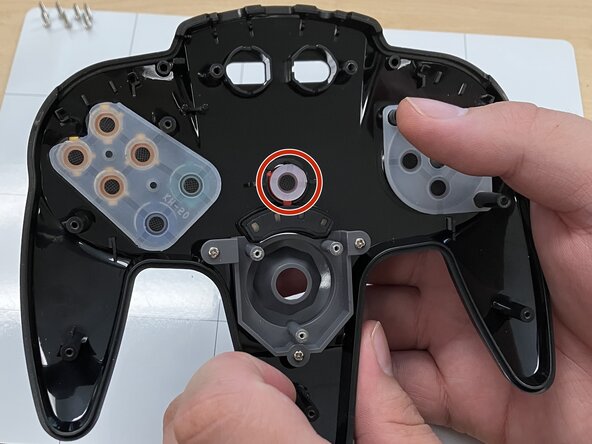
  5. SAFFUN Wireless N64 Controller Button Replacement, Button: step 5, image 1 of 2 SAFFUN Wireless N64 Controller Button Replacement, Button: step 5, image 2 of 2
    • Remove the left and right bumpers.

    Ask FixBot
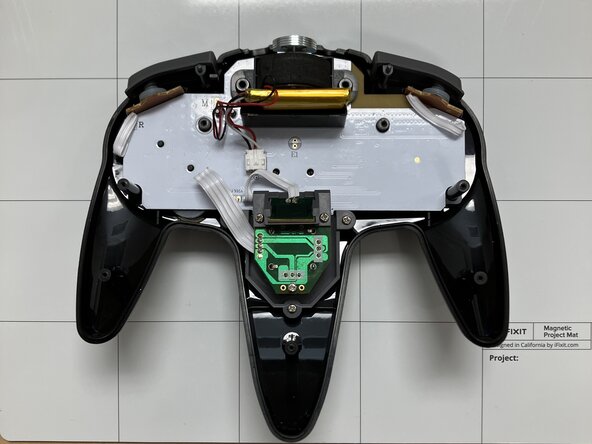
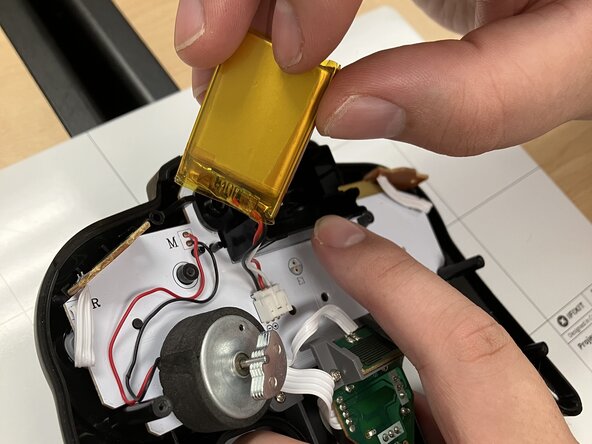
  6. SAFFUN Wireless N64 Controller Button Replacement: step 6, image 1 of 2 SAFFUN Wireless N64 Controller Button Replacement: step 6, image 2 of 2
    • Carefully lift the battery and rumble motor from the case and set them aside.

    • Do not pull on the wires. Handle the components by their housings to avoid damaging the connections.

    Ask FixBot
  7. SAFFUN Wireless N64 Controller Button Replacement: step 7, image 1 of 3 SAFFUN Wireless N64 Controller Button Replacement: step 7, image 2 of 3 SAFFUN Wireless N64 Controller Button Replacement: step 7, image 3 of 3
    • Remove the plastic holder from the motherboard.

    Ask FixBot
  8. SAFFUN Wireless N64 Controller Button Replacement: step 8, image 1 of 3 SAFFUN Wireless N64 Controller Button Replacement: step 8, image 2 of 3 SAFFUN Wireless N64 Controller Button Replacement: step 8, image 3 of 3
    • Use a Phillips #1 screwdriver to remove the two 7.2 mm screws on the Z-Button board that reinforces the joystick board.

    Ask FixBot
  9. SAFFUN Wireless N64 Controller Button Replacement: step 9, image 1 of 3 SAFFUN Wireless N64 Controller Button Replacement: step 9, image 2 of 3 SAFFUN Wireless N64 Controller Button Replacement: step 9, image 3 of 3
    • Use a Phillips #1 screwdriver to remove:

    • Two 9.3 mm-long screws

    • One 7.3 mm-long screw

    • Remove the joystick board.

    Ask FixBot
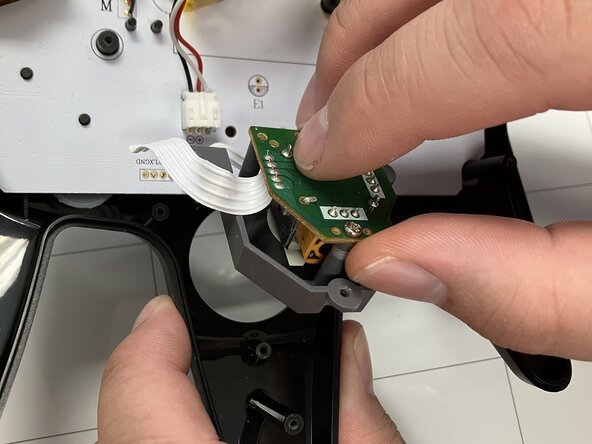
  10. SAFFUN Wireless N64 Controller Button Replacement: step 10, image 1 of 3 SAFFUN Wireless N64 Controller Button Replacement: step 10, image 2 of 3 SAFFUN Wireless N64 Controller Button Replacement: step 10, image 3 of 3
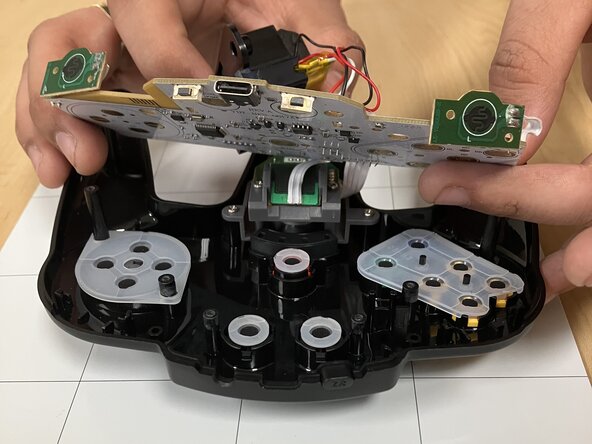
    • Carefully lift the motherboard by its edges.

    • Remove the motherboard and attached joystick assembly from the case.

    • If needed, use a spudger to gently loosen the board.

    Ask FixBot
  11. SAFFUN Wireless N64 Controller Button Replacement: step 11, image 1 of 1
    • Carefully lift the motherboard up and away from the controller shell.

    Ask FixBot
  12. SAFFUN Wireless N64 Controller Button Replacement: step 12, image 1 of 2 SAFFUN Wireless N64 Controller Button Replacement: step 12, image 2 of 2
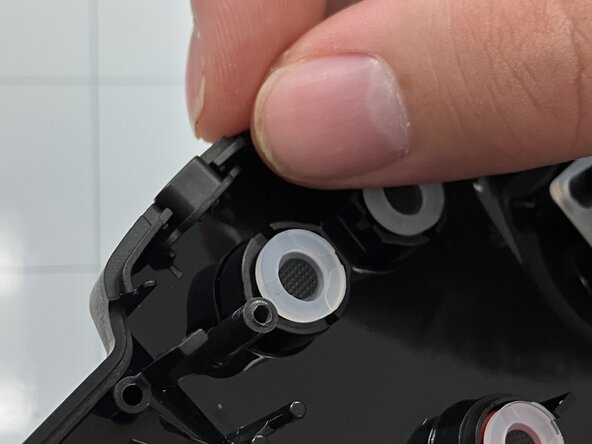
    • Remove the small black button located at the top edge of the controller shell.

    Ask FixBot
  13. SAFFUN Wireless N64 Controller Button Replacement: step 13, image 1 of 3 SAFFUN Wireless N64 Controller Button Replacement: step 13, image 2 of 3 SAFFUN Wireless N64 Controller Button Replacement: step 13, image 3 of 3
    • Press the right home button outward from the inside of the front plate to remove it.

    • When reinstalling, align the home button with its slot and press it firmly into place.

    Ask FixBot
  14. SAFFUN Wireless N64 Controller Button Replacement: step 14, image 1 of 2 SAFFUN Wireless N64 Controller Button Replacement: step 14, image 2 of 2
    • Press the left select button outward from the inside of the front plate to remove it.

    • When reinstalling, align the select button with its slot and press it firmly into place.

    Ask FixBot
  15. SAFFUN Wireless N64 Controller Button Replacement: step 15, image 1 of 3 SAFFUN Wireless N64 Controller Button Replacement: step 15, image 2 of 3 SAFFUN Wireless N64 Controller Button Replacement: step 15, image 3 of 3
    • Press the start button outward from the inside of the front plate to remove it.

    • When reinstalling, align the start button with its slot and press it firmly into place.

    Ask FixBot
  16. SAFFUN Wireless N64 Controller Button Replacement: step 16, image 1 of 3 SAFFUN Wireless N64 Controller Button Replacement: step 16, image 2 of 3 SAFFUN Wireless N64 Controller Button Replacement: step 16, image 3 of 3
    • Remove the rubber covering the D-Pad.

    • Press the D-Pad outward from the inside of the front plate to remove it.

    • When reinstalling, align the D-Pad with its slot and press it firmly into place.

    Ask FixBot
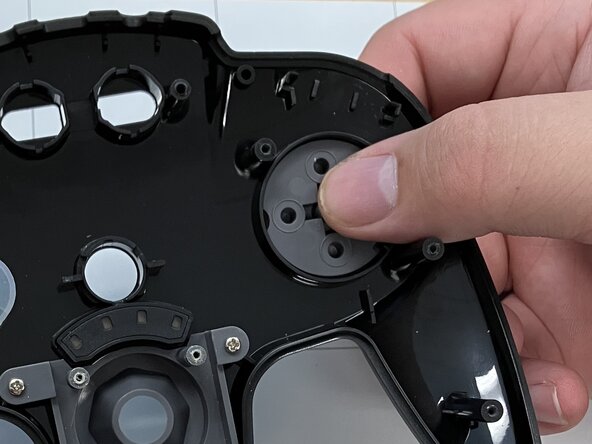
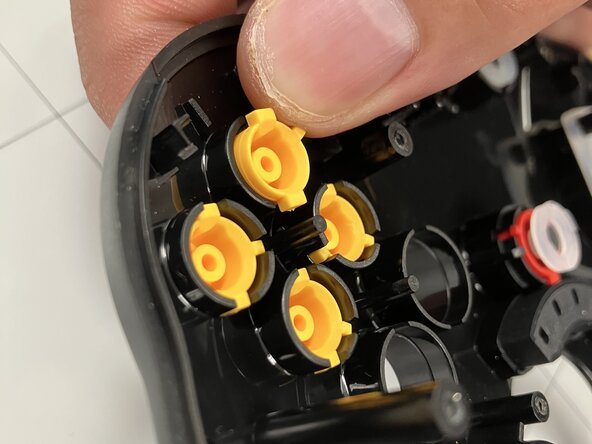
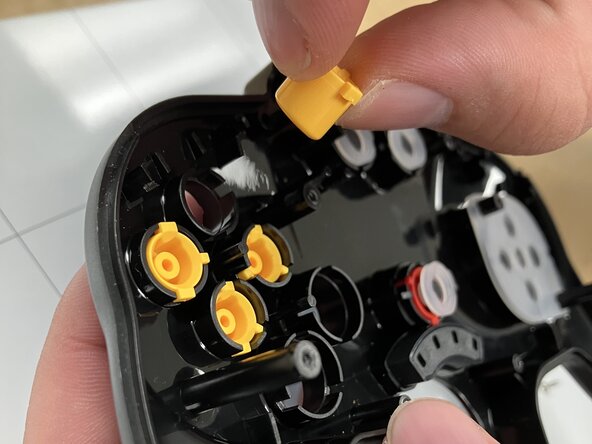
  17. SAFFUN Wireless N64 Controller Button Replacement: step 17, image 1 of 3 SAFFUN Wireless N64 Controller Button Replacement: step 17, image 2 of 3 SAFFUN Wireless N64 Controller Button Replacement: step 17, image 3 of 3
    • Remove the rubber covering the yellow buttons.

    • Press each yellow button outward from the inside of the front plate to remove it.

    • When reinstalling, align each button with its slot and press it firmly into place.

    Ask FixBot
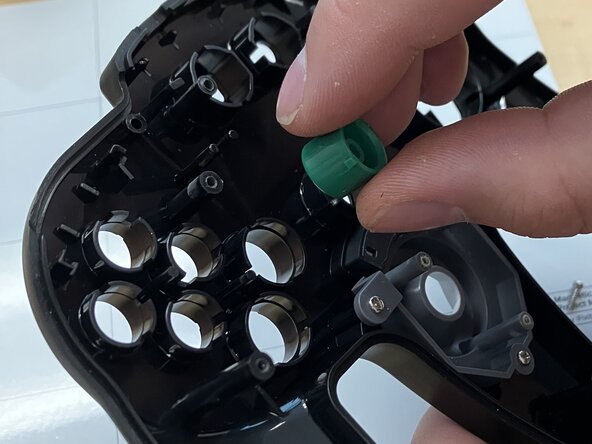
  18. SAFFUN Wireless N64 Controller Button Replacement: step 18, image 1 of 2 SAFFUN Wireless N64 Controller Button Replacement: step 18, image 2 of 2
    • Press the blue and green buttons outward from the inside of the front plate to remove them.

    • When reinstalling, align each button with its slot and press it firmly into place.

    Ask FixBot
Conclusion

To reassemble your device, follow these instructions in reverse order.

Jacob Overcash

Member since: 09/23/25

541 Reputation

4 Guides authored

0 Guide Comments

Add Comment

View Statistics:

Past 24 Hours: 0

Past 7 Days: 1

Past 30 Days: 19

All Time: 113