
Ryobi RS290G Power Switch Replacement

Cameron Scott Williams and 3 other contributors
Last updated on Jan 13, 2026
Views: 1.3K
View statistics:
- Past 24 Hours:
- 1
- Past 7 Days:
- 11
- Past 30 Days:
- 71
- All Time:
- 1,283
Comments: 2
2 comments on steps.
Completed: 0 1
No one has marked this guide "completed." Will you be the first?
1 person has marked this guide "completed." It's you — great job!
Favorites: 0 1
No one has favorited (and subscribed to) this guide. Will you be the first?
1 person has favorited (and subscribed to) this guide — and that's you!
Introduction
Go to step 1 ↓Use this tutorial to replace the power switch if your Ryobi RS290G orbital sander won't turn on, occasionally loses power, or feels loose or sluggish.
The electrical supply to the sander's motor is managed by the power switch. The tool may not turn on or may abruptly shut off due to a malfunctioning switch.
Ensure the tool is properly plugged into a functioning outlet and inspect the power cable for any visible damage before proceeding with this tutorial. The switch itself is probably the problem if the sander still doesn't turn on .
To prevent electrical shock, unplug the sander and ensure it is completely disconnected from any power source before starting.
What you need
Parts
Tools


-
-
-
Remove two 20mm and one 16mm Phillips #2 screws from the housing assembly and exhaust port.
 Ask FixBot
-
-
-
-
-
-
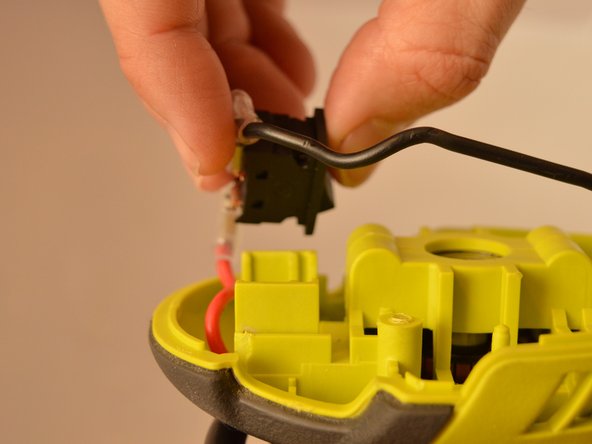
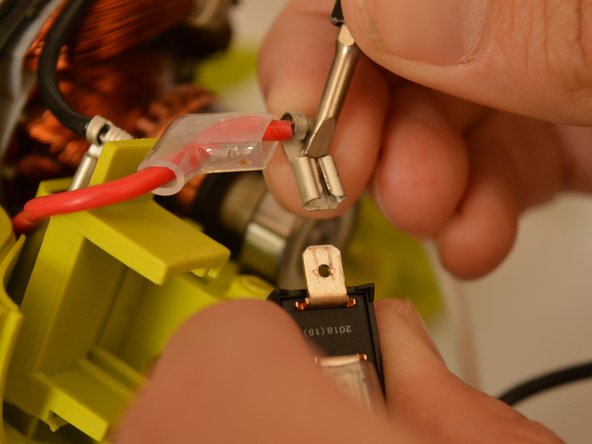
Slide the power switch out of the housing assembly by carefully gripping the power switch and sliding upward from the base.
-
-



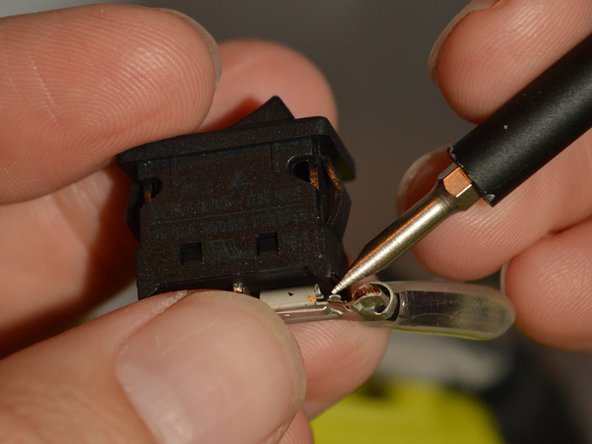
To reassemble your device, follow these instructions in reverse order. After reassembling, perform an operational check before using.

Team

Embry-Riddle Aeronautical University, Team S22-G5, Branham Fall 2019 Member of Embry-Riddle Aeronautical University, Team S22-G5, Branham Fall 2019
ERAU-BRANHAM-F19S22G5
4 Members
60 Guides authored
