Introduction
In this tutorial, you will learn how to replace the power cord in the Ryobi RS290G. The power cord is essential to run this tool because it needs power from an outside power source. After time, the cord can become damaged which will cause the device to not run properly. Therefore the cord will need to be replaced. You can tell the cord needs to be replaced when there are wires exposed in the cord causing the tool to become unsafe to use. Be sure to dispose of the old wires and cord properly and safely.
What you need
-
-
Remove two 20mm and one 16mm Phillips #2 screws from the housing assembly and exhaust port.
 Ask FixBot
-
-
-
-
Remove the two 16mm Phillips #2 screws from the inner housing assembly.
-
-
-
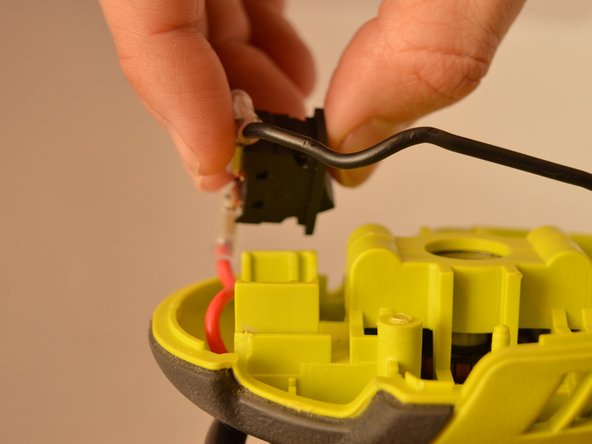
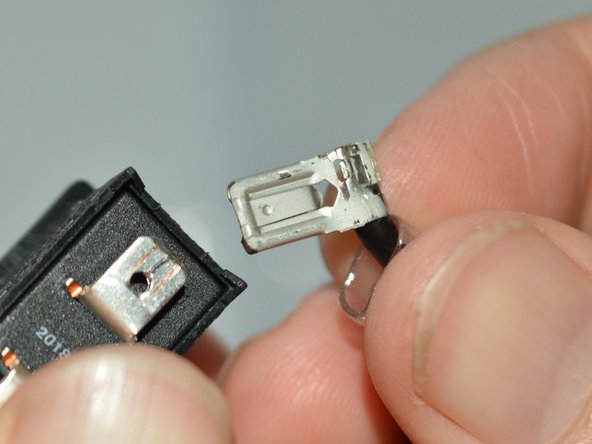
Slide the power switch out of the housing assembly, carefully gripping the switch and pulling it upward.
-
-
-
Carefully slide the housing assembly apart, avoiding damage or pulling on wires.
-
-
-
Slide out the brush assembly with the white lead from the inner housing assembly.
-
-
-
Slide the bend relief off of the old power cord to reuse on the new power cord if there is no damage.
-



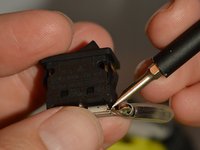
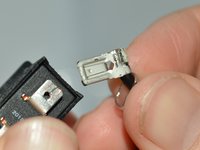


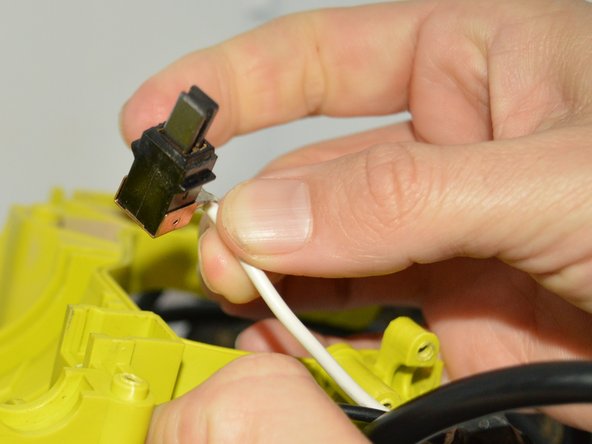
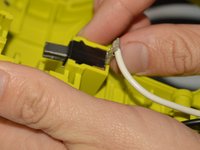
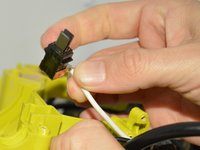


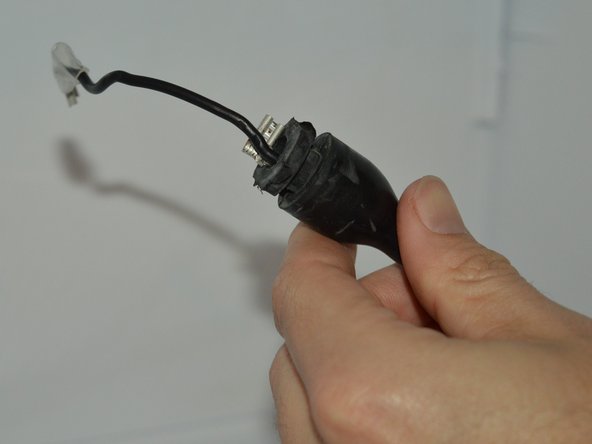
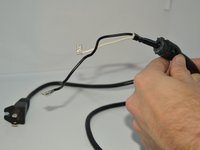
To reassemble your device, follow these instructions in reverse order. Make sure to perform an operational check after reassembling.

Team

Embry-Riddle Aeronautical University, Team S22-G5, Branham Fall 2019 Member of Embry-Riddle Aeronautical University, Team S22-G5, Branham Fall 2019
ERAU-BRANHAM-F19S22G5
4 Members
5 Guides authored
