
Ryobi RS290G Motor Replacement

Daniel and 4 other contributors
Last updated on Nov 10, 2020
Views: 1.6K
View statistics:
- Past 24 Hours:
- 2
- Past 7 Days:
- 11
- Past 30 Days:
- 60
- All Time:
- 1,597
Comments: 0
No one has left comments on this guide. Will you be first?
Go to guide commentsCompleted: 0 1
No one has marked this guide "completed." Will you be the first?
1 person has marked this guide "completed." It's you — great job!
Favorites: 0 1
No one has favorited (and subscribed to) this guide. Will you be the first?
1 person has favorited (and subscribed to) this guide — and that's you!
Introduction
Go to step 1 ↓Use this guide to help replace the Ryobi RS290G Sander motor. The Ryobi RS290G uses a 2.6 AMP motor and 12,500 OPM (orbits per minute).
If you ordered the correct part, it should have the disconnect terminals already installed/crimped on.
Through out its use the motor may experience some damage, be faulty, and can eventually become unusable all together. With this guide, it can teach you how to salvage your Ryobi RS290G Sander and completely replace its old motor.
This is a pretty simple replacement and does not require much specialty skills. Have fun with it and enjoy your Ryobi RS290G sander.
What you need


-
-
-
Remove two 20mm and one 16mm Phillips #2 screws from the housing assembly and exhaust port.
 Ask FixBot
-
-
-
-
-
-
Remove the two 16mm Phillips #2 screws from the inner housing assembly.
-
-
-
Carefully slide the housing assembly apart, avoiding damage or pulling on wires.
-
-
-
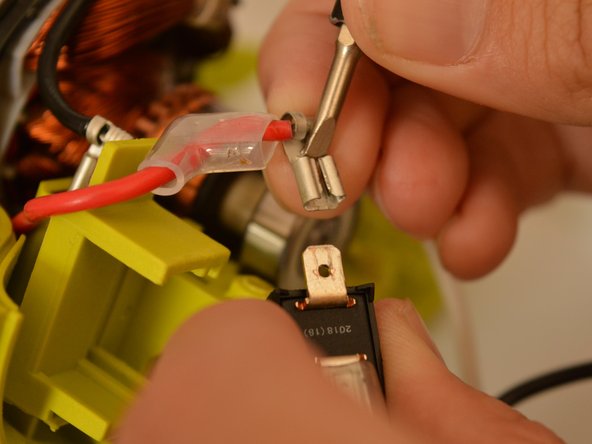
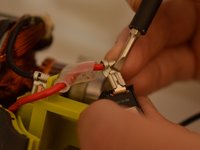
Slide off the disconnect terminal for the switch (red lead) from the power switch using the flat end of a spudger.
-
-
-
-
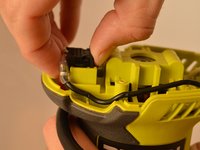
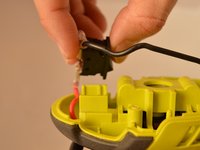
Slide out the brush assembly with the black lead from the inner housing assembly.
-
-
-
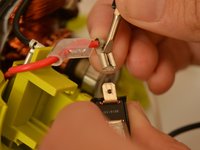
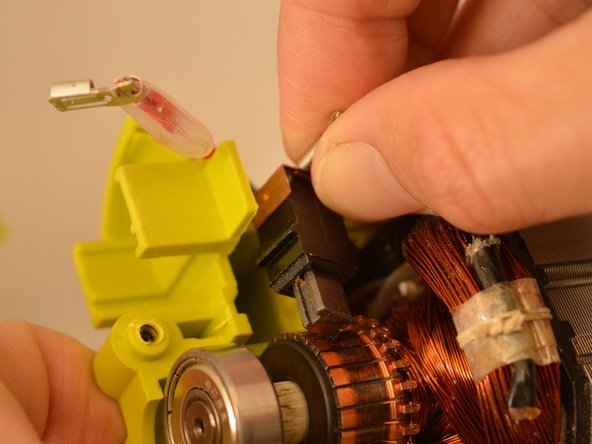
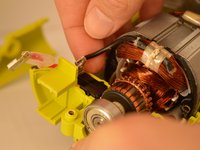
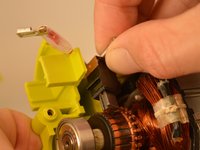
Slide off the disconnect terminal for the brush assembly (black lead) from the brush assembly.
-
-
-
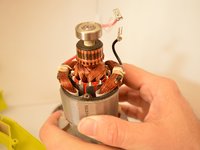
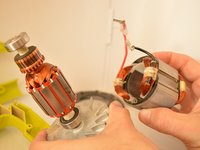
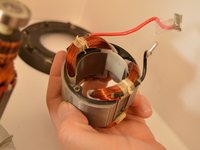
Remove the armature assembly, with the motor, out of the inner housing assembly.
-
-







To reassemble your device, follow these instructions in reverse order.

Team

Embry-Riddle Aeronautical University, Team S22-G5, Branham Fall 2019 Member of Embry-Riddle Aeronautical University, Team S22-G5, Branham Fall 2019
ERAU-BRANHAM-F19S22G5
4 Members
60 Guides authored
