Free Shipping on Domestic Orders $75+

Ryobi RJ1861V Motor Replacement

What you need

  1. Ryobi RJ1861V Motor Replacement, Saw Bar Assembly: step 1, image 1 of 1
    • Use a Torx T5 screwdriver to remove the single 8 mm screw securing the shoe.

    Ask FixBot

    Add Comment

  2. Ryobi RJ1861V Motor Replacement: step 2, image 1 of 2 Ryobi RJ1861V Motor Replacement: step 2, image 2 of 2
    • Remove the rubber sleeve.

    • You may have to use some force as it has a tight fit.

    Ask FixBot

    Add Comment

  3. Ryobi RJ1861V Motor Replacement: step 3, image 1 of 1
    • Use a Torx T5 screwdriver to remove the six screws on the underside of the device.

    Ask FixBot

    Add Comment

  4. Ryobi RJ1861V Motor Replacement: step 4, image 1 of 1
    • Use a Torx T5 screwdriver to remove the four screws on the top of the gear case.

    • There are two screws on each side of the device.

    Ask FixBot

    Add Comment

  5. Ryobi RJ1861V Motor Replacement: step 5, image 1 of 1
    • Remove the backside panel.

    Ask FixBot

    Add Comment

  6. Ryobi RJ1861V Motor Replacement: step 6, image 1 of 1
    • Unscrew the four T5 Torx screws that hold the assembly bar in place.

    Ask FixBot

    Add Comment

  7. Ryobi RJ1861V Motor Replacement: step 7, image 1 of 1
    • Lift the assembly bar up and out of the chassis.

    Ask FixBot

    Add Comment

  8. Ryobi RJ1861V Motor Replacement, Assembly Bar Bearing: step 8, image 1 of 1
    • Begin with the top of the device facing up.

    Ask FixBot

    Add Comment

  9. Ryobi RJ1861V Motor Replacement: step 9, image 1 of 1
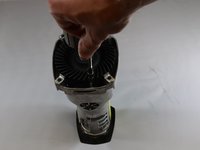
    • Insert needle nose pliers to remove the retaining pin at the top of the bearing.

    Ask FixBot

    Add Comment

  10. Ryobi RJ1861V Motor Replacement: step 10, image 1 of 1
    • Once the retaining pin has been removed, pull off the damaged bearing and insert a new one.

    Ask FixBot

    Add Comment

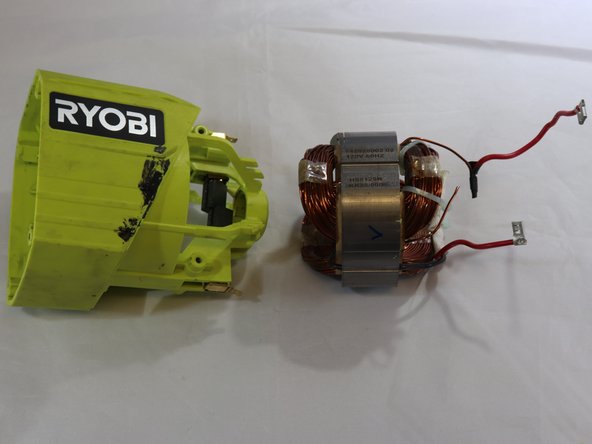
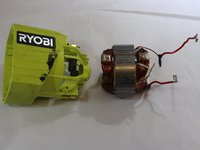
  11. Ryobi RJ1861V Motor Replacement, Motor: step 11, image 1 of 1
    • The motor is divided into two sections, one attached to the gear case and one attached to the handle.

    • This arrow indicates the section attached to the gear case.

    • This arrow indicates the section attached to the handle.

    Ask FixBot

    Add Comment

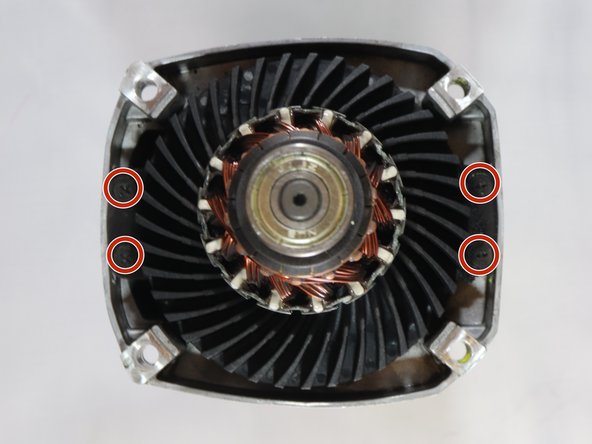
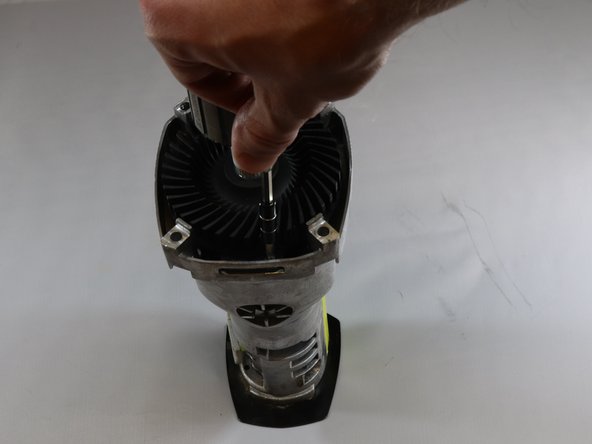
  12. Ryobi RJ1861V Motor Replacement: step 12, image 1 of 3 Ryobi RJ1861V Motor Replacement: step 12, image 2 of 3 Ryobi RJ1861V Motor Replacement: step 12, image 3 of 3
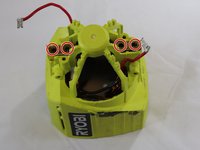
    • Use a Torx T5 screwdriver to remove the four screws attaching the motor to the gear case.

    Ask FixBot

    Add Comment

  13. Ryobi RJ1861V Motor Replacement: step 13, image 1 of 1
    • Use a Torx T5 screwdriver to remove the two screws inside the motor housing of the handle.

    Ask FixBot

    Add Comment

  14. Ryobi RJ1861V Motor Replacement: step 14, image 1 of 2 Ryobi RJ1861V Motor Replacement: step 14, image 2 of 2
    • Remove the four screws on the back of the housing with a Torx T5 screwdriver.

    • Flip the housing over and pull the motor up and out of the housing.

    Ask FixBot

    Add Comment

Conclusion

To reassemble your device, follow these instructions in reverse order.

Cancel: I did not complete this guide.

One other person completed this guide.

0 Guide Comments

Add Comment

View Statistics:

Past 24 Hours: 1

Past 7 Days: 4

Past 30 Days: 31

All Time: 718