
Ryobi P411 Switch Replacement

Paula Meier and one other contributor
Last updated on Jun 2, 2025
Views: 489
View statistics:
- Past 24 Hours:
- 4
- Past 7 Days:
- 22
- Past 30 Days:
- 81
- All Time:
- 489
Comments: 0
No one has left comments on this guide. Will you be first?
Go to guide commentsCompleted: 1 2
1 person has marked this guide "completed." Will you be next?
2 people have marked this guide "completed." Including you — great job!
Favorites: 0 1
No one has favorited (and subscribed to) this guide. Will you be the first?
1 person has favorited (and subscribed to) this guide — and that's you!
Featured Student Guide
This guide has been the hard work of our awesome students and is found to be exceptionally cool by the iFixit staff.
Introduction
Go to step 1 ↓Use this guide to replace a faulty switch in your Ryobi P411. The switch is the part that is inside the sander that activates the machine when the switch trigger is depressed. If your device is not turning on, the cause might be a faulty or broken switch. Before replacing the switch, make sure to review the troubleshooting page to make sure nothing else is preventing your Ryobi P411 from turning on. Make sure to remove the battery before beginning.
What you need
Tools


-
-
-
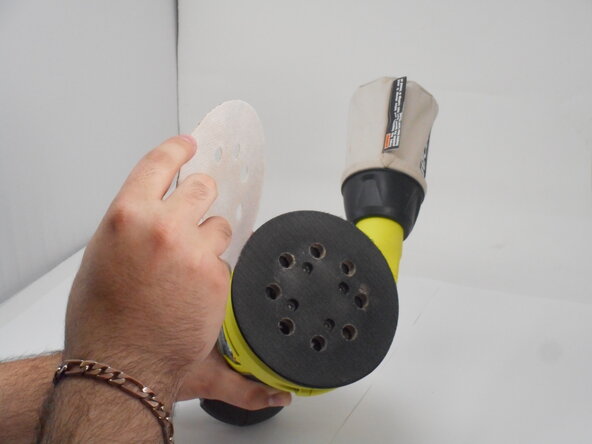
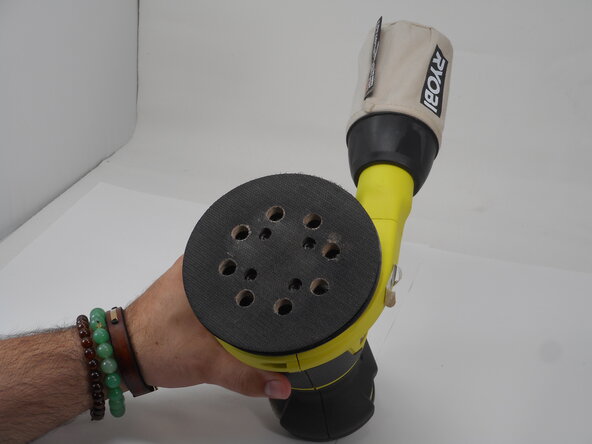
Remove the sanding pad to expose the screws at the bottom of the sander.
 Ask FixBot
-
-
-
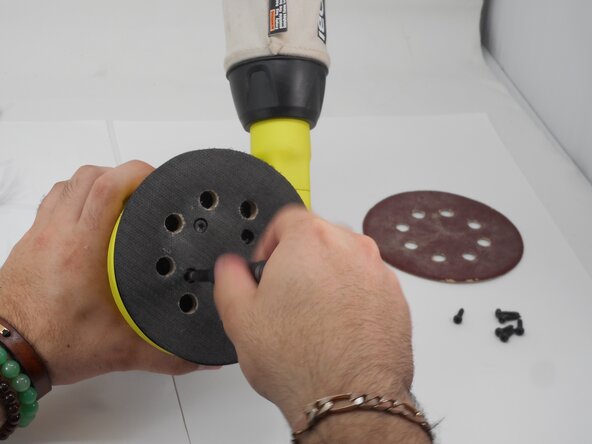
Remove the four M5 x 8.9mm screws with a T6 Torx screwdriver.
-
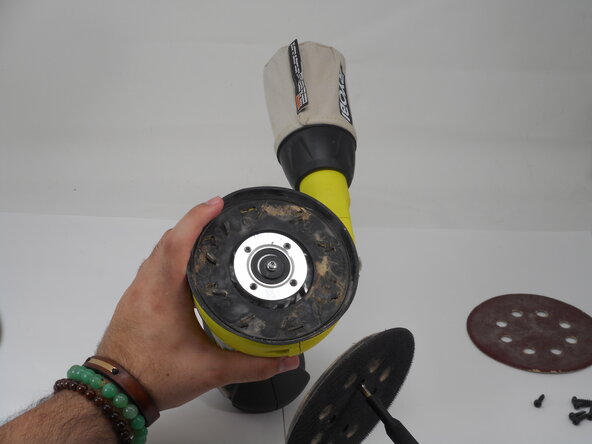
Remove the pad assembly.
-
-
-
-
-
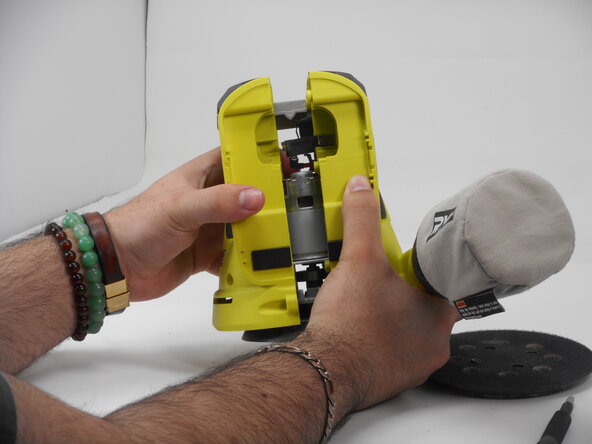
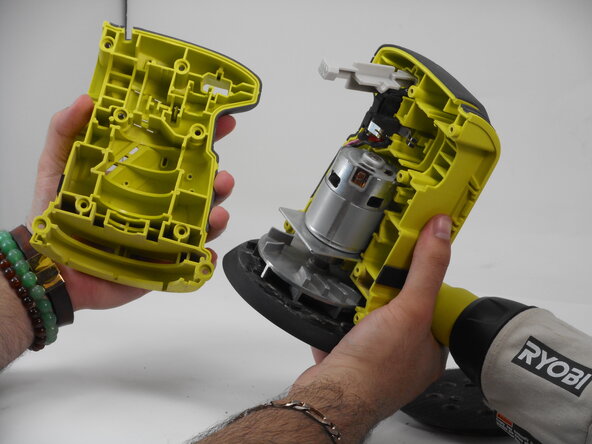
Use a Phillips #1 screwdriver to remove the eight M4 x 18.5mm screws from the side of the casing.
-
-
-
-
-
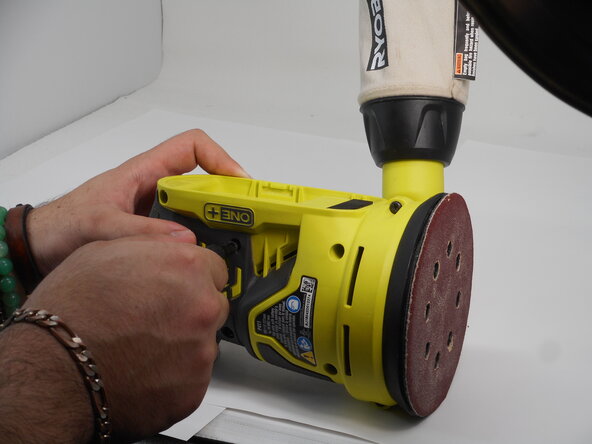
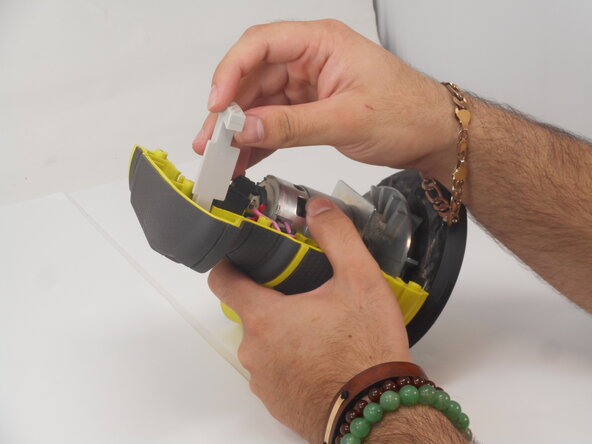
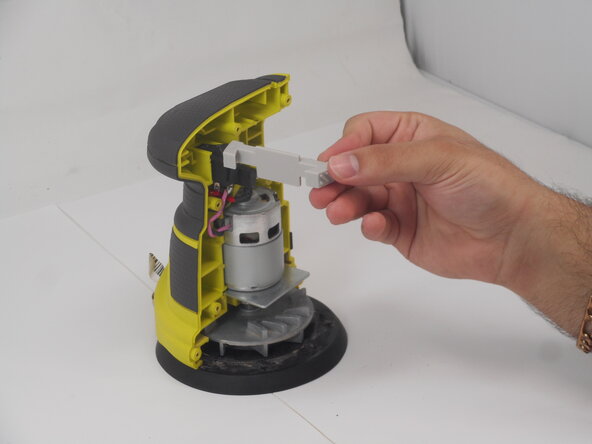
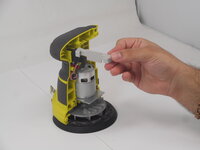
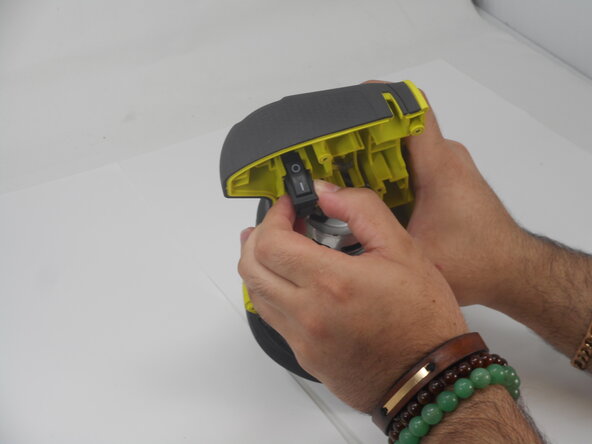
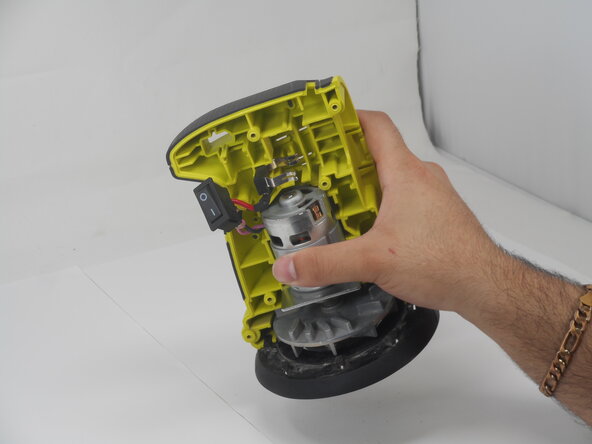
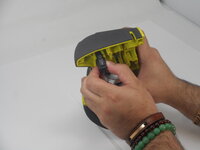
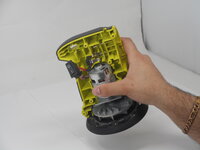
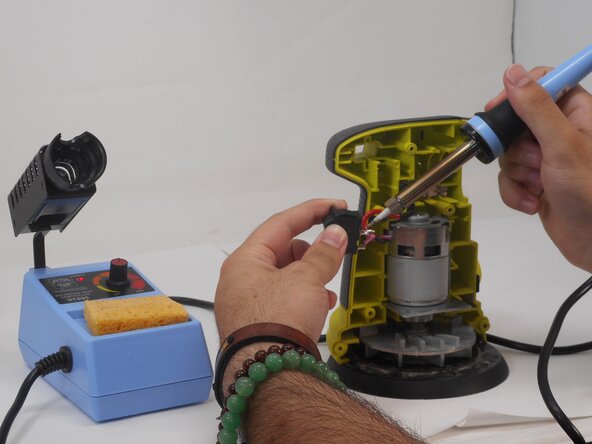
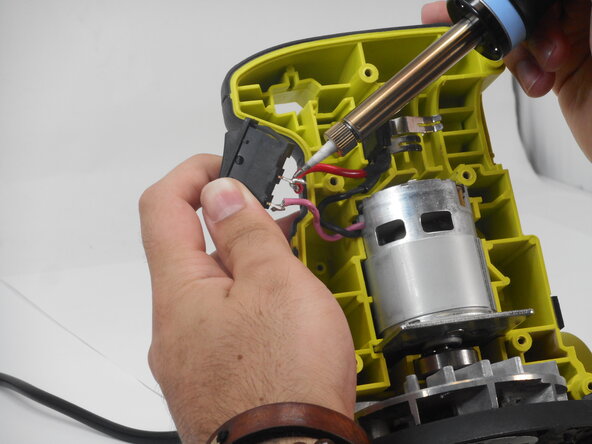
Push the switch trigger gently from the back to pull it out from the open face of the sander.
-
-
-
-













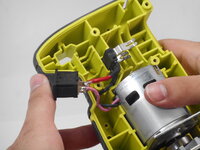
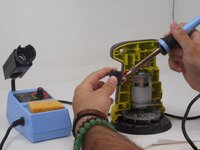
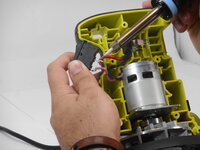
To reassemble your device, follow the above steps in reverse order.
Take your e-waste to an R2 or e-Stewards certified recycler.
Repair didn’t go as planned? Try some basic troubleshooting or ask our Answers community for help.
Cancel: I did not complete this guide.
One other person completed this guide.

Team

University of Memphis, Team 3-4, Sneed Spring 2025 Member of University of Memphis, Team 3-4, Sneed Spring 2025
UM-SNEED-S25S3G4
4 Members
72 Guides authored
