
Ryobi P411 Casing Replacement

Paula Meier and one other contributor
Last updated on Jun 2, 2025
Views: 288
View statistics:
- Past 24 Hours:
- 2
- Past 7 Days:
- 12
- Past 30 Days:
- 55
- All Time:
- 288
Comments: 0
No one has left comments on this guide. Will you be first?
Go to guide commentsCompleted: 1 2
1 person has marked this guide "completed." Will you be next?
2 people have marked this guide "completed." Including you — great job!
Favorites: 0 1
No one has favorited (and subscribed to) this guide. Will you be the first?
1 person has favorited (and subscribed to) this guide — and that's you!
Introduction
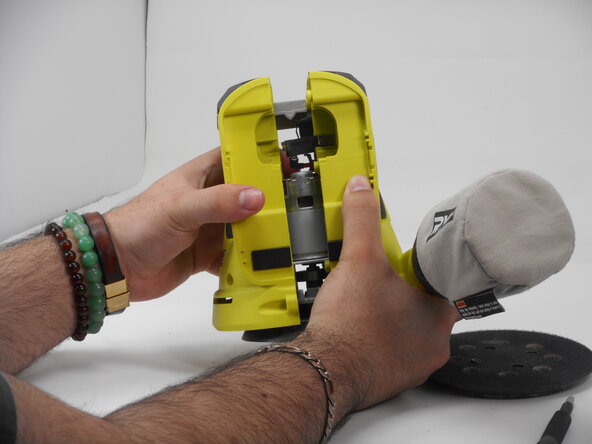
Go to step 1 ↓Use this guide to open up the casing on your Ryobi P411. The casing is the outside of the sander that protects the essential parts that make the sander function properly. It is easily distinguished since the plastic casing is a lime green and grey color. In order to replace any part of the Ryobi P411, use this replacement guide first. Make sure to remove the battery before you begin.
What you need
Tools


-
-
-
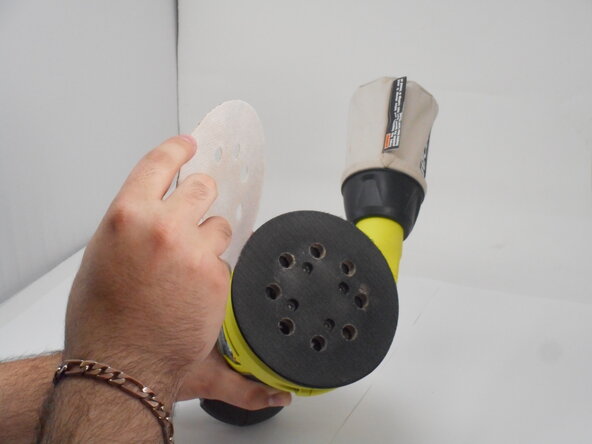
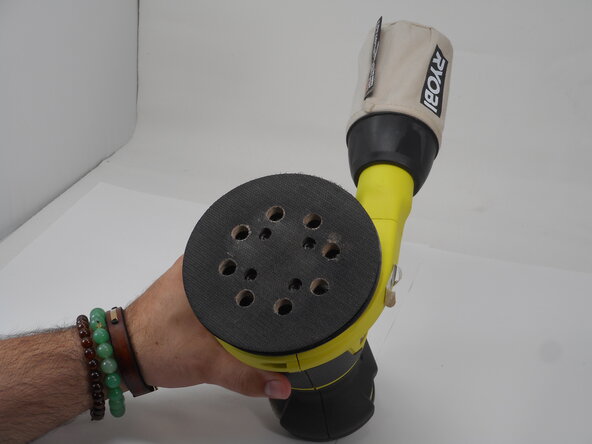
Remove the sanding pad to expose the screws at the bottom of the sander.
 Ask FixBot
-
-
-
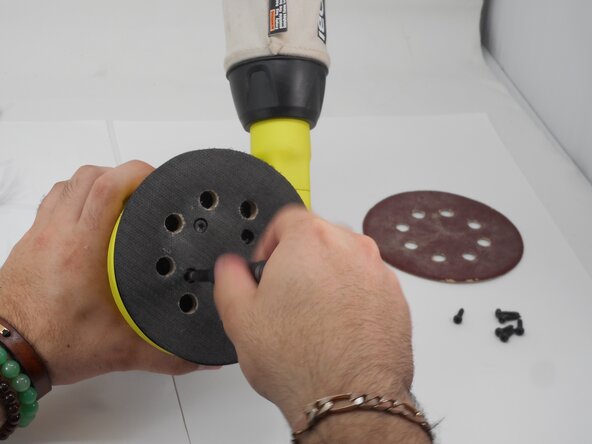
Remove the four M5 x 8.9mm screws with a T6 Torx screwdriver.
-
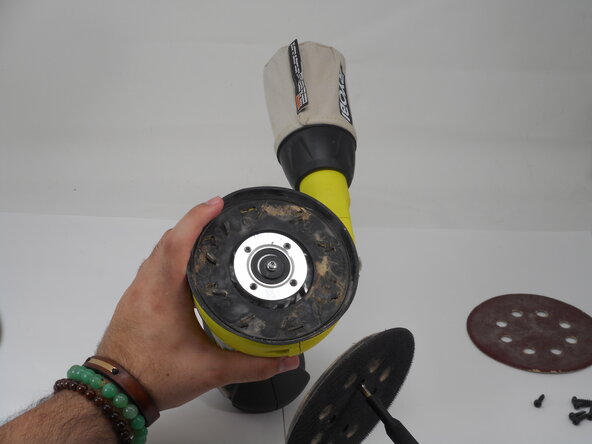
Remove the pad assembly.
-
-
-
-
-
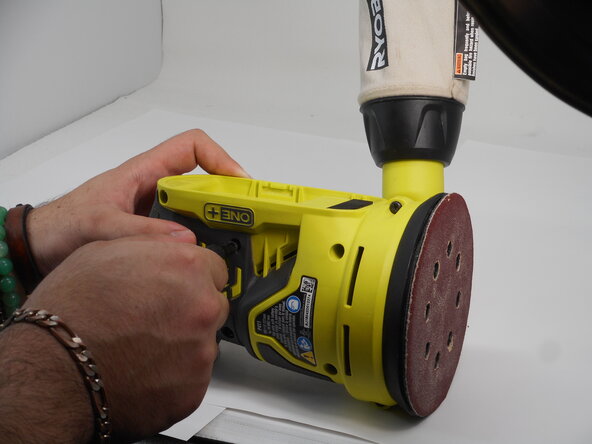
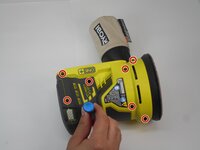
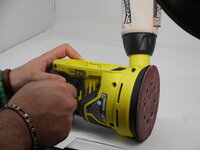
Use a Phillips #1 screwdriver to remove the eight M4 x 18.5mm screws from the side of the casing.
-
-
-






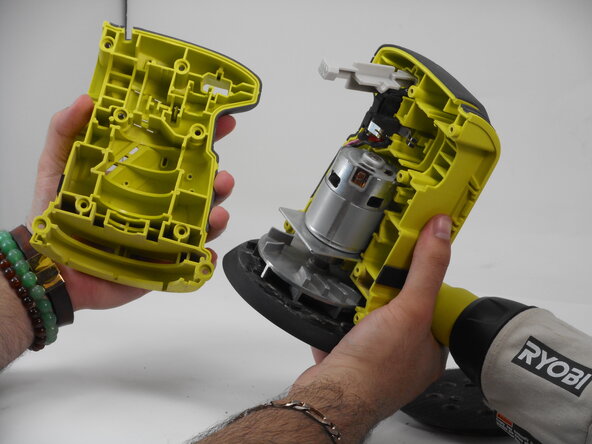

To reassemble your device, follow these instructions in reverse order.
Cancel: I did not complete this guide.
One other person completed this guide.

Team

University of Memphis, Team 3-4, Sneed Spring 2025 Member of University of Memphis, Team 3-4, Sneed Spring 2025
UM-SNEED-S25S3G4
4 Members
72 Guides authored
