
Ryobi P235 Trigger Replacement

Paul Sousa and 2 other contributors
Last updated on Dec 19, 2019
Views: 2.8K
View statistics:
- Past 24 Hours:
- 3
- Past 7 Days:
- 33
- Past 30 Days:
- 122
- All Time:
- 2,785
Comments: 2
1 comment on steps, 1 guide comment.
Go to guide commentsCompleted: 3 4
3 people have marked this guide "completed." Will you be next?
4 people have marked this guide "completed." Including you — great job!
Favorites: 0 1
No one has favorited (and subscribed to) this guide. Will you be the first?
1 person has favorited (and subscribed to) this guide — and that's you!
Introduction
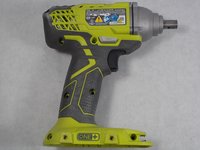
Go to step 1 ↓Use this guide to replace the trigger assembly in your Ryobi P235 Impact driver if power isn’t getting to the motor while using a fully charged battery.
The trigger assembly is what regulates how much power gets to the motor and what direction the motor spins.
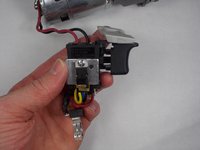
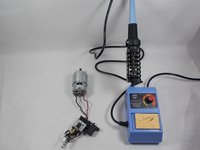
When you reach step 7 and 8, the wires are soldered to the motor so a soldering iron will need to be used to disconnect them from the old trigger assembly and then reattach them to the new one.
What you need
Parts
Tools


-
-
-
-
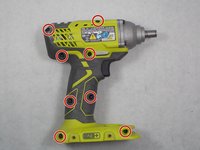
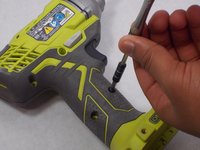
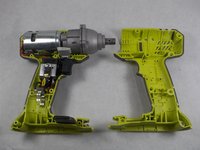
Use a Phillips #2 screwdriver to remove the eight 16 mm screws that secure the housing.
-
-
-
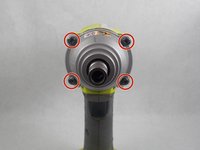
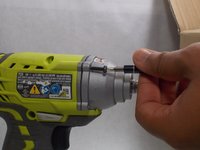
Use a T20 Torx screwdriver to remove the four 25.4 mm screws that secure the front of the housing.
-
-
-
-
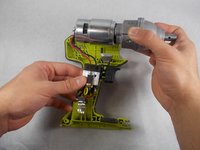
Lift the trigger mechanism and other internal components out of the housing assembly.
-
-
-
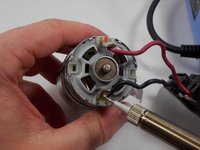
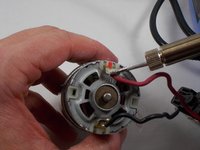
Use a soldering iron to remove the black and red wires connecting the trigger assembly to the motor.
-
-


 Ask FixBot










To reassemble your device, follow these instructions in reverse order starting at step 6.
Cancel: I did not complete this guide.
3 other people completed this guide.

Team

UMass Dartmouth, Team S4-G2, Saloman Fall 2019 Member of UMass Dartmouth, Team S4-G2, Saloman Fall 2019
UMASSD-SALOMAN-F19S4G2
3 Members
72 Guides authored
