Free Shipping on Domestic Orders $75+

Ryobi P235 Motor Replacement

What you need

  1. Ryobi P235 Motor Replacement, Battery: step 1, image 1 of 2 Ryobi P235 Motor Replacement, Battery: step 1, image 2 of 2
    • Push in both push tabs on the battery at the same time.

    • They are located below the green housing and are in the middle on both sides of the battery.

    Ask FixBot

    Add Comment

  2. Ryobi P235 Motor Replacement: step 2, image 1 of 2 Ryobi P235 Motor Replacement: step 2, image 2 of 2
    • Pull the battery away from the drill housing while holding in both tabs.

    Ask FixBot
    Add Comment

  3. Ryobi P235 Motor Replacement, Motor: step 3, image 1 of 2 Ryobi P235 Motor Replacement, Motor: step 3, image 2 of 2
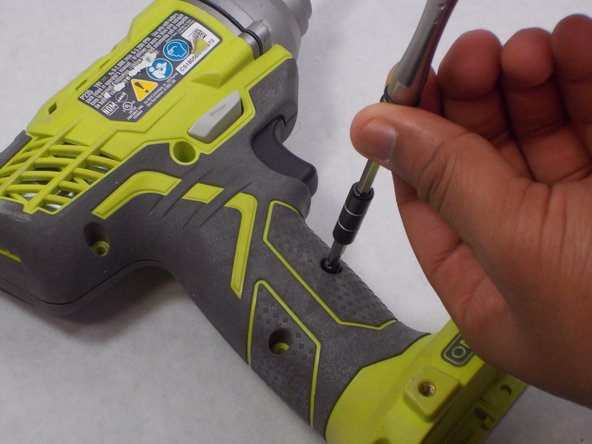
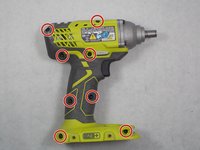
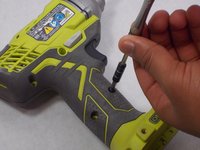
    • Use a Phillips #2 screwdriver to remove the eight 16 mm screws that secure the housing.

    Ask FixBot
    Add Comment

  4. Ryobi P235 Motor Replacement: step 4, image 1 of 2 Ryobi P235 Motor Replacement: step 4, image 2 of 2
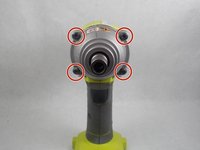
    • Use a T20 Torx screwdriver to remove the four 25.4 mm screws that secure the front of the housing.

    Ask FixBot
    Add Comment

  5. Ryobi P235 Motor Replacement: step 5, image 1 of 2 Ryobi P235 Motor Replacement: step 5, image 2 of 2
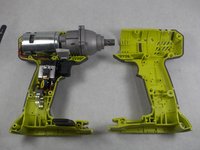
    • Open the housing with the data label facing up.

    Ask FixBot

    Add Comment

  6. Ryobi P235 Motor Replacement: step 6, image 1 of 1
    • Lift the motor and chuck assembly out of the housing.

    Ask FixBot
    Add Comment

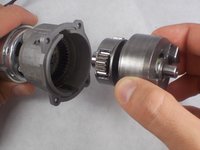
  7. Ryobi P235 Motor Replacement: step 7, image 1 of 2 Ryobi P235 Motor Replacement: step 7, image 2 of 2
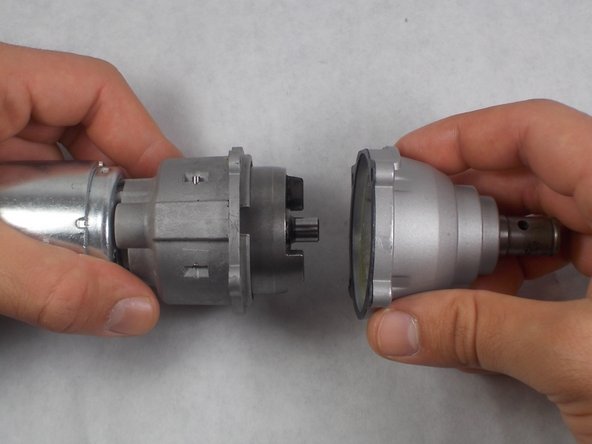
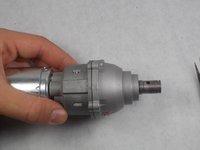
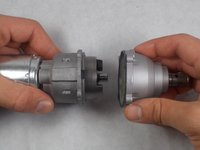
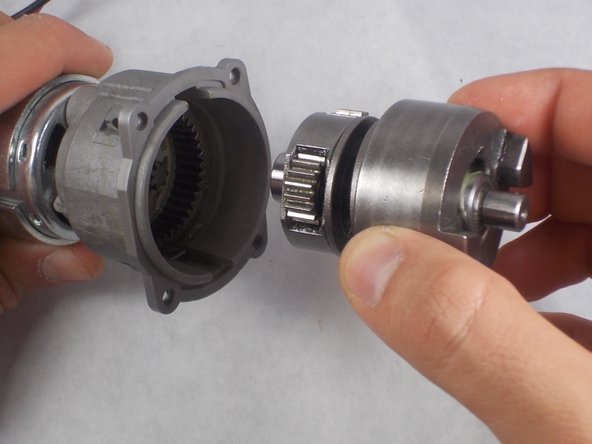
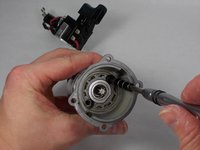
    • Remove the gear case and sleeve bearing assembly from the inner case assembly.

    Ask FixBot
    Add Comment

  8. Ryobi P235 Motor Replacement: step 8, image 1 of 2 Ryobi P235 Motor Replacement: step 8, image 2 of 2
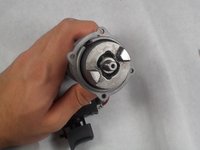
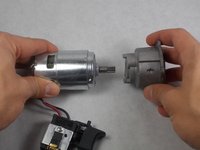
    • Remove the cam shaft and motor assembly.

    Ask FixBot
    Add Comment

  9. Ryobi P235 Motor Replacement: step 9, image 1 of 3 Ryobi P235 Motor Replacement: step 9, image 2 of 3 Ryobi P235 Motor Replacement: step 9, image 3 of 3
    Tool used on this step:
    Tweezers
    $4.99
    Buy
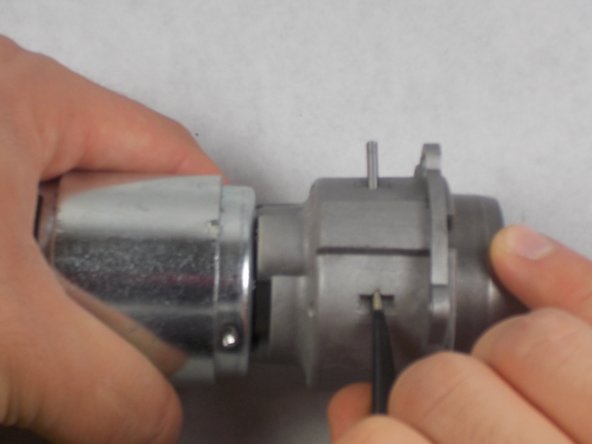
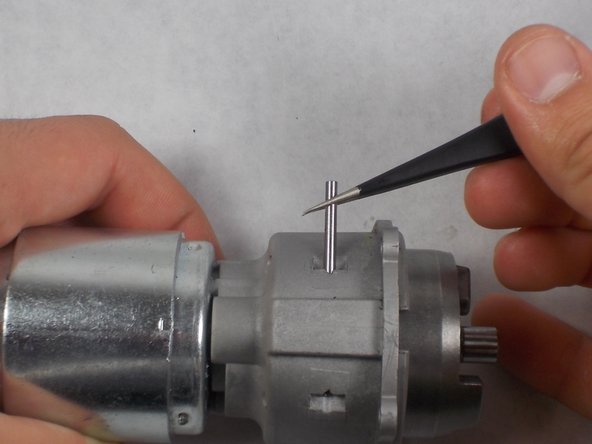
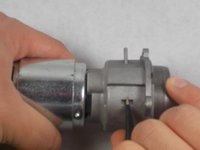
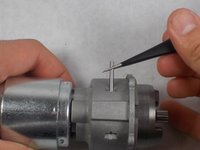
    • Remove the metal pins on each side of the inner case assembly.

    • It is easiest to push the pin through the opening from one side and once enough of the pin is through, grab it with the tweezers and pull it the rest of the way through.

    • When reassembling, make sure the pin goes in straight and makes it out the other side, rather than going in diagonally and into the inner case assembly.

    Ask FixBot

    Add Comment

  10. Ryobi P235 Motor Replacement: step 10, image 1 of 2 Ryobi P235 Motor Replacement: step 10, image 2 of 2
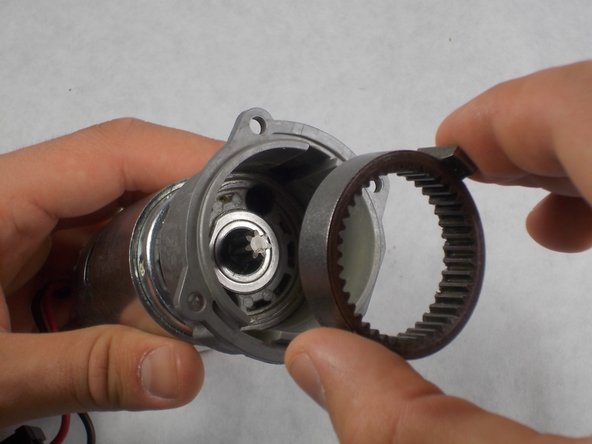
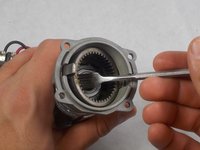
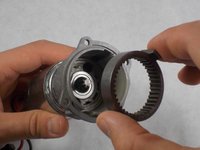
    • Remove the ring gear.

    • To help lift the ring gear out of the inner case assembly, wedge the spudger under one side, moving it up by a little, then switch to the other side and repeat until the gear ring is out.

    Ask FixBot
    Add Comment
  11. Ryobi P235 Motor Replacement: step 11, image 1 of 3 Ryobi P235 Motor Replacement: step 11, image 2 of 3 Ryobi P235 Motor Replacement: step 11, image 3 of 3
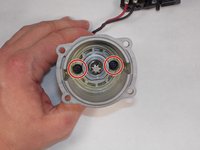
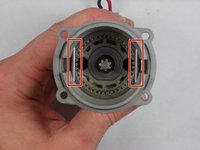
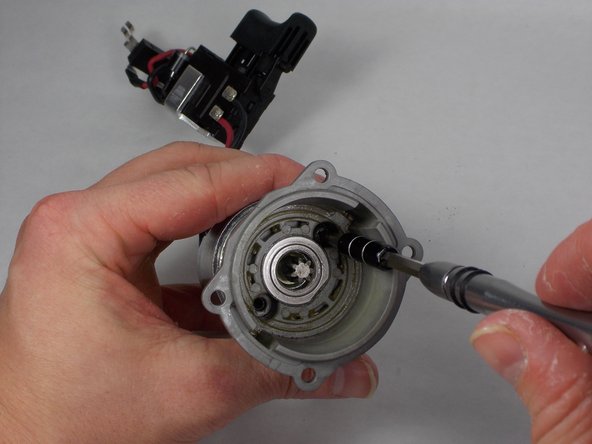
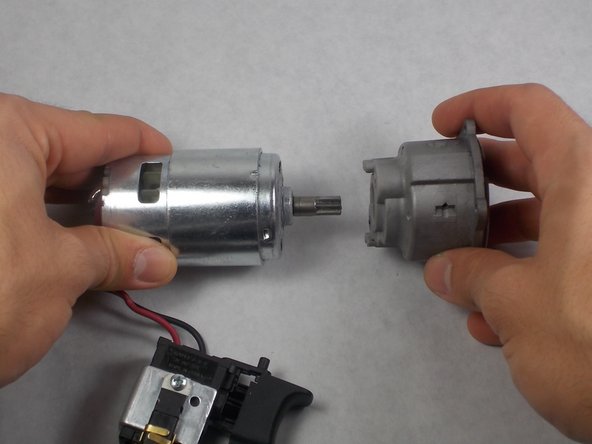
    • Remove the two 8mm screws and spring washers connecting the motor to the inner case assembly.

    • Separate the two parts.

    Ask FixBot

    Add Comment

  12. Ryobi P235 Motor Replacement: step 12, image 1 of 3 Ryobi P235 Motor Replacement: step 12, image 2 of 3 Ryobi P235 Motor Replacement: step 12, image 3 of 3
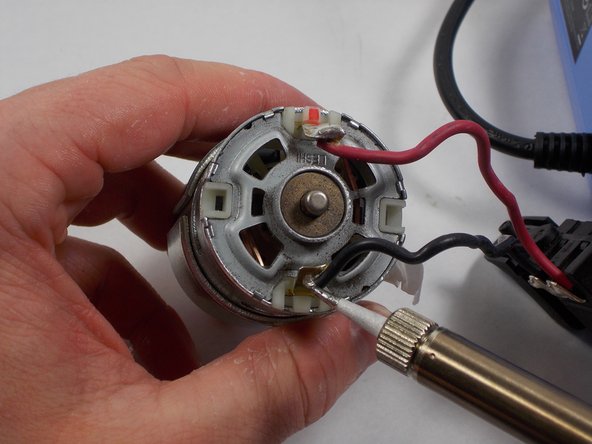
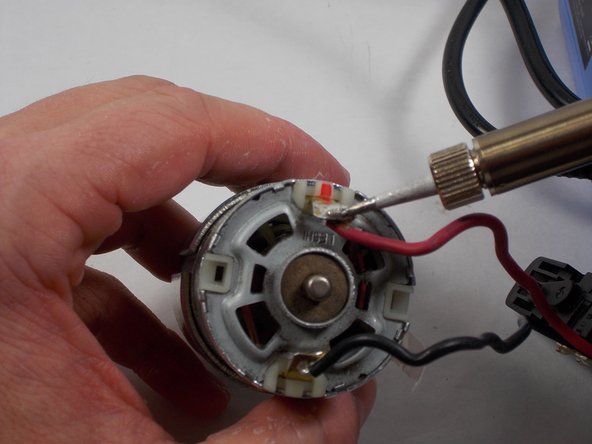
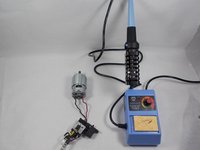
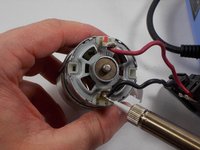
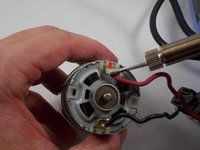
    • Use a soldering iron to remove the black and red wires connecting the motor to the trigger assembly.

    • Use the soldering iron to connect the new motor to the trigger assembly.

    • Make sure the red wire connects to the lead with the red mark on it.

    Ask FixBot

    Add Comment

Conclusion

To reassemble your device, follow these instructions in reverse.

Cancel: I did not complete this guide.

2 other people completed this guide.

Paul Sousa

Member since: 10/29/19

817 Reputation

5 Guides authored

Team

0 Guide Comments

Add Comment

View Statistics:

Past 24 Hours: 2

Past 7 Days: 10

Past 30 Days: 83

All Time: 3,241