Free Shipping on Domestic Orders $75+

Ryobi P235 Direction of Rotation Selector Replacement

Views: 1.5K

View statistics:

Past 24 Hours:
4
Past 7 Days:
18
Past 30 Days:
72
All Time:
1,475
Comments: 0

No one has left comments on this guide. Will you be first?

Go to guide comments
Completed: 0

No one has marked this guide "completed." Will you be the first?

Favorites: 0

No one has favorited (and subscribed to) this guide. Will you be the first?

Time Required: 20 minutes - 1 hour
Difficulty: Difficult
Ryobi P235 Direction of Rotation Selector Replacement

Introduction

Go to step 1 ↓

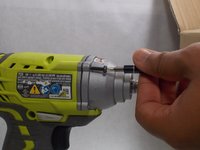
The direction of rotation selector may not work for multiple reasons.

  • The gray plastic forward/reverse piece may be damaged.
  • The toggle piece attached to the switch assembly may be damaged.

The drill has to be disassembled to diagnose the problem from the two possible causes. This guide will help to diagnose and solve both problems.

    1. Ryobi P235 Direction of Rotation Selector Replacement, Battery: step 1, image 1 of 2 Ryobi P235 Direction of Rotation Selector Replacement, Battery: step 1, image 2 of 2
      • Push in both push tabs on the battery at the same time.

      • They are located below the green housing and are in the middle on both sides of the battery.

      Ask FixBot

      Add Comment

    2. Ryobi P235 Direction of Rotation Selector Replacement: step 2, image 1 of 2 Ryobi P235 Direction of Rotation Selector Replacement: step 2, image 2 of 2
      • Pull the battery away from the drill housing while holding in both tabs.

      Ask FixBot

      Add Comment

    1. Ryobi P235 Direction of Rotation Selector Replacement, Direction of Rotation Selector: step 3, image 1 of 2 Ryobi P235 Direction of Rotation Selector Replacement, Direction of Rotation Selector: step 3, image 2 of 2
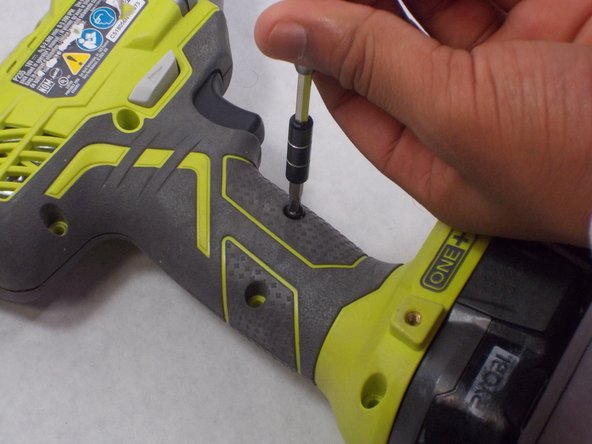
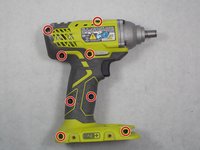
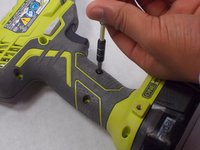
      • Use a Phillips #2 screwdriver to remove the eight 16 mm screws that secure the housing.

      Ask FixBot

      Add Comment

    2. Ryobi P235 Direction of Rotation Selector Replacement: step 4, image 1 of 2 Ryobi P235 Direction of Rotation Selector Replacement: step 4, image 2 of 2
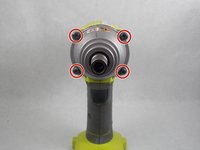
      • Use a T20 Torx screwdriver to remove the four 25.4 mm screws that secure the front of the housing.

      Ask FixBot

      Add Comment

    3. Ryobi P235 Direction of Rotation Selector Replacement: step 5, image 1 of 2 Ryobi P235 Direction of Rotation Selector Replacement: step 5, image 2 of 2
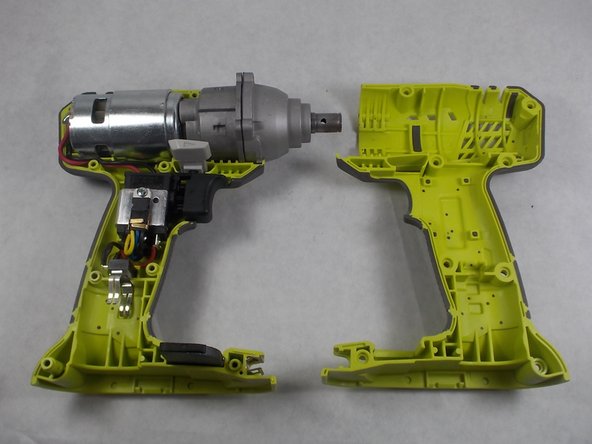
      • Open the housing with the data label facing up.

      Ask FixBot

      Add Comment

    4. Ryobi P235 Direction of Rotation Selector Replacement: step 6, image 1 of 2 Ryobi P235 Direction of Rotation Selector Replacement: step 6, image 2 of 2
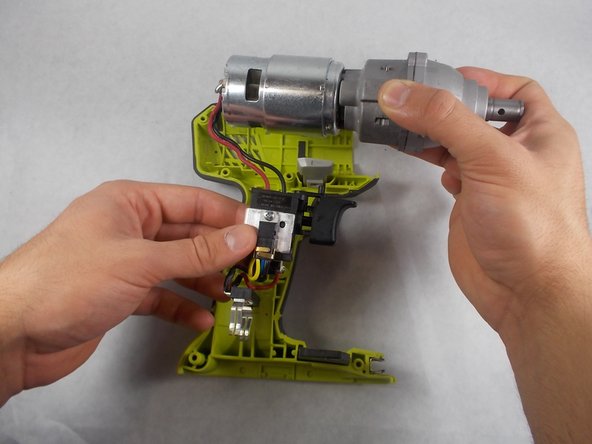
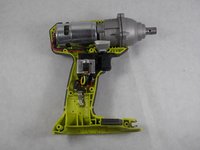
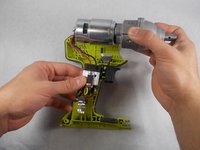
      • Lift the internal components out of the housing.

      Ask FixBot

      Add Comment

    5. Ryobi P235 Direction of Rotation Selector Replacement: step 7, image 1 of 2 Ryobi P235 Direction of Rotation Selector Replacement: step 7, image 2 of 2
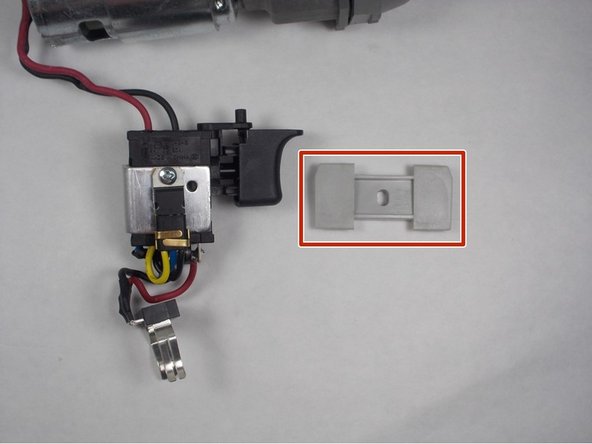
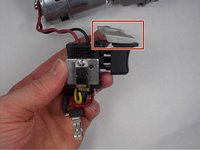
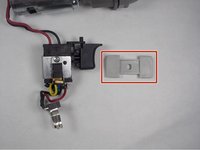
      • Remove the gray plastic forward/reverse selector.

      Ask FixBot

      Add Comment

Conclusion

To reassemble your device, follow these instructions in reverse order.

Cancel: I did not complete this guide.

Justin Godleski

Member since: 03/19/18

319 Reputation

1 Guide authored

Team

0 Guide Comments

Add Comment

View Statistics:

Past 24 Hours: 4

Past 7 Days: 18

Past 30 Days: 72

All Time: 1,475