
Ryobi P202 Gear Select Switch Replacement

Joseph Eckstein and 3 other contributors
Last updated on Jun 24, 2015
Views: 1.4K
View statistics:
- Past 24 Hours:
- 3
- Past 7 Days:
- 15
- Past 30 Days:
- 90
- All Time:
- 1,417
Comments: 0
No one has left comments on this guide. Will you be first?
Go to guide commentsCompleted: 0 1
No one has marked this guide "completed." Will you be the first?
1 person has marked this guide "completed." It's you — great job!
Favorites: 1 2
1 person has favorited (and subscribed to) this guide. Will you be next?
2 people have favorited (and subscribed to) this guide — including you!
Introduction
Go to step 1 ↓This guide demonstrates how to open the drill and remove the gear select switch. Removing the gear select switch does not require disassembling any of the internal electronics of the drill, but it is recommended to remove the battery to reduce shock hazard.
What you need
Tools

-
-
-
Detach the battery unit from the drill body by pressing the battery release buttons on both sides of the unit and pulling outwards.
 Ask FixBot
-
-
-
-
-
Use a Torx T10 screw driver to unscrew all ten 13.5 mm screws from the drill casing to gain access to the interior.
-
-
-
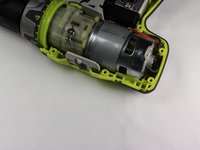
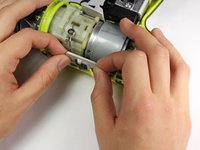
Gently lift the casing from the drill body.
-
Take the casing completely off the drill body to gain access to the interior of the drill.
-
-
-
-
-
Rotate the Drill 180 degrees so that the top is facing you.
-
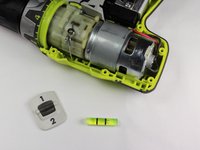
Lift the level gauge out from the top corner of the drill.
-
-
-
-
-
-
Lift the gear switch upwards from the top of the drill head.
-
-


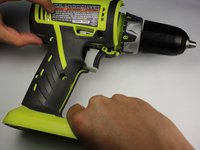
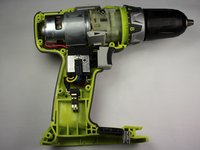


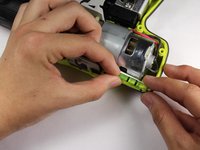
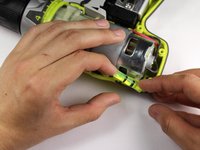


To reassemble your device, follow these instructions in reverse order.

Team

Cal Poly, Team 17-6, Forte Spring 2015 Member of Cal Poly, Team 17-6, Forte Spring 2015
CPSU-FORTE-S15S17G6
4 Members
108 Guides authored
