
Ryobi D620H Trigger Replacement

Jacob da Ponte and 4 other contributors
Last updated on Jan 17, 2024
Views: 734
View statistics:
- Past 24 Hours:
- 4
- Past 7 Days:
- 15
- Past 30 Days:
- 85
- All Time:
- 734
Comments: 1
1 comment on steps.
Completed: 0 1
No one has marked this guide "completed." Will you be the first?
1 person has marked this guide "completed." It's you — great job!
Favorites: 0 1
No one has favorited (and subscribed to) this guide. Will you be the first?
1 person has favorited (and subscribed to) this guide — and that's you!
Action Shots
Be an action hero! This guide needs images that better demonstrate how to perform specific actions.
Inconsistent Images
Updating the images on this guide to be more consistent with the prerequisites would increase its awesomeness.
Needs More Images
A few more images would make this guide's procedures crystal clear.
Missing Steps
Oops! This guide is currently missing one or more important steps.
Better Introduction
Improve this guide by completing or revising its introduction.
Introduction
Go to step 1 ↓Before you start
This process involves replacing electrical components. Ensure the drill is completely disconnected from any power source!
It is very important to ensure the electrical connection are correctly replaced so the drill works properly upon reinstallation.
If a cellphone with a camera is accessible to you, it may help to take more close-up pictures of the drill before disassembly.
This process requires very little tools, pliers may be helpful but are not required. all of the electrical connections on the trigger are push connections. Some connections are tougher to remove than others so you might need to pull harder than you think.
What you need
Parts
Tools
-
-
-
Torx T20 ScrewdriverAffiliate linkAvailable for sale on Amazon
Available in the ifixit tool kit, or any major home improvement store.


-
-
-
Turn the drill so that the screws face upwards.
-
Use the Torx T20 screwdriver to remove all nine screws.
 Ask FixBot
-
-
-
Insert the end of an opening tool between the right and left sides of the drill to pry the right side of the case.
-
Remove the right side case to expose the inside of the drill.
-
-
-
-
-
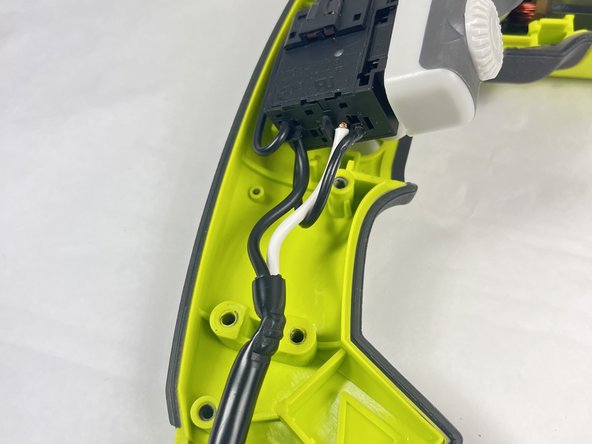
Follow the wires coming out of the bend relief cover to the white power cord clamp with the two 14 mm black PH1 screws.
-
-
-
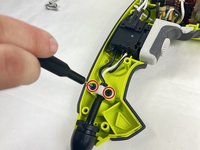
Unscrew the two 14 mm PH1 screws holding the power cord wire in place.
-
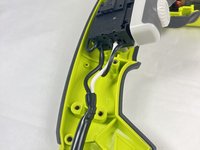
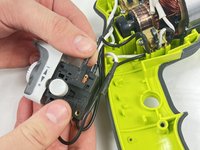
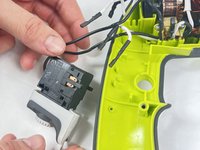
Lift the switch box from its place gently.
-
-
-
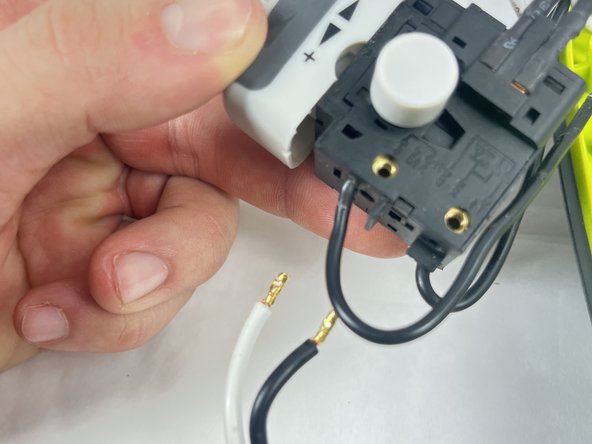
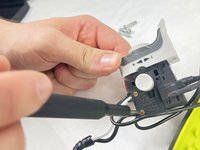
Remove the two little screws holding the brass terminal lugs in place. Although it is not required, you can remove the screws completely if you find that doing so is more convenient.
-
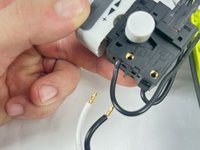
Gently pull the white positive and black negative wires that are connected to the switch box.
-
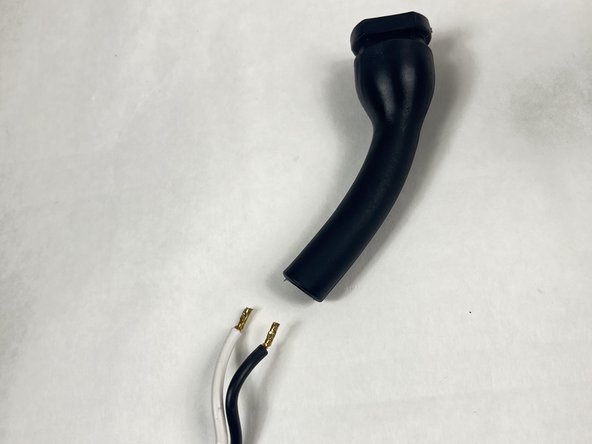
Slide the bend relief guard off the cord towards the loose connections.
-
-
-
-






To reassemble your device, follow these instructions in reverse order.

Team

UMass Dartmouth, Team 1-2, Petersen Fall 2023 Member of UMass Dartmouth, Team 1-2, Petersen Fall 2023
UMASSD-PETERSEN-F23S1G2
4 Members
72 Guides authored
