Free Shipping on Domestic Orders $75+

Rydis H68 Pro Bumper Replacement

What you need

    1. Rydis H68 Pro Bumper Replacement, Battery: step 1, image 1 of 2 Rydis H68 Pro Bumper Replacement, Battery: step 1, image 2 of 2
      • Flip the vacuum over so that the wheels are facing you.

      • Use a Phillips #1 screwdriver to remove the four 10 mm screws that surround the battery cover.

      Ask FixBot

      Add Comment

    2. Rydis H68 Pro Bumper Replacement: step 2, image 1 of 1
      • Lift the battery cover up to reveal the battery.

      • Remove the battery.

      Ask FixBot

      Add Comment

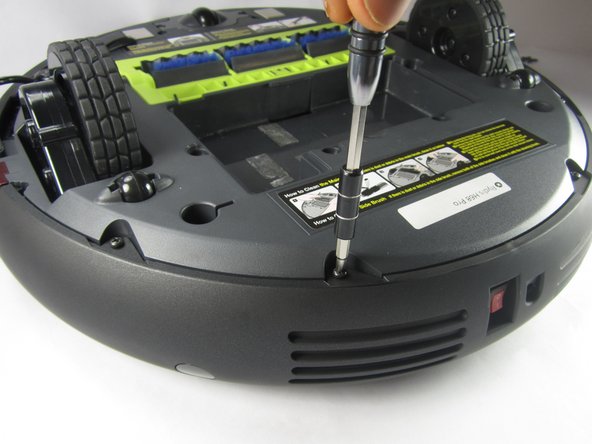
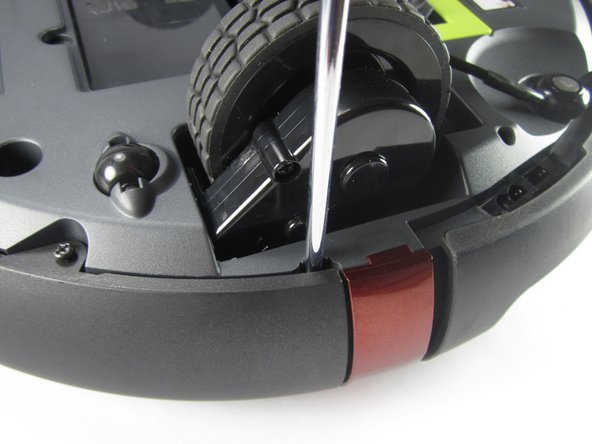
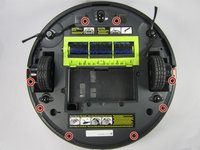
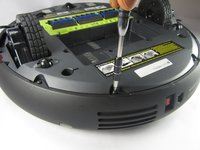
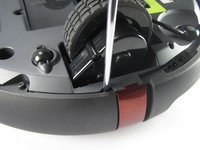
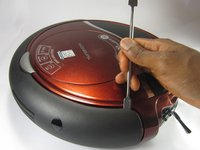
    1. Rydis H68 Pro Bumper Replacement, Bumper: step 3, image 1 of 3 Rydis H68 Pro Bumper Replacement, Bumper: step 3, image 2 of 3 Rydis H68 Pro Bumper Replacement, Bumper: step 3, image 3 of 3
      • Remove the eight 10 mm Phillips #1 screws.

      Ask FixBot

      Add Comment

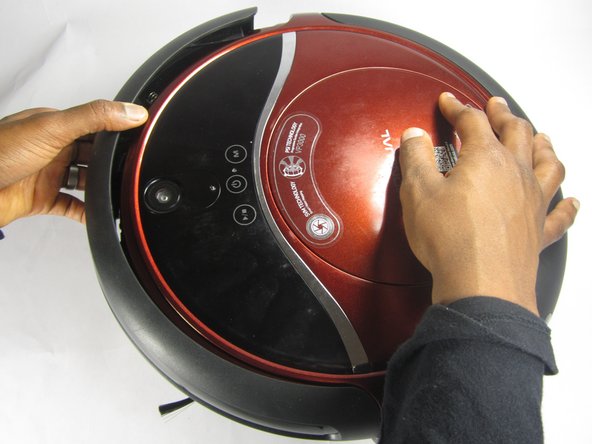
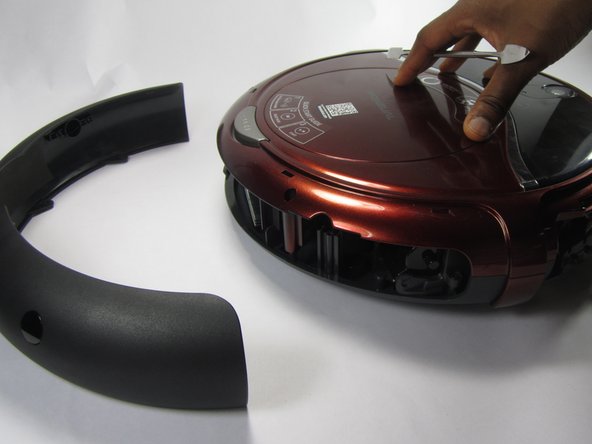
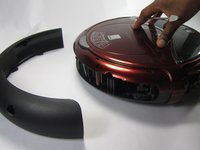
    2. Rydis H68 Pro Bumper Replacement: step 4, image 1 of 3 Rydis H68 Pro Bumper Replacement: step 4, image 2 of 3 Rydis H68 Pro Bumper Replacement: step 4, image 3 of 3
      • Hold the front bumper and pull it off.

      • It requires a lot of force to pull the bumper off.

      Ask FixBot

      Add Comment

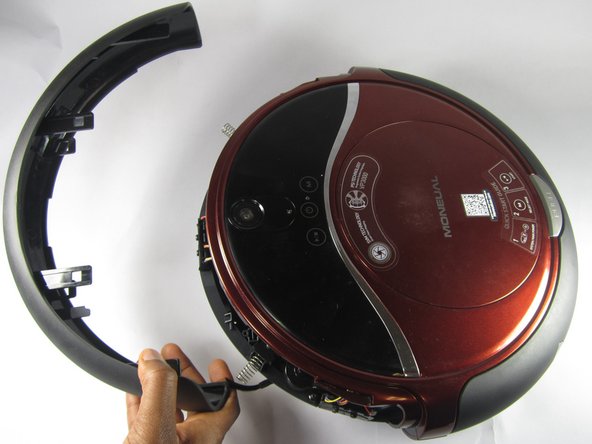
    3. Rydis H68 Pro Bumper Replacement: step 5, image 1 of 3 Rydis H68 Pro Bumper Replacement: step 5, image 2 of 3 Rydis H68 Pro Bumper Replacement: step 5, image 3 of 3
      • Pry off the back bumper by going around the entire top of the bumper with the metal spudger.

      Ask FixBot

      Add Comment

Conclusion

To reassemble your device, follow these instructions in reverse order.

Cancel: I did not complete this guide.

Joe Balduz

Member since: 02/15/17

231 Reputation

2 Guides authored

Team

USFT-Lacy-S17S005G2 Member of USFT-Lacy-S17S005G2

Local Repair Groups

4 Members

59 Guides authored

0 Guide Comments

Add Comment

View Statistics:

Past 24 Hours: 0

Past 7 Days: 4

Past 30 Days: 20

All Time: 736