
Rubik's Cube Spring Replacement

Jensen Thankachan and one other contributor
Last updated on Aug 12, 2026
Views: 283
View statistics:
- Past 24 Hours:
- 3
- Past 7 Days:
- 28
- Past 30 Days:
- 117
- All Time:
- 283
Comments: 0
No one has left comments on this guide. Will you be first?
Go to guide commentsCompleted: 1 2
1 person has marked this guide "completed." Will you be next?
2 people have marked this guide "completed." Including you — great job!
Favorites: 0 1
No one has favorited (and subscribed to) this guide. Will you be the first?
1 person has favorited (and subscribed to) this guide — and that's you!
Introduction
Go to step 1 ↓If your 3×3 Rubik's Cube feels too loose, too tight, or turns unevenly, use this guide to replace or adjust the internal spring located beneath the center cap and screw.
The spring is part of the cube's tensioning system. It works with the center screw to control how tightly the pieces are held together, which affects the cube's stability, corner-cutting ability, and overall turning performance. A worn, damaged, or incorrectly tensioned spring can cause the cube to feel unstable, pop pieces out during solves, or become difficult to turn.
Before replacing the spring, check that loose screws, dirt inside the mechanism, or insufficient lubrication do not cause the issue. If the spring is damaged or has lost its tension, replacing it can restore the cube's performance.
What you need
Tools


-
-
-
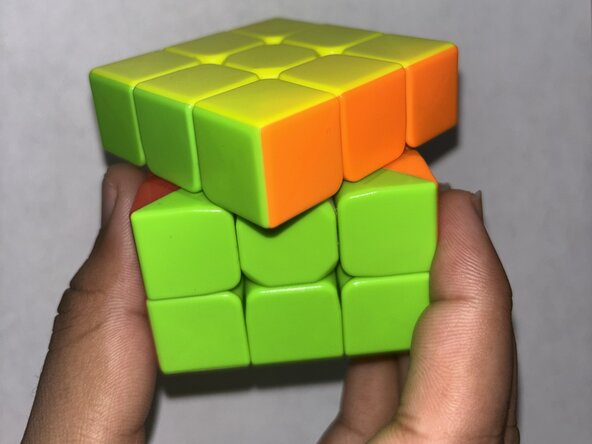
Inspect the cube to see which side needs to be fixed by turning each face.
 Ask FixBot
-
-
-
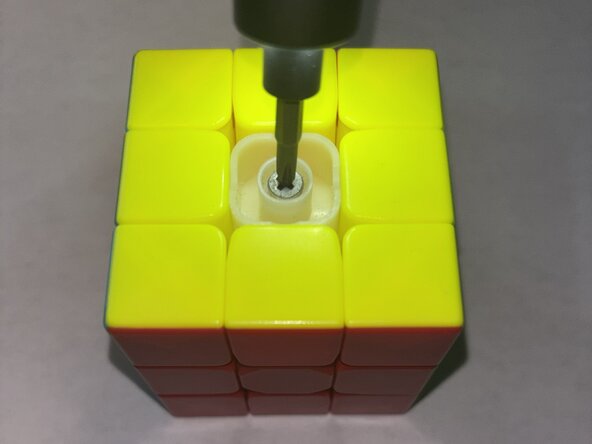
Once you've indicated which side needs fixing, remove the center cap from the cube.
-
-
-
-
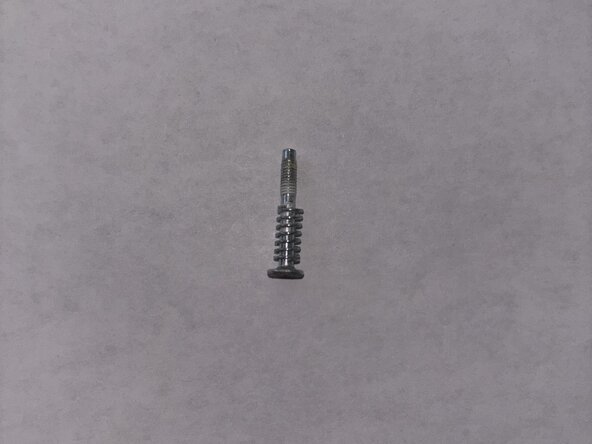
Take off the screw and spring from the center. Be careful not to lose the screw and spring.
-
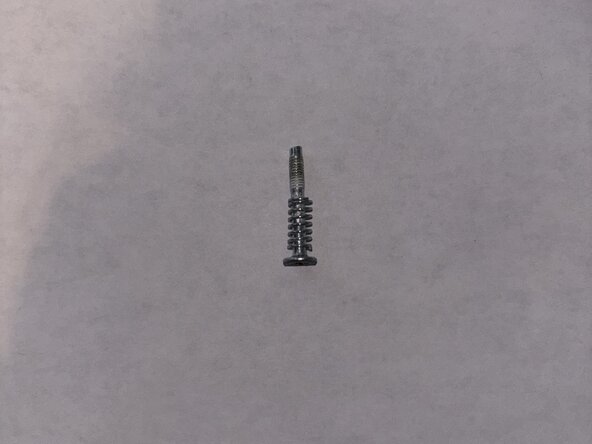
Take off the spring and replace it with a new one.
-
-






To reassemble your device, follow these instructions in reverse order.
Cancel: I did not complete this guide.
One other person completed this guide.
Team

Austin Community College, Team 14-14, Cox Summer 2026 Member of Austin Community College, Team 14-14, Cox Summer 2026
AUSTINCC-COX-SU26S14G14
1 Member
12 Guides authored
