
Royal Sovereign Fan Replacement

Mohammed Jubair Rabbani and 2 other contributors
Last updated on Jan 21, 2025
Views: 1.1K
View statistics:
- Past 24 Hours:
- 1
- Past 7 Days:
- 15
- Past 30 Days:
- 70
- All Time:
- 1,087
Comments: 0
No one has left comments on this guide. Will you be first?
Go to guide commentsCompleted: 1 2
1 person has marked this guide "completed." Will you be next?
2 people have marked this guide "completed." Including you — great job!
Favorites: 0 1
No one has favorited (and subscribed to) this guide. Will you be the first?
1 person has favorited (and subscribed to) this guide — and that's you!
Needs Better Images
Better photos will improve this guide. Help out by taking, editing, or uploading new ones!
Introduction
Go to step 1 ↓This guide provides an understanding of how to replace the cooling fan inside of a Royal Sovereign electric heater. Electric Heaters are used daily during the winter season and sometimes they can overheat due to defects in the cooling fan. This guide will show you how to disassemble the heater and replace the fan. This way, you can keep using the heater for a longer period of time.
What you need
Tools


-
-
-
Turn the heater so the back is facing up.
-
Remove all six 14 mm screws using the Philips #0 screwdriver.
 Ask FixBot
-
-
-
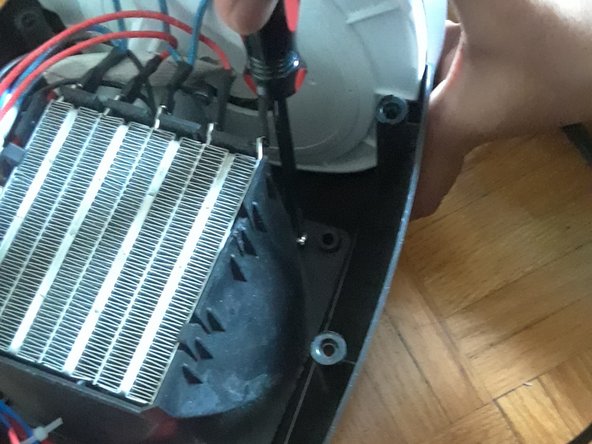
Use the Phillips #1 screwdriver to remove the four 14 mm screws attaching the motor to the front case..
-
-
-
Turn the motor over to reveal the fan.
-
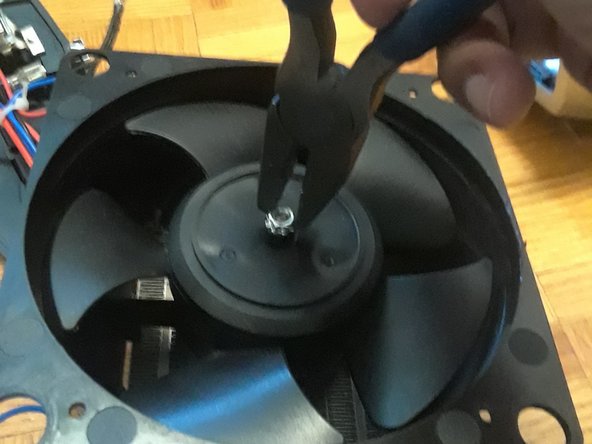
Use a plier to twist and unscrew the hexagonal screw attached to the fan.
-
-
-






To reassemble your device, follow these instructions in reverse order.
Cancel: I did not complete this guide.
One other person completed this guide.

Team

York University, Team S1-G21, O'Regan Summer 2021 Member of York University, Team S1-G21, O'Regan Summer 2021
YORK-O'REGAN-SU21S1G21
1 Member
12 Guides authored
