Introduction
This manual provides instructions for changing the Ronconia Q6 projector's OK button. The OK button is crucial for menu navigation and selection confirmation. Whether you're a novice or experienced, this guide offers straightforward, easy-to-follow steps to simplify the replacement process.
What you need
-
-
-
Flip your device upside down so that the interface is facing downwards.
 Ask FixBot
-
-
-
The device is supported by rubber pieces located at the bottom extremities.
-
There are screws beneath the rubber pieces that can be removed. Remove all four 1.1 mm Phillips #1 screws by using the Phillips #0 screwdriver.
-
-
-
-
-
-
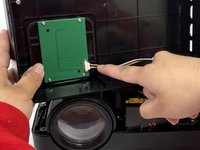
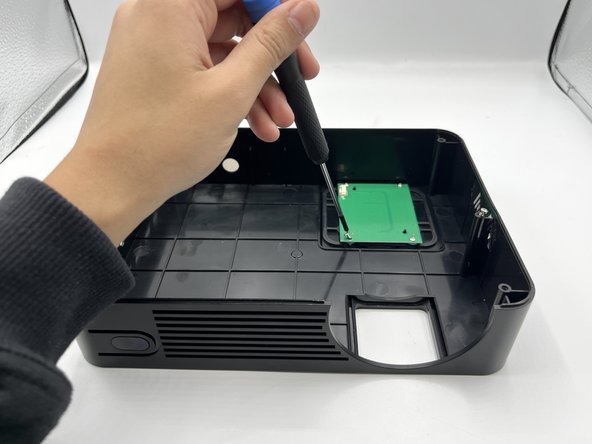
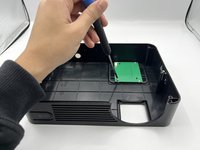
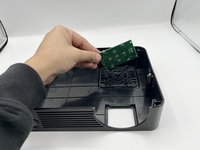
Use a Phillips #0 screwdriver to remove each of the 5.2 mm screws from the sensor board inside the cover.
-
-
-
Remove the motherboard and you will see the the pieces that help control the buttons.
-
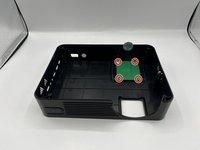
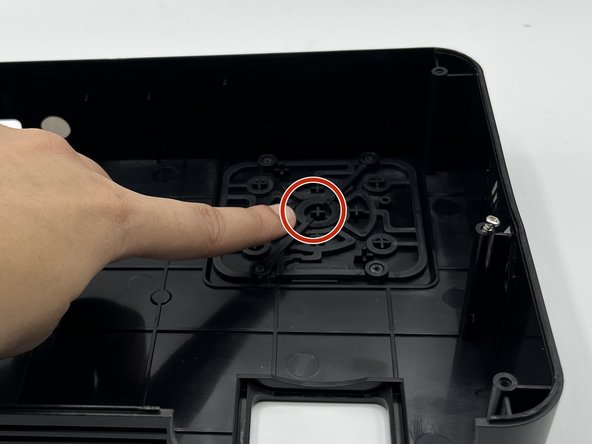
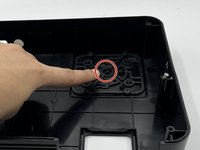
Locate where the OK button is placed.
-
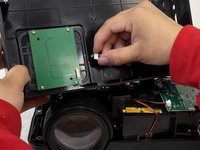
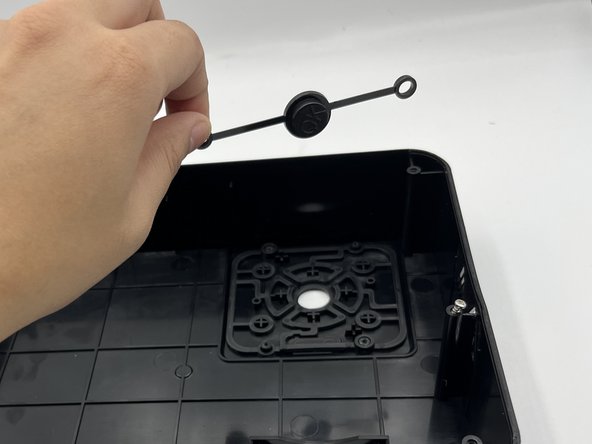
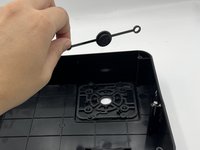
Remove the part that helps control the OK button by pulling it out
-
-


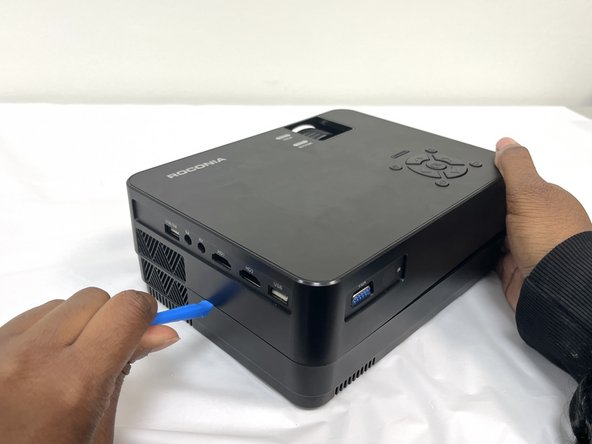
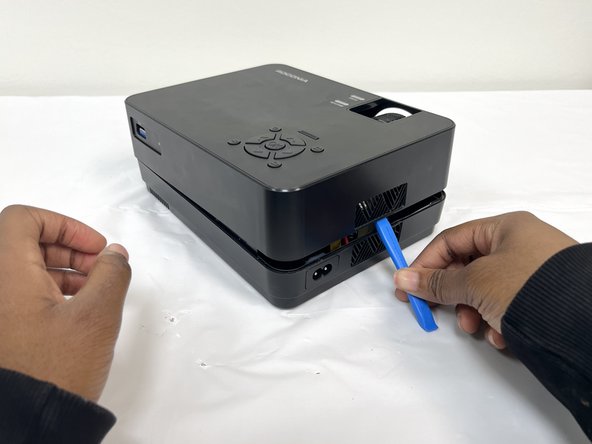
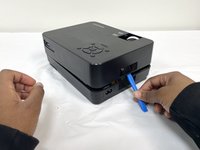

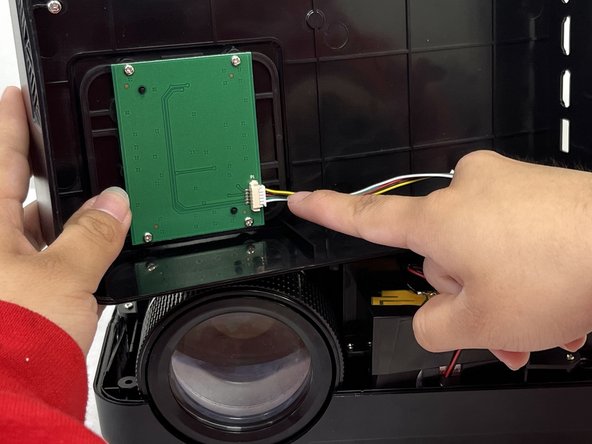
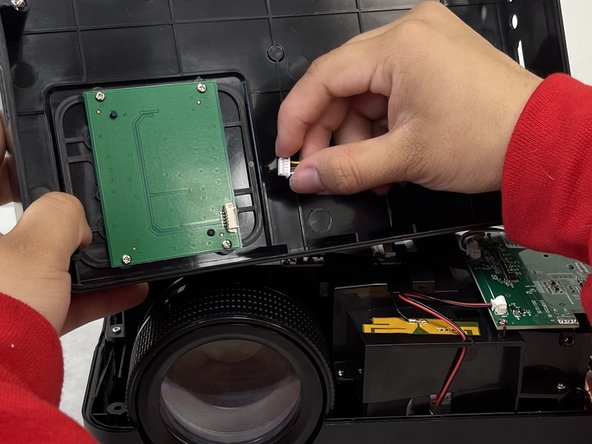


To reassemble your device, follow these instructions in reverse order.

Team

University of North Texas, Team 4-4, Harold Spring 2024 Member of University of North Texas, Team 4-4, Harold Spring 2024
UNT-HAROLD-S24S4G4
4 Members
72 Guides authored
