
Rocketfish RF-WHTIB-A Receiver LED Light Chip Replacement

Caitlin Charlton and 2 other contributors
Last updated on May 7, 2024
Views: 2.7K
View statistics:
- Past 24 Hours:
- 2
- Past 7 Days:
- 22
- Past 30 Days:
- 91
- All Time:
- 2,665
Comments: 4
1 comment on steps, 3 guide comments.
Go to guide commentsCompleted: 1 2
1 person has marked this guide "completed." Will you be next?
2 people have marked this guide "completed." Including you — great job!
Favorites: 2 3
2 people have favorited (and subscribed to) this guide. Will you be next?
3 people have favorited (and subscribed to) this guide — including you!
Grammar Police
Embrace your inner English teacher and help improve this guide's grammar!
Action Shots
Be an action hero! This guide needs images that better demonstrate how to perform specific actions.
Introduction
Go to step 1 ↓An LED light not working on the Rocketfish RF-WHTIB-A receiver does not necessarily mean the entire device is broken. It could indicate a problem with the LED light chip inside the device, which controls the LED light function. This guide will direct users step by step to replacing a faulty LED light chip.
What you need
Tools


-
-
-
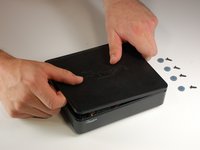
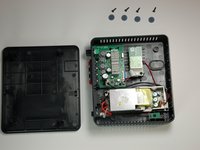
Remove the 4 rubber tabs on the bottom side of the receiver.
 Ask FixBot
-
-
-
-
-
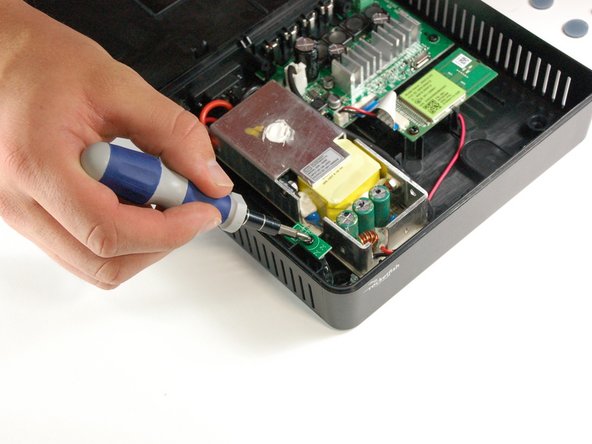
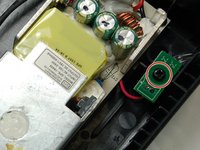
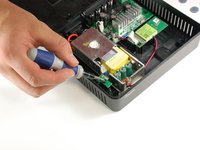
One 10 mm screw is securing the LED 14.14 chip.
-
Unscrew the chip.
-
-
-
Tool used on this step:Tweezers$4.99
-
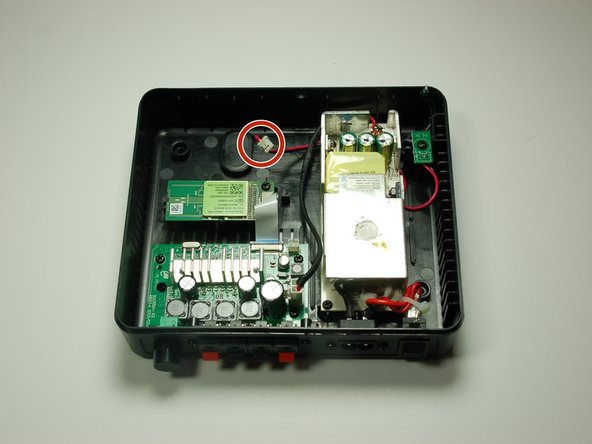
Gently feed the LED wire under the power supply to completely remove it from the sender.
-
Remove the faulty LED 14.14 chip from the receiver.
-
-




To reassemble your device with the new LED light chip, follow these instructions in reverse order.
Once the receiver has been put back together, plug in the device and initiate the connection mode between the sender and receiver to ensure the new LED light chip has been properly assembled.
Cancel: I did not complete this guide.
One other person completed this guide.

Team

Baylor, Team 4-2, Williams Spring 2015 Member of Baylor, Team 4-2, Williams Spring 2015
BU-WILLIAMS-S15S4G2
3 Members
72 Guides authored
3 Guide Comments
Where do I get the chip???
The clear plastic light guide fell out and having trouble figuring out where it goes.
