Free Shipping on Domestic Orders $75+

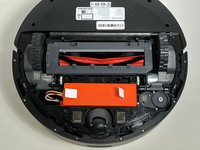
Roborock Q5 Suction Motor Replacement

What you need

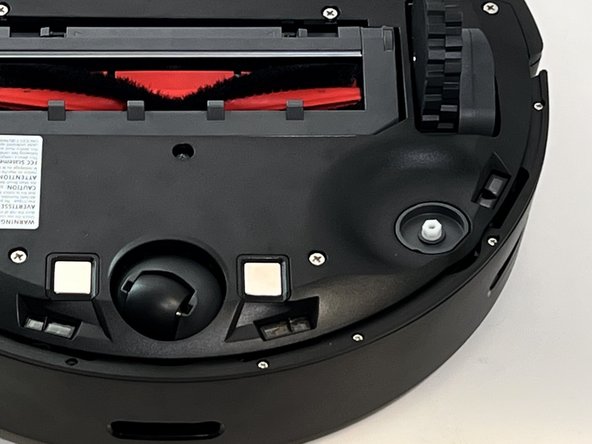
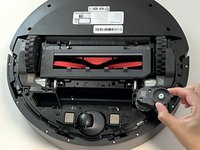
    1. Roborock Q5 Suction Motor Replacement, Side Brush: step 1, image 1 of 1
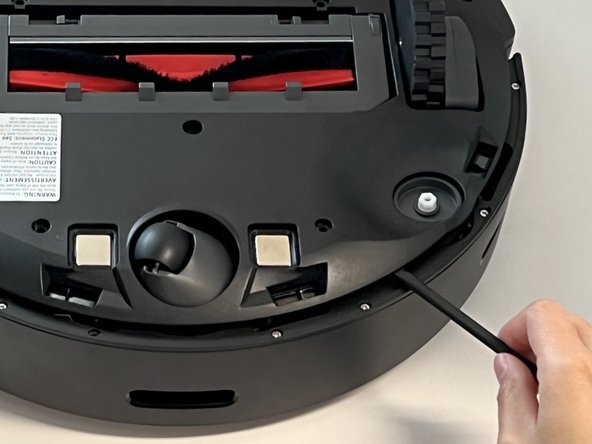
      • Power off your Roborock and place the device on a flat surface with the wheels facing up.

      • Position the robot so the five-pronged side brush is on the bottom right side.

      Ask FixBot

      Add Comment

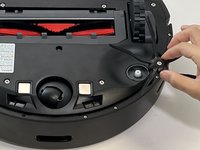
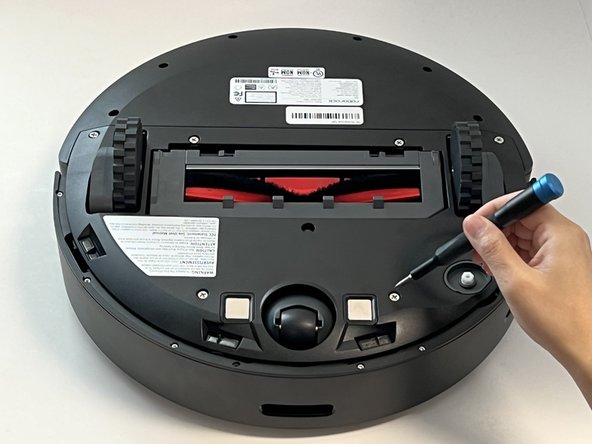
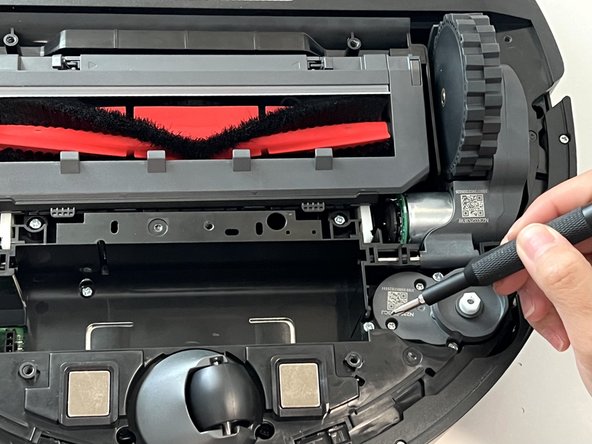
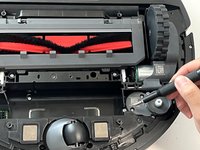
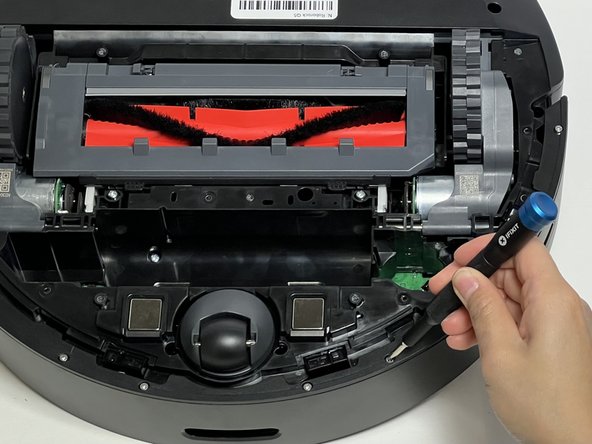
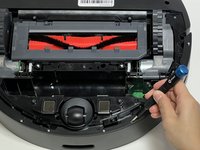
    2. Roborock Q5 Suction Motor Replacement: step 2, image 1 of 2 Roborock Q5 Suction Motor Replacement: step 2, image 2 of 2
      • Use a Phillips #2 screwdriver to loosen the single captive side brush screw.

      • The screw is attached to the side brush so they cannot be separated.

      Ask FixBot

      Add Comment

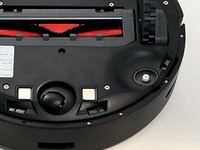
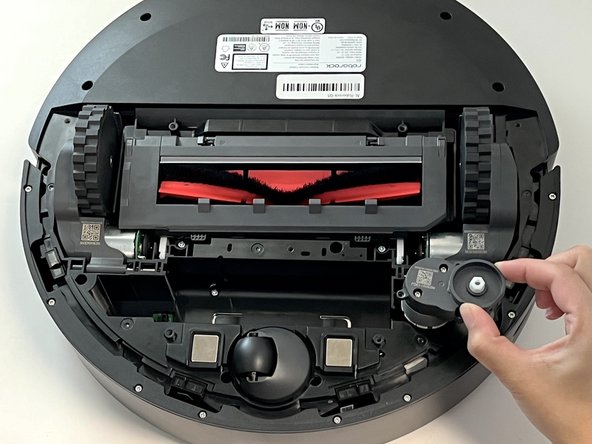
    3. Roborock Q5 Suction Motor Replacement: step 3, image 1 of 2 Roborock Q5 Suction Motor Replacement: step 3, image 2 of 2
      • Lift the side brush up and off.

      Ask FixBot

      Add Comment

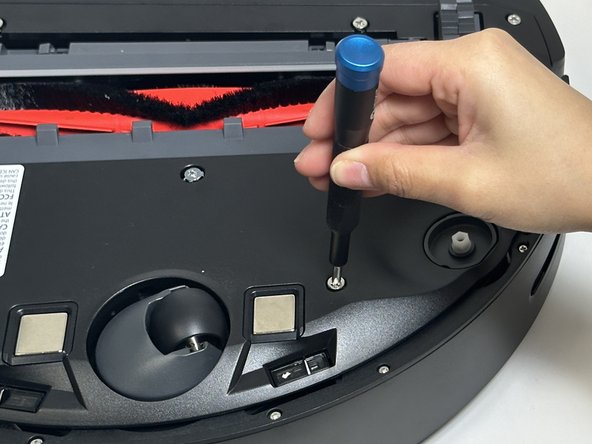
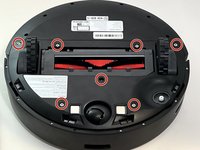
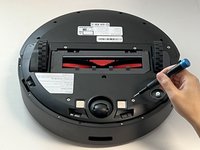
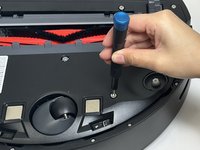
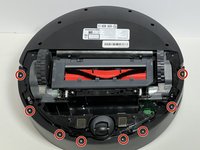
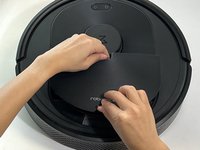
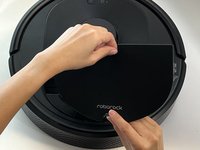
    1. Roborock Q5 Suction Motor Replacement, Battery: step 4, image 1 of 3 Roborock Q5 Suction Motor Replacement, Battery: step 4, image 2 of 3 Roborock Q5 Suction Motor Replacement, Battery: step 4, image 3 of 3
      • Use a Phillips screwdriver to remove the seven 15 mm screws from the bottom panel.

      Ask FixBot

      Add Comment

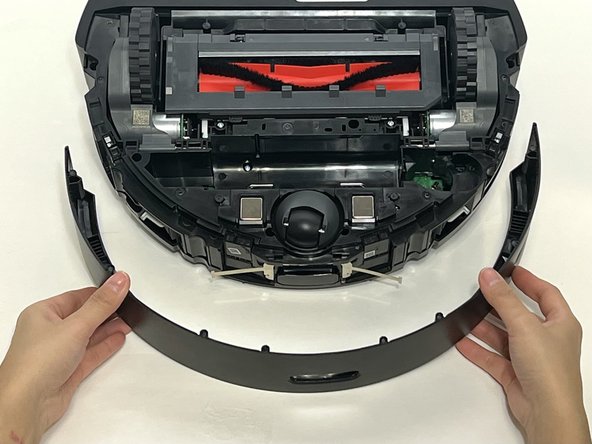
    2. Roborock Q5 Suction Motor Replacement: step 5, image 1 of 3 Roborock Q5 Suction Motor Replacement: step 5, image 2 of 3 Roborock Q5 Suction Motor Replacement: step 5, image 3 of 3
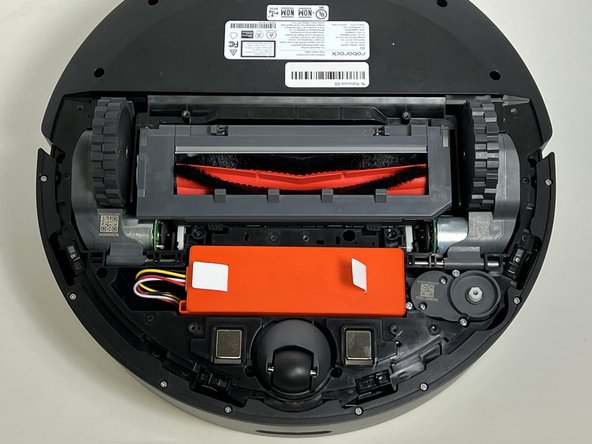
      • Gently lift off the bottom panel cover.

      • If the bottom panel is stuck, use a plastic spudger along the edges to gently lift it out of place, then remove it by hand.

      Ask FixBot

      Add Comment

    3. Roborock Q5 Suction Motor Replacement: step 6, image 1 of 3 Roborock Q5 Suction Motor Replacement: step 6, image 2 of 3 Roborock Q5 Suction Motor Replacement: step 6, image 3 of 3
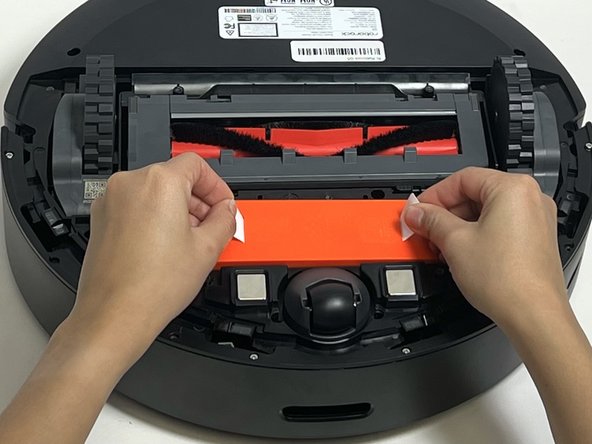
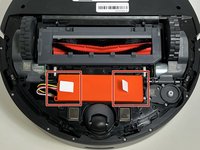
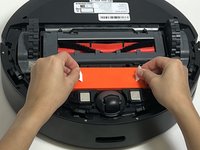
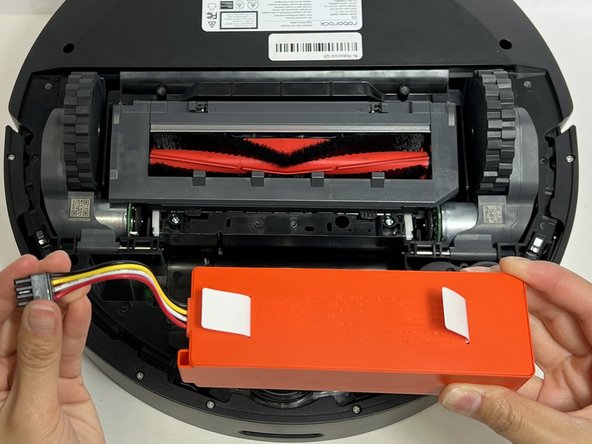
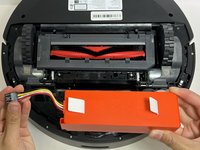
      • Use the two white straps to lift the battery out slightly to reveal the battery connector.

      • The battery is still connected to the robot vacuum. Take care not to strain the battery cable.

      Ask FixBot

      Add Comment

    4. Roborock Q5 Suction Motor Replacement: step 7, image 1 of 3 Roborock Q5 Suction Motor Replacement: step 7, image 2 of 3 Roborock Q5 Suction Motor Replacement: step 7, image 3 of 3
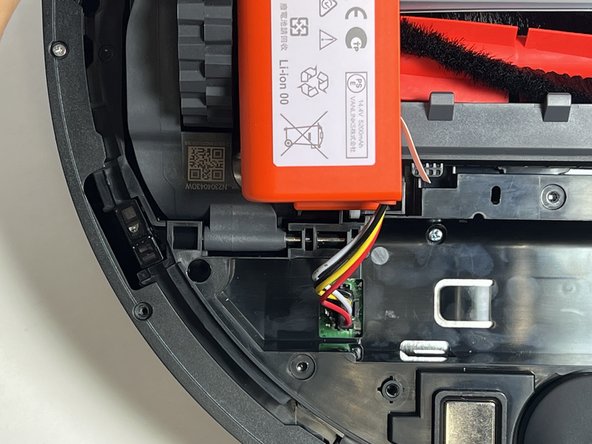
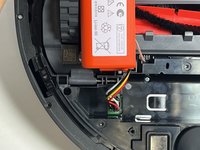
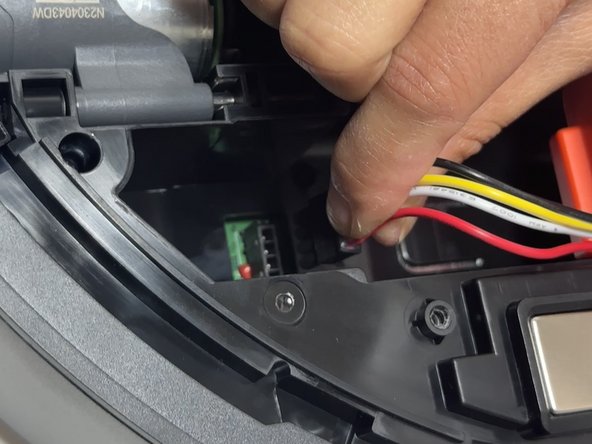
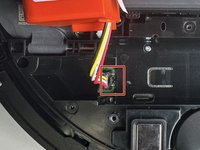
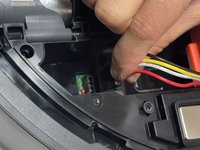
      • Using moderate pressure, squeeze and pull on the four-wire connector to disconnect the battery from the robot vacuum.

      Ask FixBot

      Add Comment

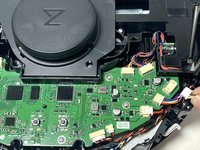
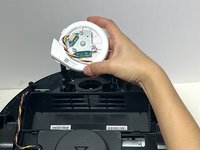
    1. Roborock Q5 Suction Motor Replacement, Suction Motor: step 8, image 1 of 3 Roborock Q5 Suction Motor Replacement, Suction Motor: step 8, image 2 of 3 Roborock Q5 Suction Motor Replacement, Suction Motor: step 8, image 3 of 3
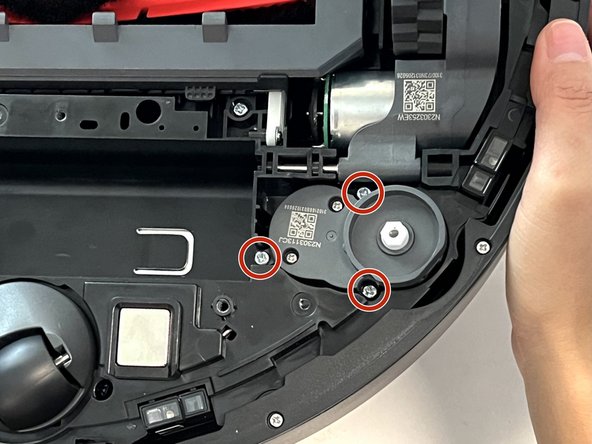
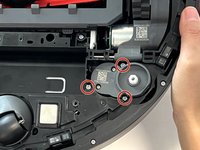
      • Remove the three 10 mm Phillips screws that secure the side brush motor.

      • Gently lift the side brush motor up and out of its housing.

      Ask FixBot

      Add Comment

    2. Roborock Q5 Suction Motor Replacement: step 9, image 1 of 2 Roborock Q5 Suction Motor Replacement: step 9, image 2 of 2
      • Use a Phillips screwdriver to remove the eight 11 mm Phillips screws that secure the front sensor panel cover.

      Ask FixBot

      Add Comment

    3. Roborock Q5 Suction Motor Replacement: step 10, image 1 of 2 Roborock Q5 Suction Motor Replacement: step 10, image 2 of 2
      • Gently lift the thin black front sensor panel cover bracket.

      • Gently pull the front sensor panel cover away from the robot.

      Ask FixBot

      Add Comment

    4. Roborock Q5 Suction Motor Replacement: step 11, image 1 of 1
      • Use a Phillips screwdriver to remove one 14 mm screw from the battery housing.

      • Use a Phillips #2 screwdriver to remove the eleven deep-set 14 mm screws from the bottom panel.

      Ask FixBot

      Add Comment

    5. Roborock Q5 Suction Motor Replacement: step 12, image 1 of 2 Roborock Q5 Suction Motor Replacement: step 12, image 2 of 2
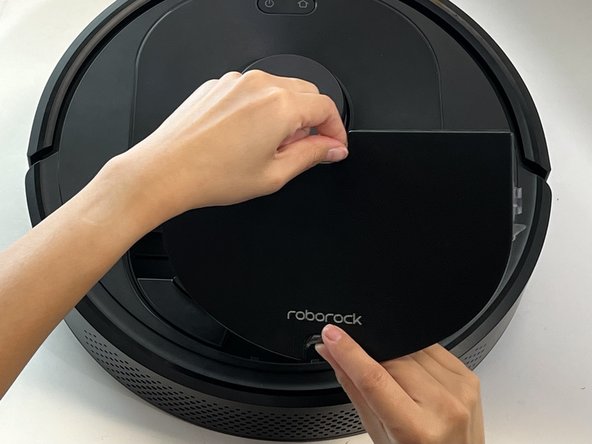
      • Carefully flip the device to place it with the wheels down.

      • Pinch the two dustbin retaining tabs together and pull up on the dustbin to remove it.

      Ask FixBot

      Add Comment

    6. Roborock Q5 Suction Motor Replacement: step 13, image 1 of 2 Roborock Q5 Suction Motor Replacement: step 13, image 2 of 2
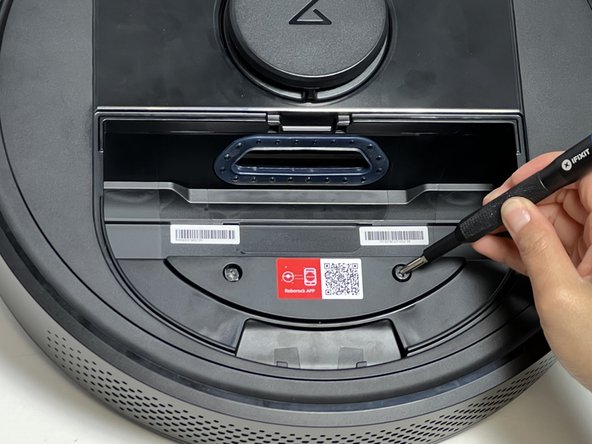
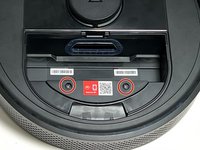
      • Use a Phillips screwdriver to remove the two 15 mm Phillips screws that secure the front panel cover.

      Ask FixBot

      Add Comment

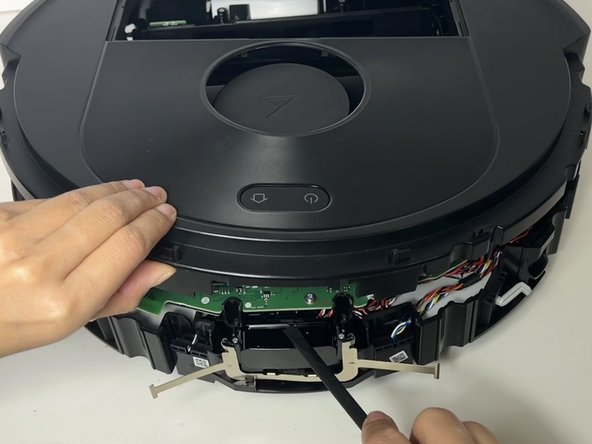
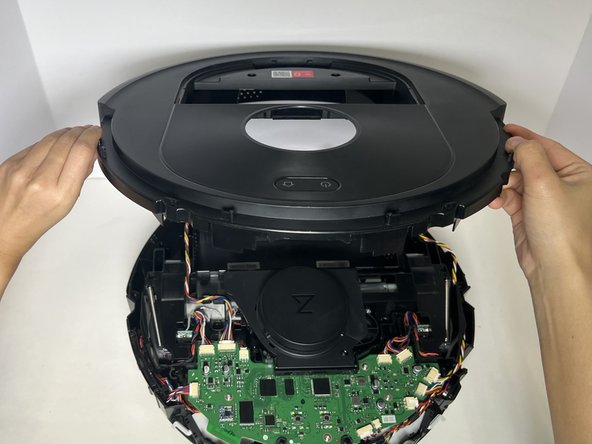
    7. Roborock Q5 Suction Motor Replacement: step 14, image 1 of 3 Roborock Q5 Suction Motor Replacement: step 14, image 2 of 3 Roborock Q5 Suction Motor Replacement: step 14, image 3 of 3
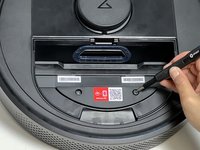
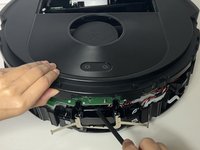
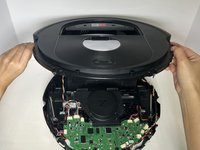
      • Use a spudger to pry up the top case.

      • Lift and remove the top case.

      Ask FixBot

      Add Comment

    8. Roborock Q5 Suction Motor Replacement: step 15, image 1 of 2 Roborock Q5 Suction Motor Replacement: step 15, image 2 of 2
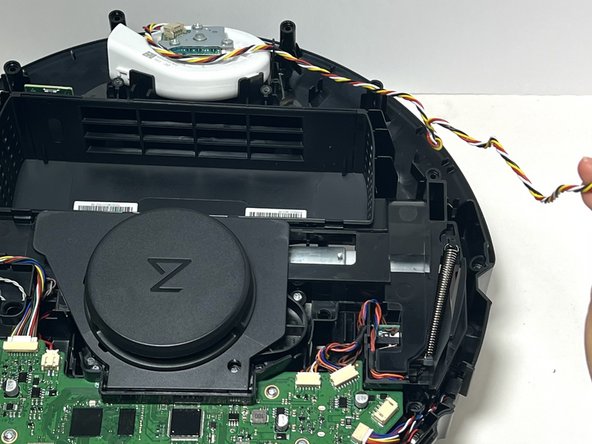
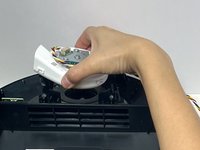
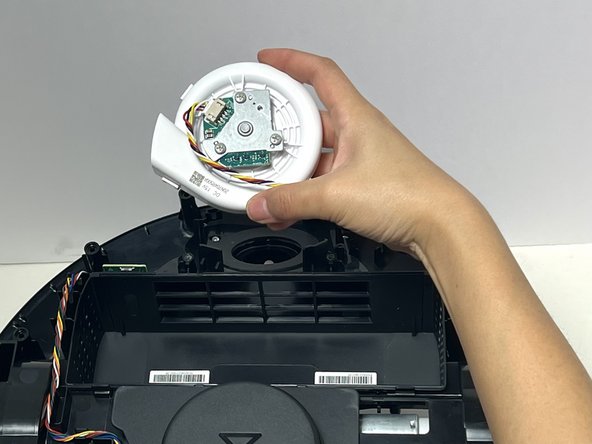
      • Lift the suction motor from its housing at the top of the robot.

      Ask FixBot

      Add Comment

    9. Roborock Q5 Suction Motor Replacement: step 16, image 1 of 3 Roborock Q5 Suction Motor Replacement: step 16, image 2 of 3 Roborock Q5 Suction Motor Replacement: step 16, image 3 of 3
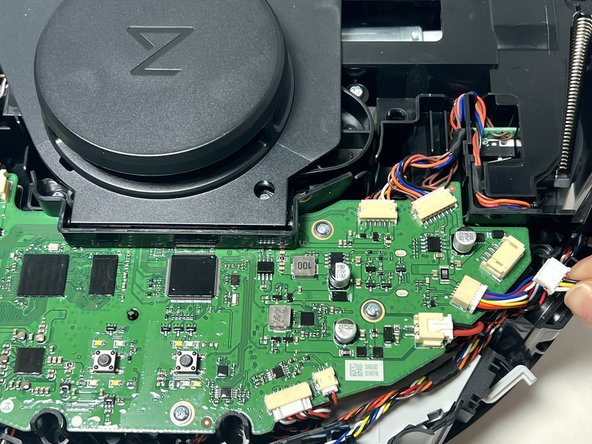
      • Grip the white suction motor connector and pull it directly out of its port.

      • Do not pull on the wires.

      Ask FixBot

      Add Comment

Conclusion

To reassemble your device, follow these instructions in reverse order.

Cancel: I did not complete this guide.

One other person completed this guide.

Jon Panaro

Member since: 01/29/24

366 Reputation

2 Guides authored

0 Guide Comments

Add Comment

View Statistics:

Past 24 Hours: 4

Past 7 Days: 17

Past 30 Days: 112

All Time: 1,367