Free Shipping on Domestic Orders $75+

Roborock Q5 Pro: Laser Distance Sensor Replacement

What you need

    1. Roborock Q5 Pro: Laser Distance Sensor Replacement, Remove the dustbin.: step 1, image 1 of 3 Roborock Q5 Pro: Laser Distance Sensor Replacement, Remove the dustbin.: step 1, image 2 of 3 Roborock Q5 Pro: Laser Distance Sensor Replacement, Remove the dustbin.: step 1, image 3 of 3
      • Flip it on its head, then remove the dustbin.

      Ask FixBot
      Add Comment

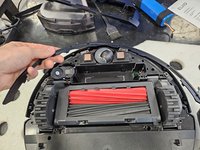
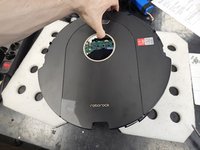
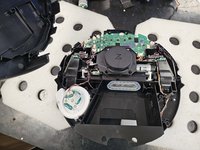
    2. Roborock Q5 Pro: Laser Distance Sensor Replacement, Remove the bottom cover.: step 2, image 1 of 2 Roborock Q5 Pro: Laser Distance Sensor Replacement, Remove the bottom cover.: step 2, image 2 of 2
      • Remove the side brush using a PH2 screwdriver.

      • Remove the screws using a PH2 screwdriver.

      • Then, pull the bottom cover off.

      Ask FixBot
      Add Comment

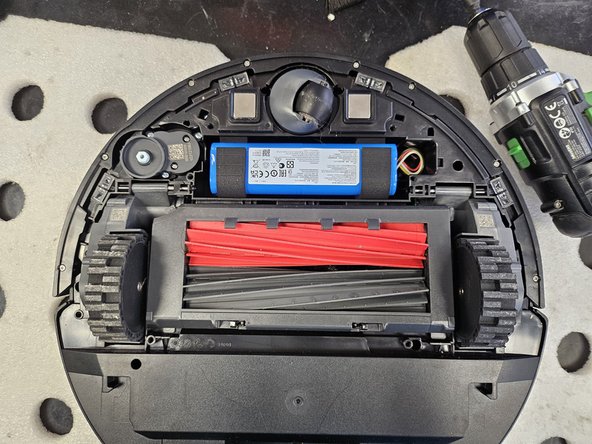
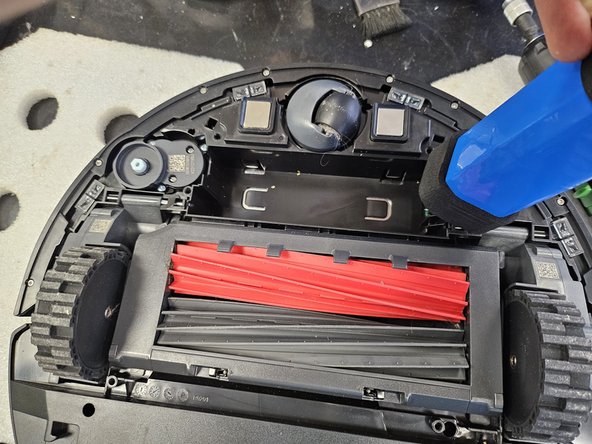
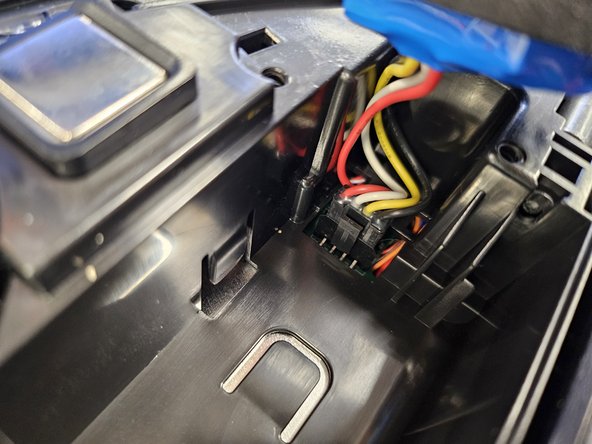
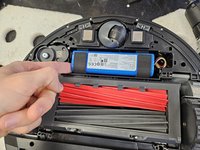
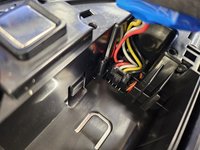
    3. Roborock Q5 Pro: Laser Distance Sensor Replacement, Remove the battery.: step 3, image 1 of 3 Roborock Q5 Pro: Laser Distance Sensor Replacement, Remove the battery.: step 3, image 2 of 3 Roborock Q5 Pro: Laser Distance Sensor Replacement, Remove the battery.: step 3, image 3 of 3
      • Lift it up on the left.

      • Detach the connector by squeezing the release tab, then pull it out.

      • Do not simply yank the battery out. You will tear the connector off the motherboard.

      Ask FixBot

      Add Comment

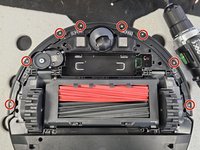
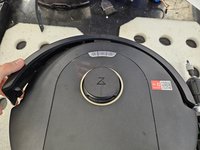
    4. Roborock Q5 Pro: Laser Distance Sensor Replacement, Remove the bumper's lid.: step 4, image 1 of 2 Roborock Q5 Pro: Laser Distance Sensor Replacement, Remove the bumper's lid.: step 4, image 2 of 2
      • Remove the marked screws using a PH1 screwdriver.

      • Then simply lift the lid off.

      Ask FixBot

      Add Comment

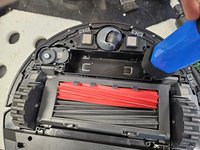
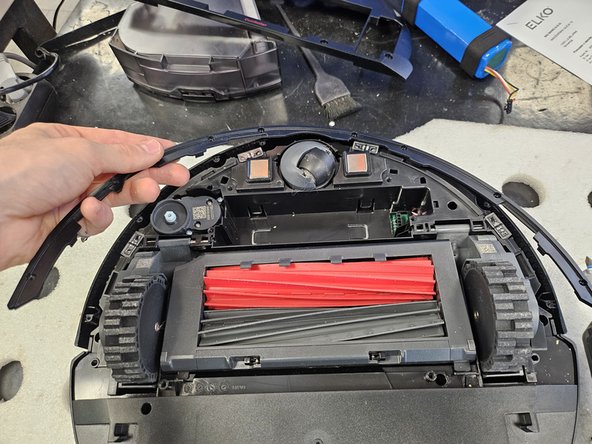
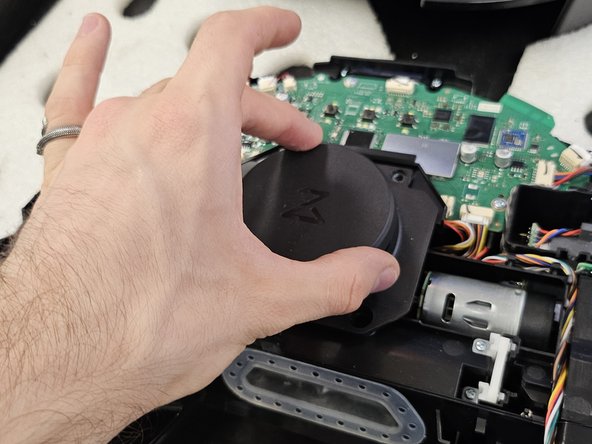
    5. Roborock Q5 Pro: Laser Distance Sensor Replacement, Remove the bumper.: step 5, image 1 of 2 Roborock Q5 Pro: Laser Distance Sensor Replacement, Remove the bumper.: step 5, image 2 of 2
      • Flip the robot over.

      • Tilt the bumper forwards and move it upwards to remove it.

      Ask FixBot
      Add Comment

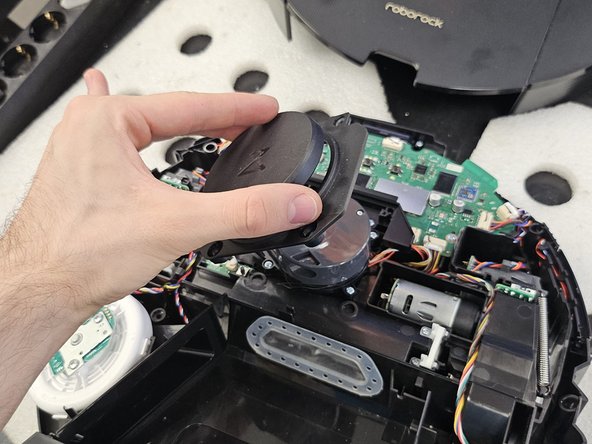
    6. Roborock Q5 Pro: Laser Distance Sensor Replacement, Remove the side brush motor.: step 6, image 1 of 1
      • Flip it back over.

      • Remove the screws using a PH2 screwdriver.

      • Simply lift it out.

      Ask FixBot
      Add Comment

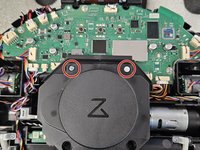
    7. Roborock Q5 Pro: Laser Distance Sensor Replacement, Remove the chassis screws.: step 7, image 1 of 1
      • Remove the marked screws using a PH2 screwdriver.

      Ask FixBot
      Add Comment

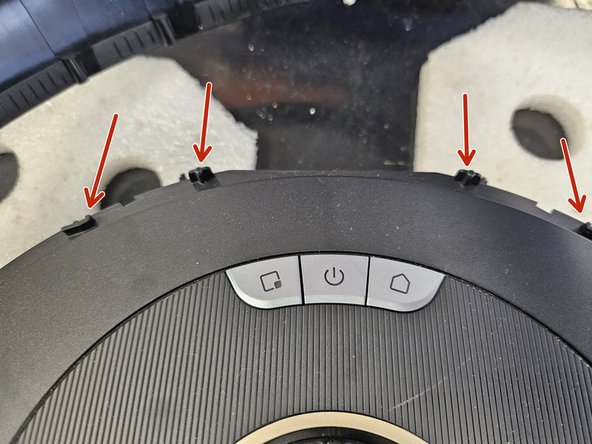
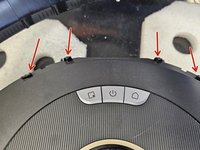
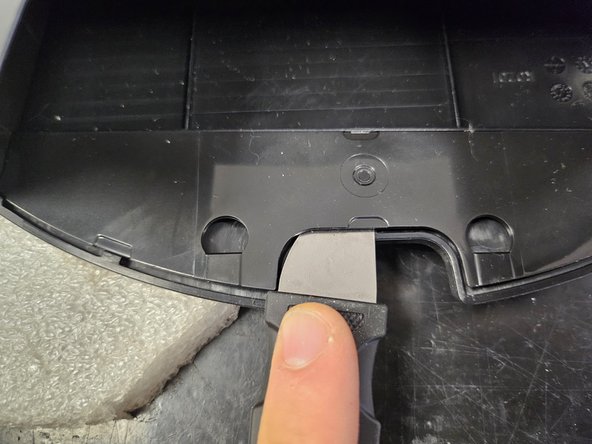
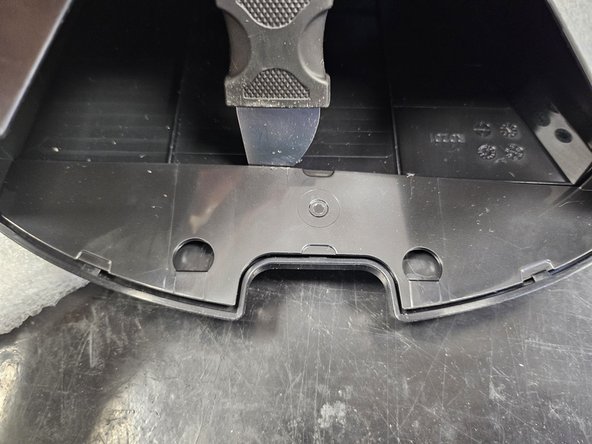
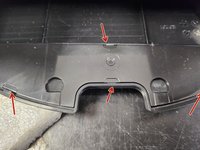
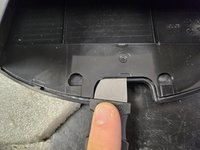
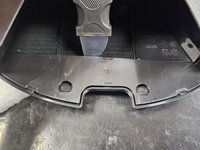
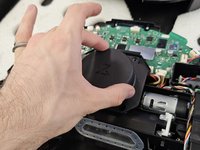
    8. Roborock Q5 Pro: Laser Distance Sensor Replacement, Latches.: step 8, image 1 of 3 Roborock Q5 Pro: Laser Distance Sensor Replacement, Latches.: step 8, image 2 of 3 Roborock Q5 Pro: Laser Distance Sensor Replacement, Latches.: step 8, image 3 of 3
      • The chassis will still be held together by a couple latches on the back.

      • Use a prying tool to get these apart before taking it apart.

      Ask FixBot
      Add Comment

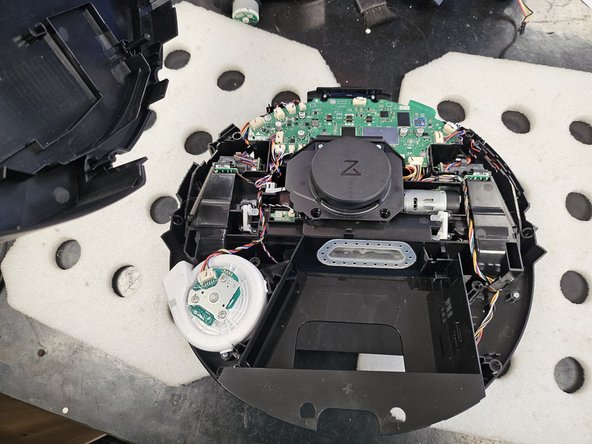
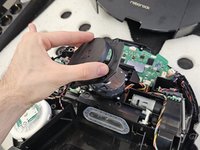
    9. Roborock Q5 Pro: Laser Distance Sensor Replacement, Take it apart!: step 9, image 1 of 2 Roborock Q5 Pro: Laser Distance Sensor Replacement, Take it apart!: step 9, image 2 of 2
      • Flip it over and simply pull the chassis halves apart.

      Ask FixBot
      Add Comment

    10. Roborock Q5 Pro: Laser Distance Sensor Replacement, Screeeeeeews.: step 10, image 1 of 1
      • Here are the screws organised by steps and type.

      • Use this if needed as a reference during reassembly.

      Ask FixBot

      Add Comment
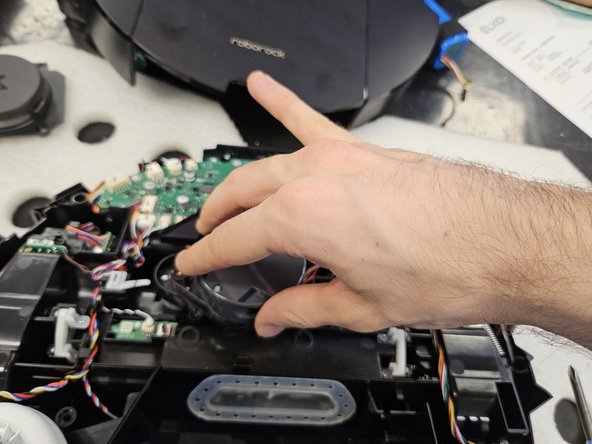
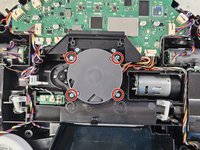
    1. Roborock Q5 Pro: Laser Distance Sensor Replacement, Remove the LDS cage.: step 11, image 1 of 3 Roborock Q5 Pro: Laser Distance Sensor Replacement, Remove the LDS cage.: step 11, image 2 of 3 Roborock Q5 Pro: Laser Distance Sensor Replacement, Remove the LDS cage.: step 11, image 3 of 3
      • Remove the marked screws using a PH2 screwdriver.

      • Then, remove it.

      Ask FixBot

      Add Comment

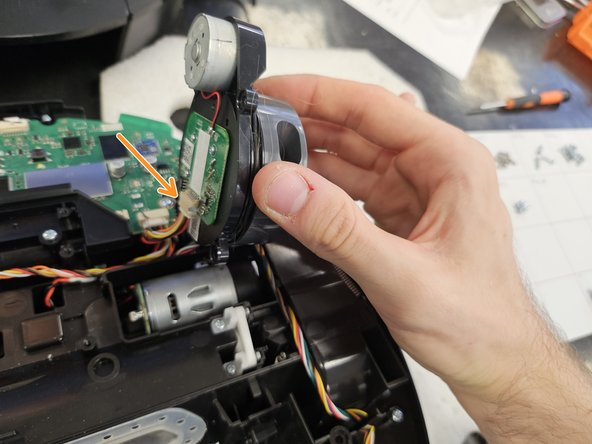
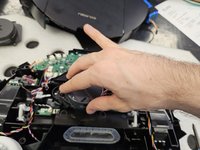
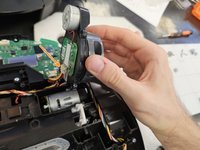
    2. Roborock Q5 Pro: Laser Distance Sensor Replacement, Remove the LDS.: step 12, image 1 of 3 Roborock Q5 Pro: Laser Distance Sensor Replacement, Remove the LDS.: step 12, image 2 of 3 Roborock Q5 Pro: Laser Distance Sensor Replacement, Remove the LDS.: step 12, image 3 of 3
      • Remove the marked screws using a PH2 screwdriver.

      • Lift the LDS towards the right, then disconnect the connector.

      • If you're replacing the LDS, simply insert the new one and reassemble your device.

      Ask FixBot

      Add Comment

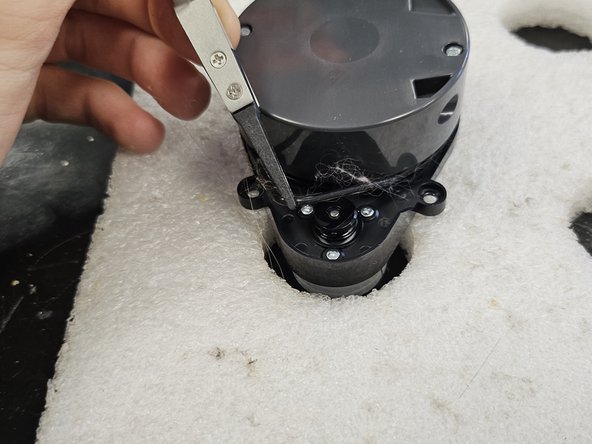
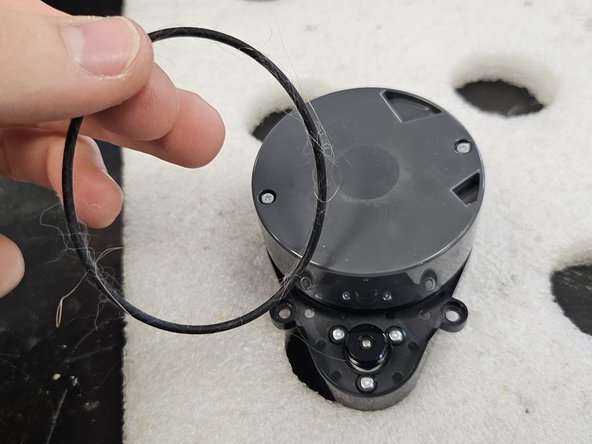
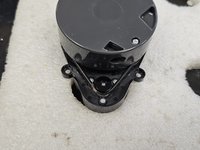
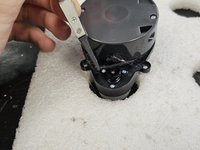
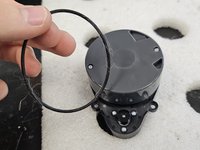
    3. Roborock Q5 Pro: Laser Distance Sensor Replacement, Remove the rubber band.: step 13, image 1 of 3 Roborock Q5 Pro: Laser Distance Sensor Replacement, Remove the rubber band.: step 13, image 2 of 3 Roborock Q5 Pro: Laser Distance Sensor Replacement, Remove the rubber band.: step 13, image 3 of 3
      • Remove the rubber band using some tweezers, forceps or your fingers.

      • Make sure to clean it. This one was quite dirty, which was causing the motor to seize.

      • Your robot may have a different iteration of the LDS, which has a cover over the rubber band section. In that case, please check: Roborock Q Revo: Laser Distance Sensor Replacement and skip to step 12.

      Ask FixBot

      Add Comment

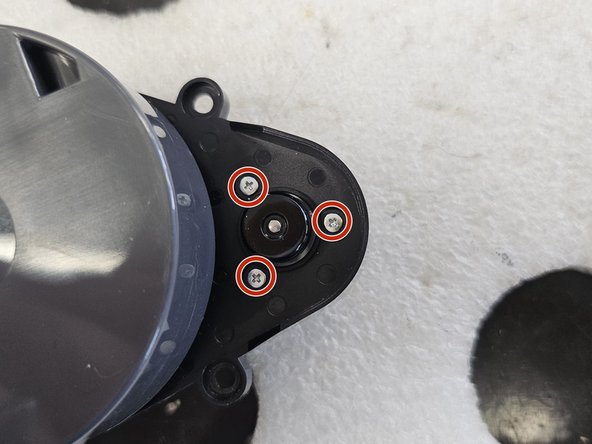
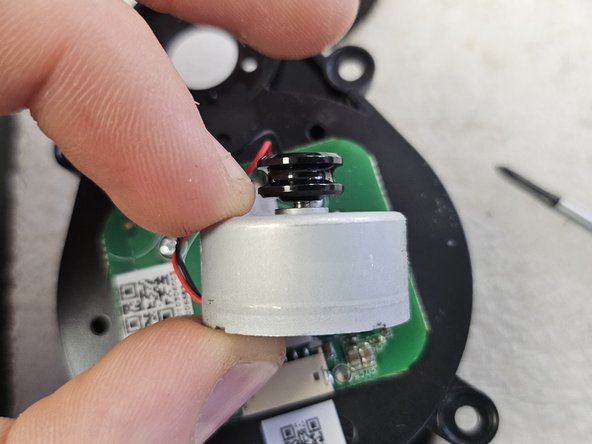
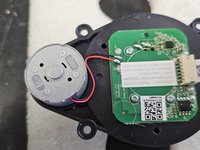
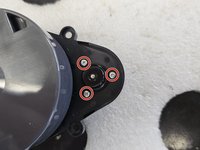
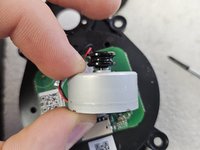
    4. Roborock Q5 Pro: Laser Distance Sensor Replacement, Remove the motor.: step 14, image 1 of 3 Roborock Q5 Pro: Laser Distance Sensor Replacement, Remove the motor.: step 14, image 2 of 3 Roborock Q5 Pro: Laser Distance Sensor Replacement, Remove the motor.: step 14, image 3 of 3
      • Before removing the motor, flip it over and check whether it has a connector or is soldered directly onto the PCBA.

      • Remove the screws.

      • Now you can remove and replace the motor.

      • Your robot may have a different iteration of the LDS, which needs it's driving wheel removed before you can remove the screws. In that case, please check: Roborock Q Revo: Laser Distance Sensor Replacement and skip to step 12.

      Ask FixBot

      Add Comment

Conclusion

To reassemble your device, follow these instructions in reverse order.

Cancel: I did not complete this guide.

5 other people completed this guide.

DegenFixer

Member since: 09/18/24

5,750 Reputation

24 Guides authored

1 Guide Comment

We have the duoroller + and it looks slightly different internally. We can't seem to see where the belt is located

Denise Roper - Reply Share

Add Comment

View Statistics:

Past 24 Hours: 11

Past 7 Days: 96

Past 30 Days: 412

All Time: 8,503