
Roborock Dyad Pro Combo: Fan Unit

DegenFixer and 5 other contributors
Last updated on Sep 26, 2026
Views: 7.3K
View statistics:
- Past 24 Hours:
- 11
- Past 7 Days:
- 86
- Past 30 Days:
- 473
- All Time:
- 7,269
Comments: 6
4 comments on steps, 2 guide comments.
Go to guide commentsCompleted: 0 1
No one has marked this guide "completed." Will you be the first?
1 person has marked this guide "completed." It's you — great job!
Favorites: 0 1
No one has favorited (and subscribed to) this guide. Will you be the first?
1 person has favorited (and subscribed to) this guide — and that's you!
Community-Contributed Guide
An awesome member of our community made this guide. It was not created by iFixit staff.
Introduction
Go to step 1 ↓This is a teardown guide for the suction fan unit of the Roborock Dyad Pro Combo 2in1 wet&dry handheld vacuum cleaner.
This is not a teardown for the whole of the Dyad Pro Combo and will focus solely on the fan unit.
What you need
Tools


-
-
-
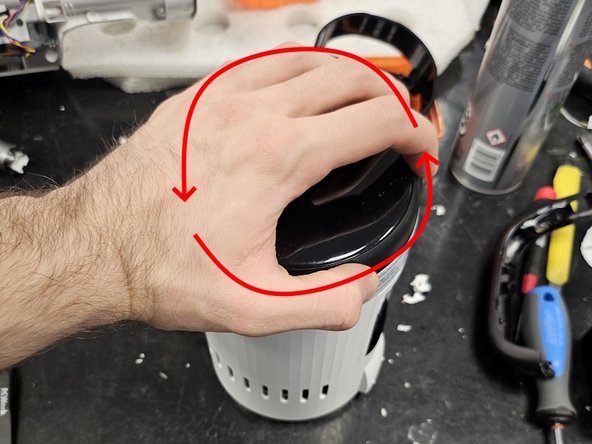
Start by grabbing the display and twisting it counter clockwise.
-
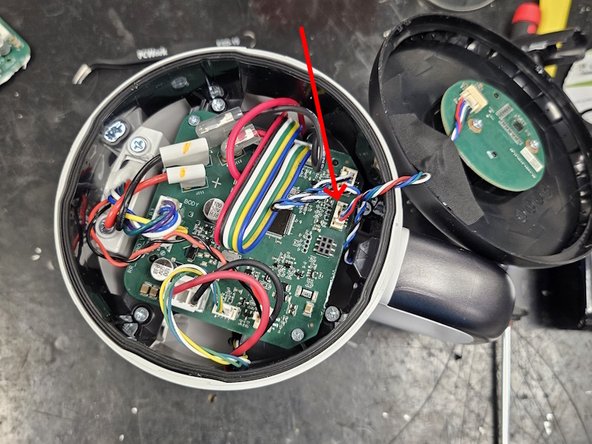
Once removing the display, remove the cable connecting it.
 Ask FixBot
-
-
-
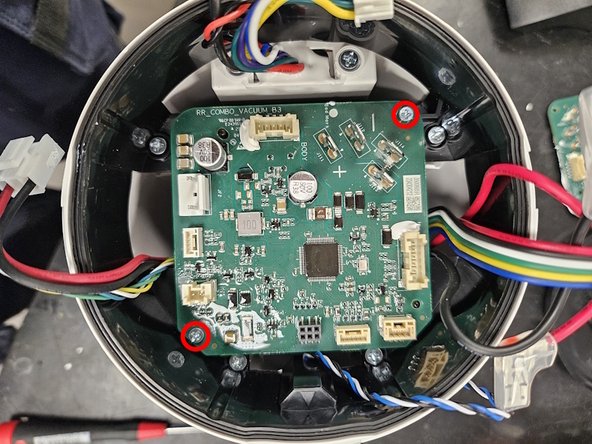
Remove all the cables from the motherboard.
-
Then remove the 2 screws and take the motherboard out.
-
-
-
Remove the plastic housing.
-
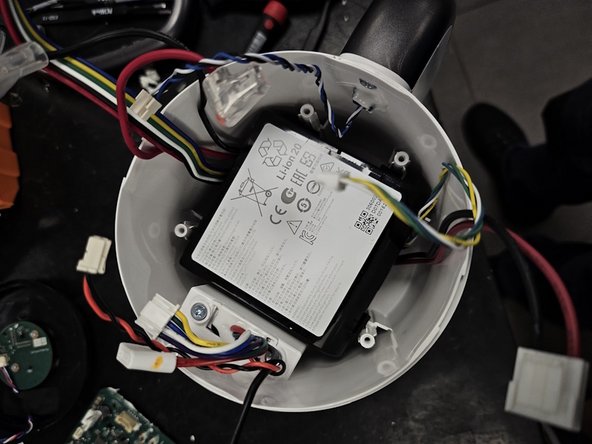
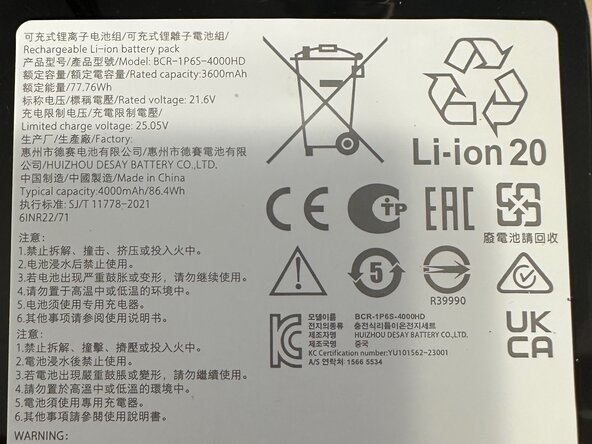
Remove the battery. (It is not held in place by anything. Just pull it out.)
-
-
-
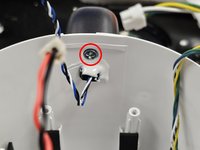
Remove the screw from the inside.
-
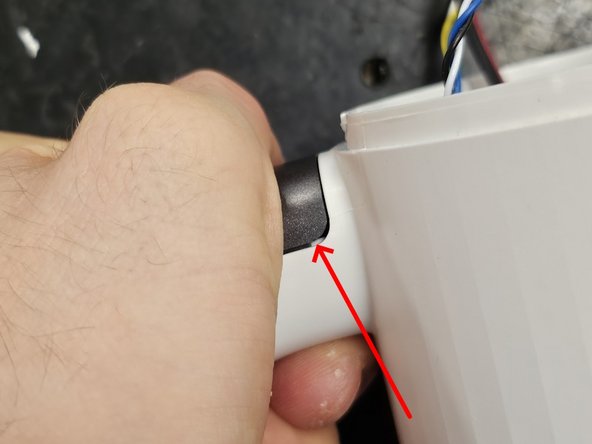
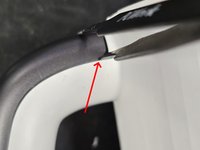
Use your hand to force a small gap between the handle and the housing.
-
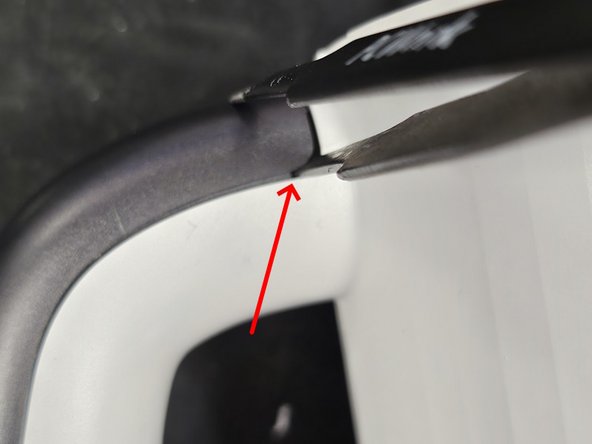
Fit blunt-tipped tweezers or a small flat head screwdriver into the gap.
-
-
-
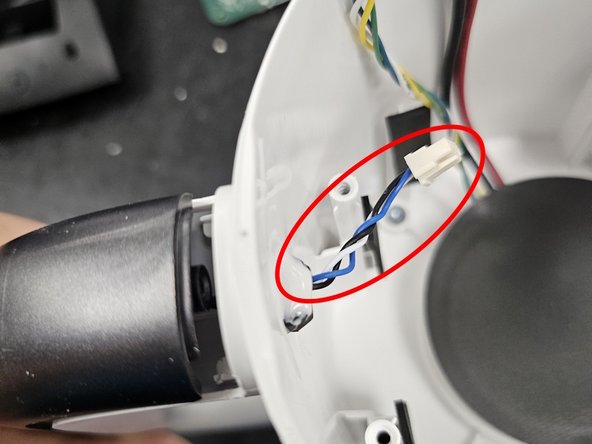
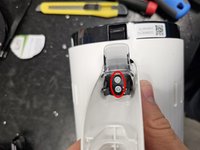
Push it upwards, until it won't re-seat by itself.
-
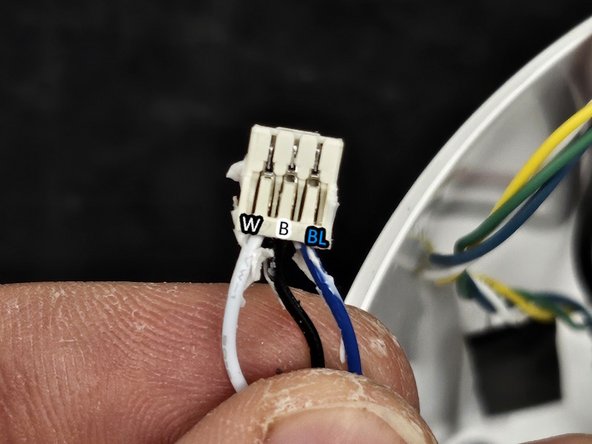
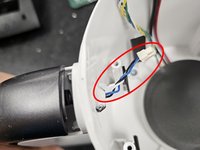
Push the cable as far into the handle as it will go to prevent damaging it once you get the handle apart.
-
-
-
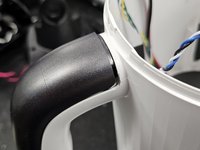
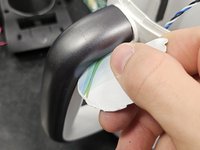
Remove the handle by defeating the latches using a Plastic card or iFixit's Jimmy.
-
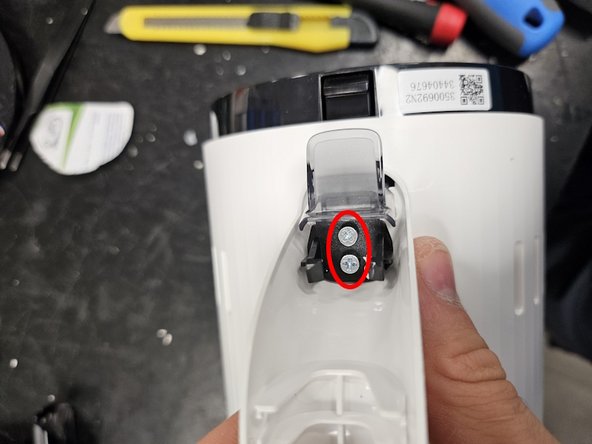
Remove the screws, then remove the black plastic retainer.
-
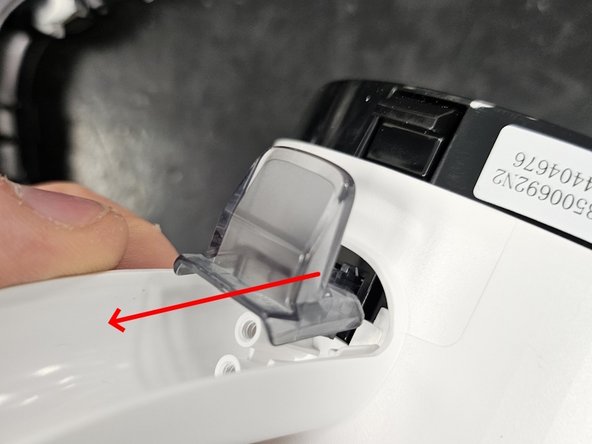
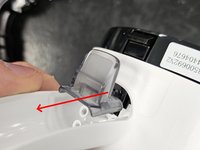
Remove the grey lever by pulling it off. It is latched onto the main assembly.
-
-
-
-
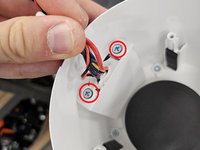
Back inside, remove the 2 screws by the bunch of cables.
-
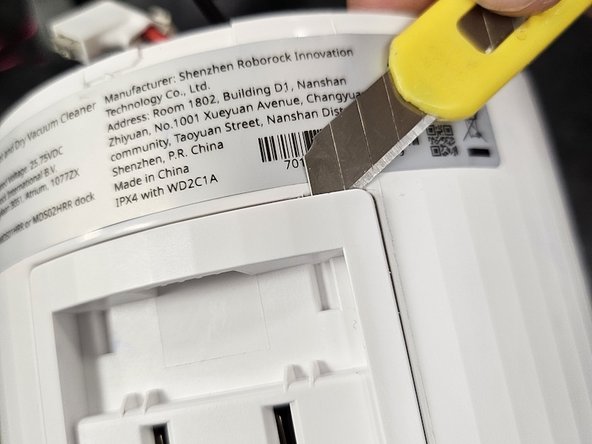
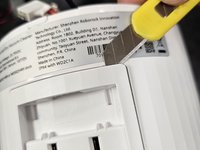
Move to the outside and force a gap between the main housing and the electrical contacts housing.
-
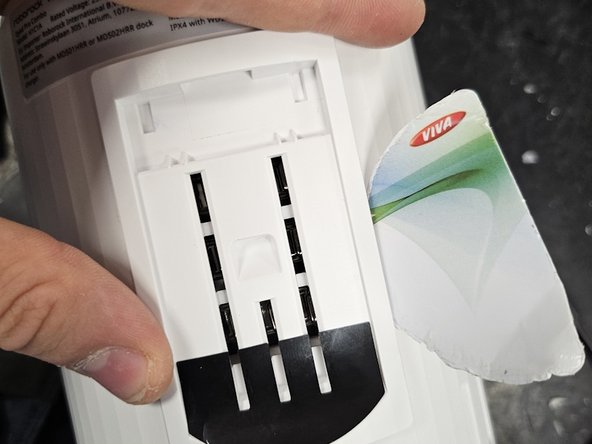
Use a plastic card to get the rest of the latches to unlatch.
-
-
-
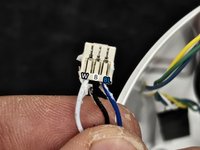
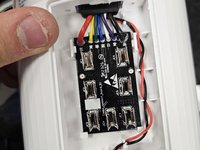
Remove the PCBA and the cable leading from the bottom.
-
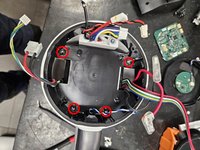
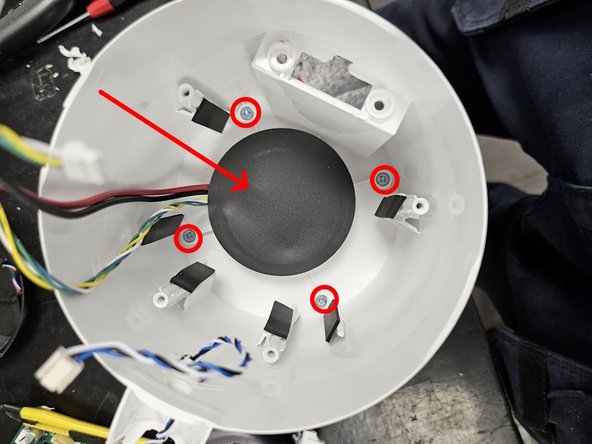
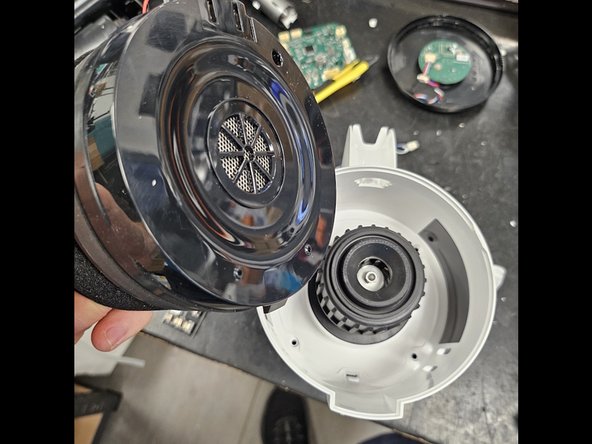
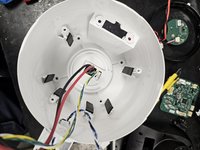
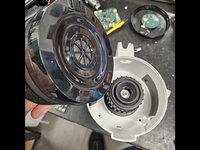
Back inside, remove the 4 screws and the black foam on the bottom.
-
-












2 Guide Comments
Thank you! Such a life saver.
Great teardown! Too bad that in my case, the source of foul smells turned to be the motor, which doesn't look like it can be disassembled non-destructively due to the duct being glued shut. Major design flaw in which moisture and/or dirty water can leak directly into the motor housing.
Also, in my opinion the motor access screws should be located on the bottom of the case, not inside covered up by everything else, requiring full teardown just to clean the business end.
