Free Shipping on Domestic Orders $75+

Rival CM4015 Heating Element Replacement

Views: 821

View statistics:

Past 24 Hours:
2
Past 7 Days:
14
Past 30 Days:
88
All Time:
821
Comments: 0

No one has left comments on this guide. Will you be first?

Go to guide comments
Completed: 1

1 person has marked this guide "completed." Will you be next?

Favorites: 0

No one has favorited (and subscribed to) this guide. Will you be the first?

Time Required: 15 minutes
Difficulty: Moderate
Inconsistent Images

Updating the images on this guide to be more consistent with the prerequisites would increase its awesomeness.

Incorrect Tools

Help make this guide better by using the correct tools in images and/or text.

Rival CM4015 Heating Element Replacement

Introduction

Go to step 1 ↓

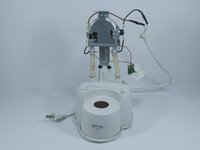
The Rival single cup coffee maker has a heating element that is prone to breaking. If the device is left on for too long, the heating element can over heat and stop working.

What you need

Tools

    1. Rival CM4015 Heating Element Replacement, Base Plate: step 1, image 1 of 2 Rival CM4015 Heating Element Replacement, Base Plate: step 1, image 2 of 2
      • Remove the three 16 mm tri-point screws from the base plate.

      Ask FixBot

      Add Comment

    2. Rival CM4015 Heating Element Replacement: step 2, image 1 of 2 Rival CM4015 Heating Element Replacement: step 2, image 2 of 2
      • Remove the base plate by pressing the plastic body away from the metal plate with your thumbs.

      Ask FixBot

      Add Comment

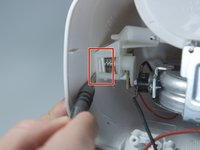
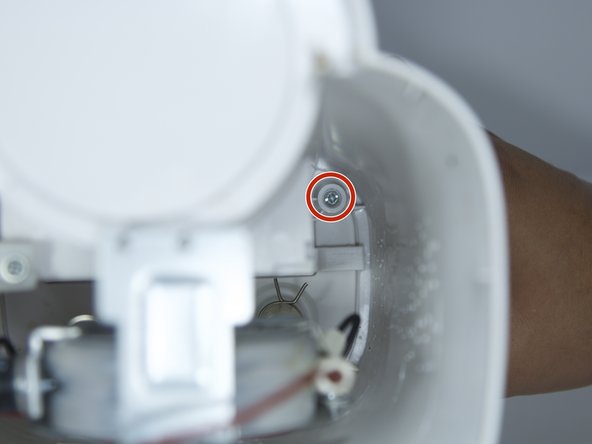
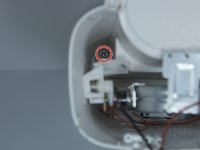
    1. Rival CM4015 Heating Element Replacement, Power Button: step 3, image 1 of 1
      • Remove the 8mm Phillips screw that attaches the power button to the inside of the coffee maker.

      Ask FixBot

      Add Comment

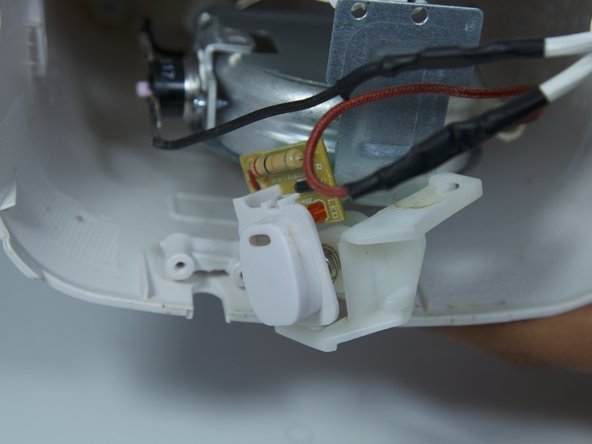
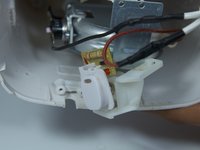
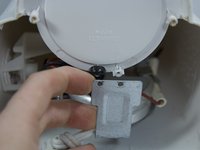
    2. Rival CM4015 Heating Element Replacement: step 4, image 1 of 2 Rival CM4015 Heating Element Replacement: step 4, image 2 of 2
      • Use a flat head screwdriver to pry the power button from its slot in the body of the device.

      • Make sure the tool is pressed securely under the plastic clip, in order to not break it.

      Ask FixBot

      Add Comment

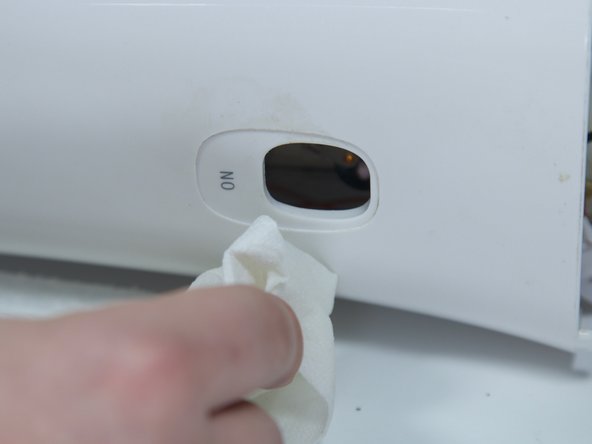
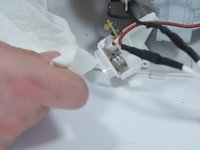
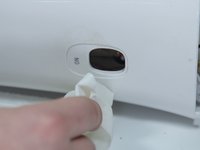
    3. Rival CM4015 Heating Element Replacement: step 5, image 1 of 2 Rival CM4015 Heating Element Replacement: step 5, image 2 of 2
      • Clean both the button and its slot before replacing the power button.

      Ask FixBot

      Add Comment

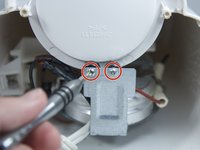
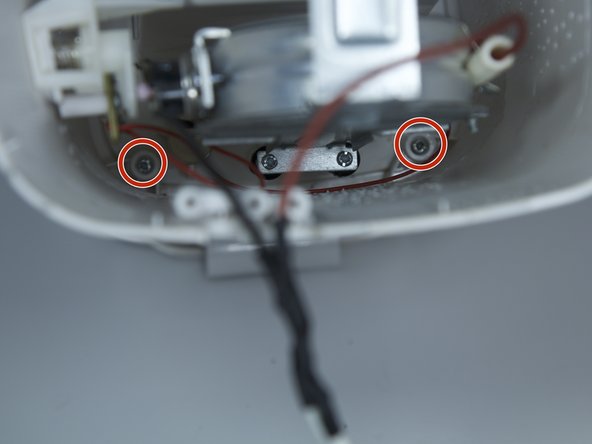
    1. Rival CM4015 Heating Element Replacement, Heating Element: step 6, image 1 of 1
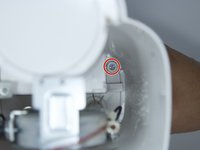
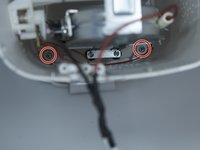
      • Remove the two 8 mm Phillips screws from the plastic body.

      Ask FixBot

      Add Comment

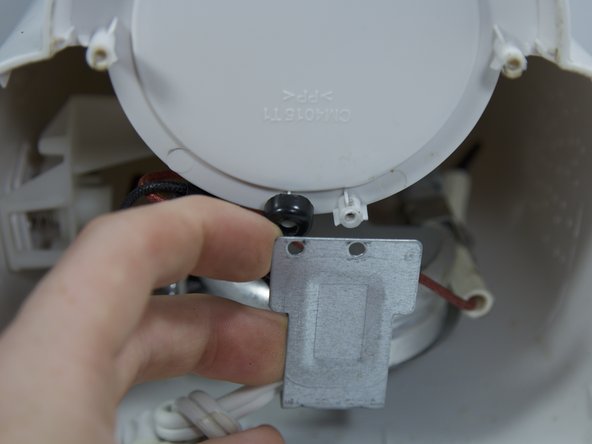
    2. Rival CM4015 Heating Element Replacement: step 7, image 1 of 2 Rival CM4015 Heating Element Replacement: step 7, image 2 of 2
      • Remove the two 8 mm Phillips screws from the chassis of coffee maker.

      • Pull back the metal backing from the plastic body.

      Ask FixBot

      Add Comment

    3. Rival CM4015 Heating Element Replacement: step 8, image 1 of 3 Rival CM4015 Heating Element Replacement: step 8, image 2 of 3 Rival CM4015 Heating Element Replacement: step 8, image 3 of 3
      • Remove the four 8 mm Phillips screws from the inner plastic body.

      • You will need a long, thin Phillips screw driver to get this deep into the device.

      Ask FixBot

      Add Comment

    4. Rival CM4015 Heating Element Replacement: step 9, image 1 of 2 Rival CM4015 Heating Element Replacement: step 9, image 2 of 2
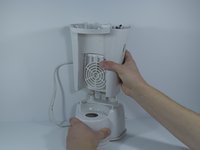
      • Flip the device upside down and remove the outer plastic body from the device by pulling straight up.

      • Take your time to make sure the thin cables within the device don't tear.

      Ask FixBot

      Add Comment

    5. Rival CM4015 Heating Element Replacement: step 10, image 1 of 1
      • Remove the two 8 mm Phillips screws from the metal backing.

      Ask FixBot

      Add Comment

    6. Rival CM4015 Heating Element Replacement: step 11, image 1 of 1
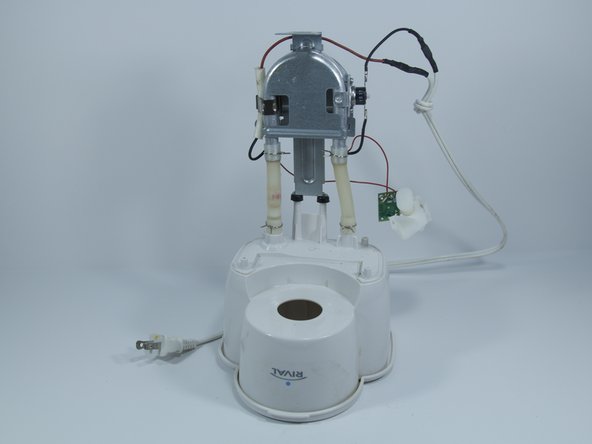
      • Remove the 4 springs holding the water tubes by squeezing the 2 prongs together.

      • You may also use pliers for this step if the springs are too strong.

      Ask FixBot

      Add Comment

    7. Rival CM4015 Heating Element Replacement: step 12, image 1 of 1
      • Bend the heating element back and forth to wiggle the water tubes loose from the plastic.

      Ask FixBot

      Add Comment

Conclusion

To reassemble your device, follow these instructions in reverse order.

Cancel: I did not complete this guide.

One other person completed this guide.

Michael Murdock

Member since: 10/06/16

279 Reputation

2 Guides authored

Team

Cal Poly, Team 10-6, Livingston Fall 2016 Member of Cal Poly, Team 10-6, Livingston Fall 2016

CPSU-LIVINGSTON-F16S10G6

5 Members

72 Guides authored

0 Guide Comments

Add Comment

View Statistics:

Past 24 Hours: 2

Past 7 Days: 14

Past 30 Days: 88

All Time: 821