Free Shipping on Domestic Orders $75+

Ring Video Doorbell 3 Camera Replacement

Views: 767

View statistics:

Past 24 Hours:
2
Past 7 Days:
19
Past 30 Days:
107
All Time:
767
Comments: 0

No one has left comments on this guide. Will you be first?

Go to guide comments
Completed: 0

No one has marked this guide "completed." Will you be the first?

Favorites: 0

No one has favorited (and subscribed to) this guide. Will you be the first?

Time Required: 20 minutes
Difficulty: Moderate
Ring Video Doorbell 3 Camera Replacement

Introduction

Go to step 1 ↓

This is a step-by-step guide that will walk through the process of replacing the camera on the Ring Doorbell 3. The camera is a component that can show what is happening outside. Problems with the camera quality could be the result of a broken camera or Wi-Fi problems. More information for solutions to these issues can be found on the Ring Doorbell Troubleshooting Page. Since the device needs to be taken apart to access the parts, some users may not know how to dismantle it, which is where this guide can come in handy.


What you need

Tools

    1. Ring Video Doorbell 3 Camera Replacement, Faceplate: step 1, image 1 of 2 Ring Video Doorbell 3 Camera Replacement, Faceplate: step 1, image 2 of 2
      • Look at the bottom of the device and locate the arrow.

      • Use your fingers to push the silver faceplate in the direction of the arrow.

      Ask FixBot

      Add Comment

    2. Ring Video Doorbell 3 Camera Replacement: step 2, image 1 of 1
      • Push up to take the face plate off.

      Ask FixBot

      Add Comment

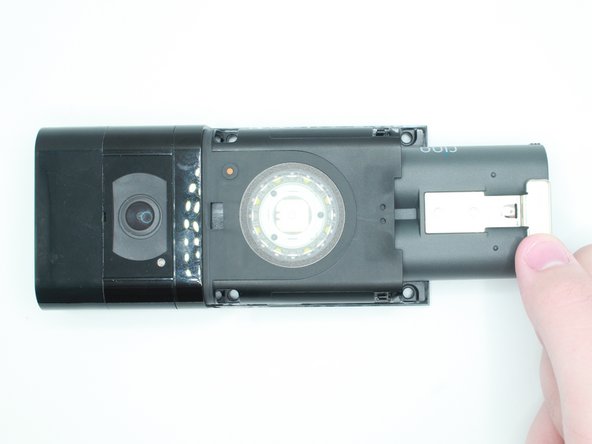
    1. Ring Video Doorbell 3 Camera Replacement, Battery: step 3, image 1 of 2 Ring Video Doorbell 3 Camera Replacement, Battery: step 3, image 2 of 2
      • Push in the silver tab and slide the battery out.

      Ask FixBot

      Add Comment

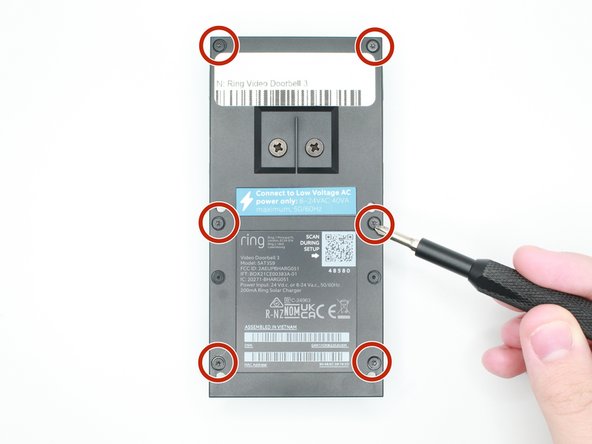
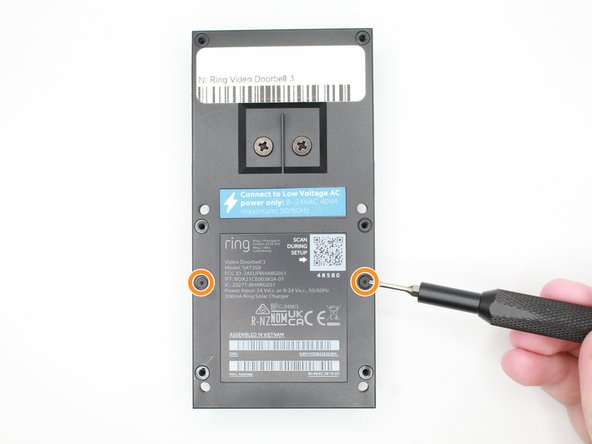
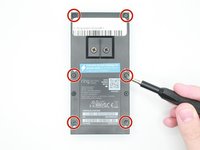
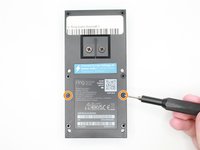
    1. Ring Video Doorbell 3 Camera Replacement, Motherboard: step 4, image 1 of 3 Ring Video Doorbell 3 Camera Replacement, Motherboard: step 4, image 2 of 3 Ring Video Doorbell 3 Camera Replacement, Motherboard: step 4, image 3 of 3
      • Remove the 6 screws with a Torx T6 screwdriver.

      • Remove the 2 screws with a Torx T5 screwdriver.

      Ask FixBot

      Add Comment

    2. Ring Video Doorbell 3 Camera Replacement: step 5, image 1 of 2 Ring Video Doorbell 3 Camera Replacement: step 5, image 2 of 2
      • Put your thumb where the battery was and push outwards to remove the back case.

      Ask FixBot

      Add Comment

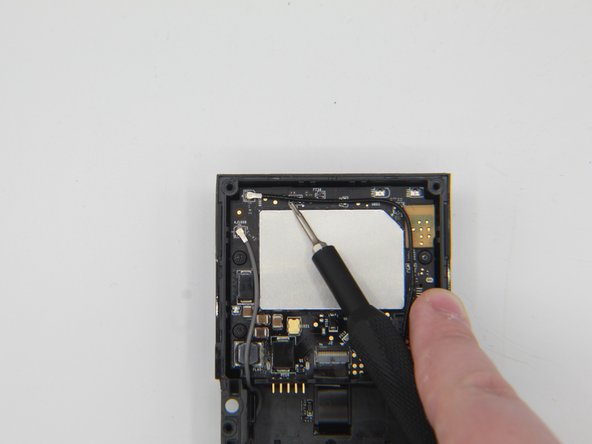
    3. Ring Video Doorbell 3 Camera Replacement: step 6, image 1 of 3 Ring Video Doorbell 3 Camera Replacement: step 6, image 2 of 3 Ring Video Doorbell 3 Camera Replacement: step 6, image 3 of 3
      • Get a tweezer, and remove the black and grey antenna wires.

      Ask FixBot

      Add Comment

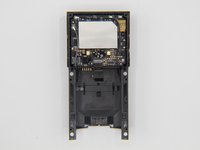
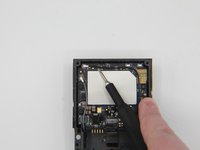
    4. Ring Video Doorbell 3 Camera Replacement: step 7, image 1 of 2 Ring Video Doorbell 3 Camera Replacement: step 7, image 2 of 2
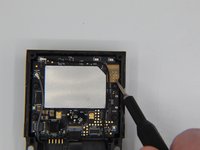
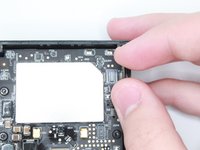
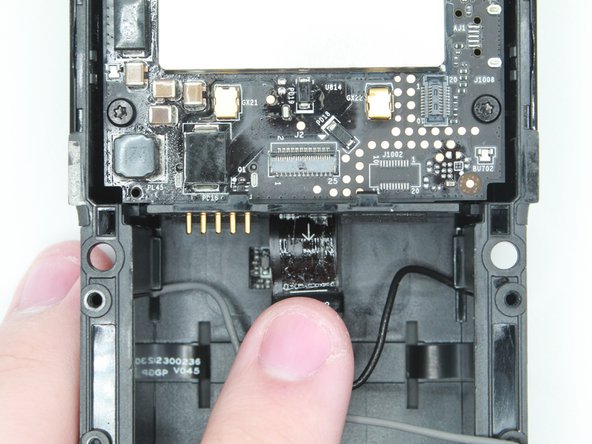
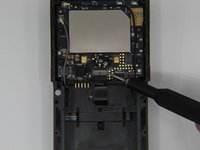
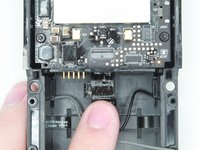
      • Disconnect the camera sensor.

      Ask FixBot

      Add Comment

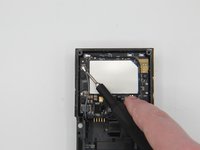
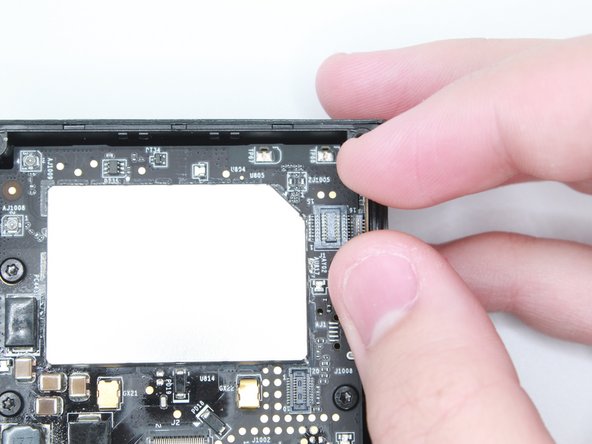
    5. Ring Video Doorbell 3 Camera Replacement: step 8, image 1 of 2 Ring Video Doorbell 3 Camera Replacement: step 8, image 2 of 2
      Tool used on this step:
      Tweezers
      $4.99
      Buy
      • Be cautious to not rip the ribbon cable.

      • Lift the black tab above the ribbon to unlock it.

      • Use the tweezers to pull out the ribbon.

      Ask FixBot

      Add Comment

    6. Ring Video Doorbell 3 Camera Replacement: step 9, image 1 of 2 Ring Video Doorbell 3 Camera Replacement: step 9, image 2 of 2
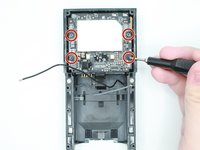
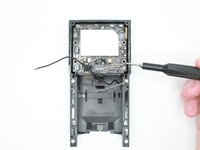
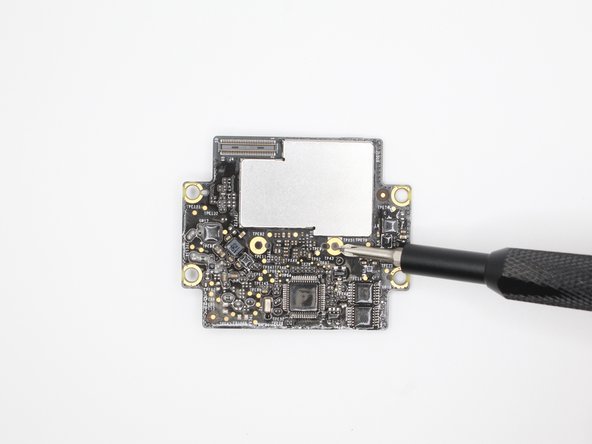
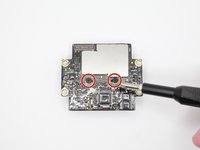
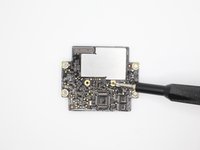
      • Use a Torx T6 but to take out the four screws on the first motherboard.

      Ask FixBot

      Add Comment

    7. Ring Video Doorbell 3 Camera Replacement: step 10, image 1 of 2 Ring Video Doorbell 3 Camera Replacement: step 10, image 2 of 2
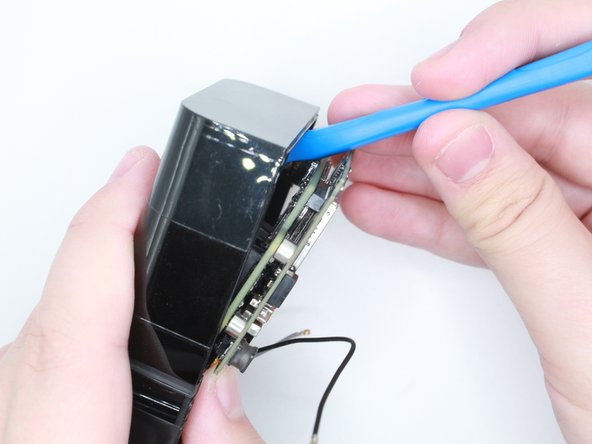
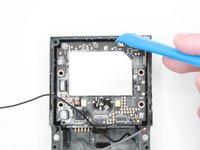
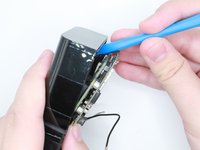
      • Use an opening tool to take out the motherboard.

      • Make sure to push in the 5 pins while taking out the motherboards to ensure that they do not break.

      Ask FixBot

      Add Comment

    8. Ring Video Doorbell 3 Camera Replacement: step 11, image 1 of 1
      • The motherboard has been taken out, and now it is free to be replaced or worked on.

      Ask FixBot

      Add Comment

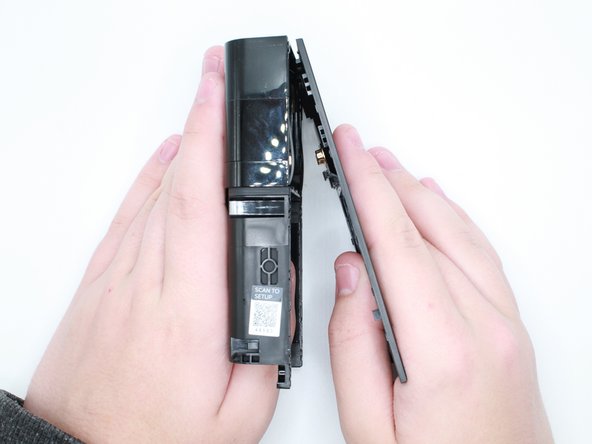
    9. Ring Video Doorbell 3 Camera Replacement: step 12, image 1 of 2 Ring Video Doorbell 3 Camera Replacement: step 12, image 2 of 2
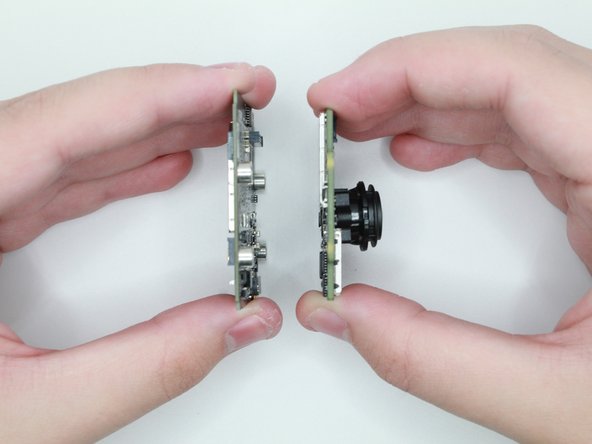
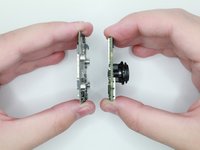
      • Flip the two boards on the side.

      • Gently pull the motherboard and the camera board apart.

      Ask FixBot

      Add Comment

    10. Ring Video Doorbell 3 Camera Replacement: step 13, image 1 of 2 Ring Video Doorbell 3 Camera Replacement: step 13, image 2 of 2
      • Use the Phillips #00 screwdriver to remove the two screws.

      Ask FixBot

      Add Comment

    11. Ring Video Doorbell 3 Camera Replacement: step 14, image 1 of 2 Ring Video Doorbell 3 Camera Replacement: step 14, image 2 of 2
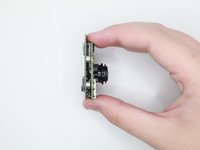
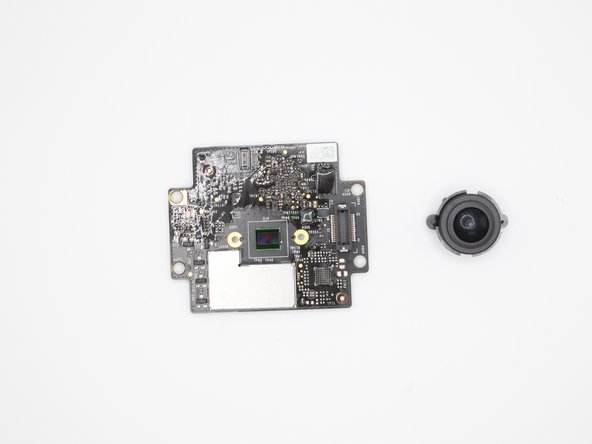
      • Carefully remove the camera lens from the board.

      • Replace Motherboard(s) if needed.

      • Replace Camera if needed.

      Ask FixBot

      Add Comment

Conclusion

To reassemble your device, follow these instructions in reverse order.

Cancel: I did not complete this guide.

0 Guide Comments

Add Comment

View Statistics:

Past 24 Hours: 2

Past 7 Days: 19

Past 30 Days: 107

All Time: 767