Introduction
Follow this guide to replace the motherboard for the Ring Floodlight Cam. The motherboard is a critical component of the Ring Floodlight Cam, which serves as a central hub, displaying multiple purposes such as managing power distribution, video processing, Wi-Fi connectivity, and motion sensing. This guide includes unscrewing multiple screws, so a screwdriver is required for completion. Due to the incapability of opening the shell of the device, any type of tool that can be utilized to open up holes to reach the screws that keep the motherboard safe and in place will be required. For the sake of this guide, an electric drill and its various drill bits were required, as it is the simplest tool for cutting holes.
Disclaimer - This guide involves drilling of the device shell, . which can lead to exposure of various weathering implications if said drill holes are not covered before use again. As a recommendation, outside resources/products such as weathering tape (ex: Gorilla All Weather Tape) or waterproof sealant putty (ex: Flex Paste) can be used to seal the holes.
Warning - If attempting to remove screws without drilling use a low profile wrench instead of a screwdriver and unless other attempts to remove screws non-destructively have failed follow the guide as originally instructed.
What you need
-
-
-
-
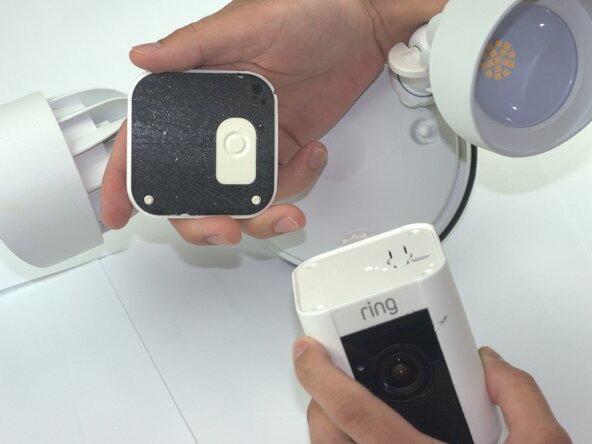
Remove the 2mm screws with a Phillips 00 screwdriver from the base connector.
-
-
-
Unscrew the 2mm screws on the metal baseplate with a Phillips 00 screwdriver.
-



 Ask FixBot


To reassemble your device, follow these instructions in reverse order and at step 8 fill in the drill holes with plastic putty to reseal device.
Take your e-waste to an R2 or e-Stewards certified recycler.
Repair didn’t go as planned? Try some basic troubleshooting or ask our Answers community for help.

Team

Texas Tech, Team 41-3, Johansen Spring 2026 Member of Texas Tech, Team 41-3, Johansen Spring 2026
TTU-JOHANSEN-S26S41G3
4 Members
60 Guides authored
