Introduction
If your Ridgid R175RNE nailer is not driving the nails all the way through whatever it is you're nailing, then either the nailer cylinder or driving blade O-rings may be worn out. Use this guide to replace your driving blade O-rings.
The driving blade O-rings are what allows the driving blade to glide back and forth inside the driving cylinder.
Be warned that the driving blade and cylinder will likely be greasy, so wear gloves if you want to keep your hands clean.
What you need
-
-
Use a 5/32" Allen wrench to remove the four 25 mm screws that secure the top cap.
-
Remove the top cap.
 Ask FixBot
-
-
-
-
Firmly grasp the driving blade, and pull it out of the driver cylinder.
-


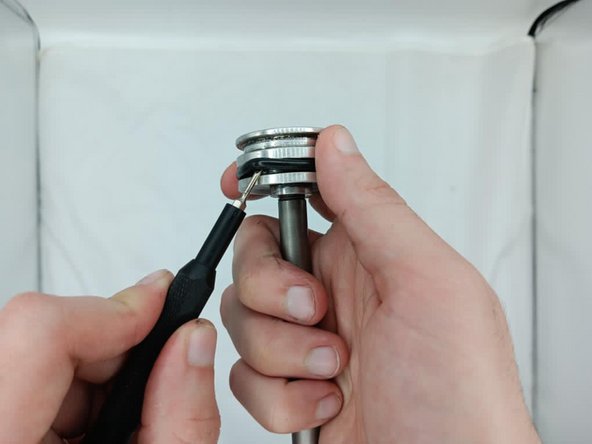
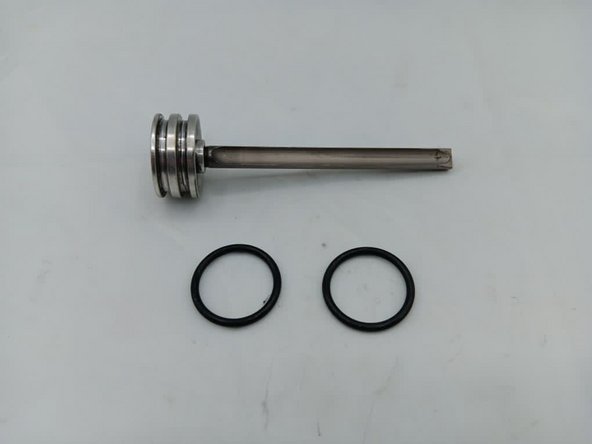
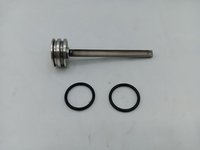
To reassemble your device, follow these instructions in reverse order.

Team

University of North Texas, Team 3-7, Kilpatrick Spring 2024 Member of University of North Texas, Team 3-7, Kilpatrick Spring 2024
UNT-KILPATRICK-S24S3G7
3 Members
8 Guides authored
