Introduction
If your Ridgid R175RNE nailer is firing sluggishly or not at all, then either the driver cylinder or driving blade O-rings may be worn out. Follow this guide to replace the driver cylinder O-rings.
The driver cylinder O-rings are what allows the cylinder to smoothly slide back and forth after the driving blade is fired.
What you need
-
-
Use a 5/32" Allen wrench to remove the four 25 mm screws that secure the top cap.
-
Remove the top cap.
 Ask FixBot
-
-
-
-
Remove the driver cylinder and place the nailer body to the side.
-
-
-
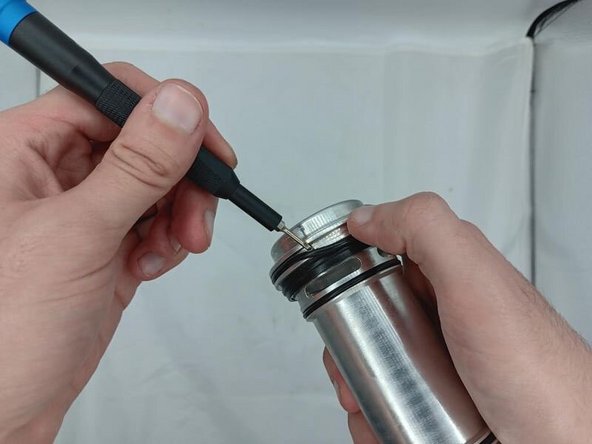
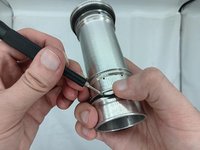
Take your o-ring pick or flathead and gently slide the tip under the O-ring.
-
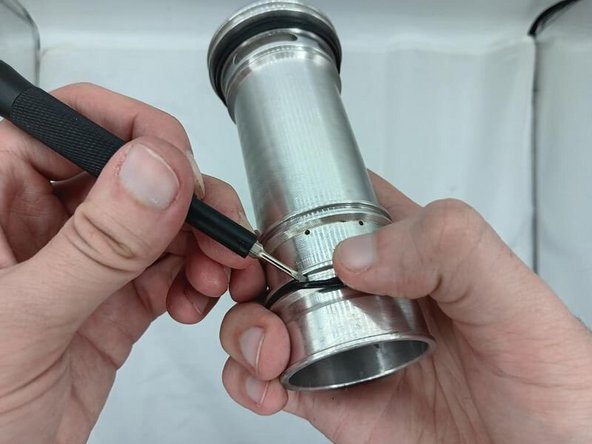
Repeat with other four O-rings starting, from top to bottom.
-


To reassemble your device, follow these instructions in reverse order.

Team

University of North Texas, Team 3-7, Kilpatrick Spring 2024 Member of University of North Texas, Team 3-7, Kilpatrick Spring 2024
UNT-KILPATRICK-S24S3G7
3 Members
8 Guides authored
