Introduction
For this repair you will need:
- T20 Star Bit Screwdriver
- J1 Philips Head Screwdriver
- Prybar
- Soldering Iron
To replace the motor in a Ridgid GEN5X R8642, you will need to take the saw apart into two. The screws are M4 X 16 mm (Part Number: 089041033083) and M4 x 25mm (Part Number: 660208093). Next the switch assembly must be desoldered in order to replace the motor. All parts can be found on the parts catalog link in the device page.
What you need
-
-
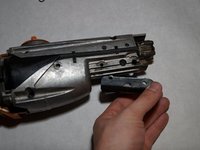
Remove the plastic tab holding the handle cover in place by prying upward with the spudger until the tab pops off.
 Ask FixBot
-
-
-
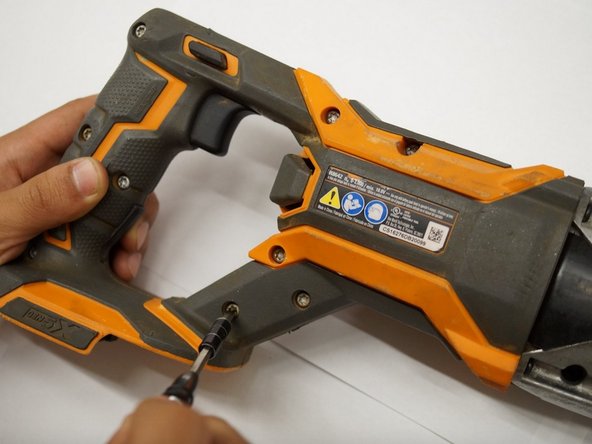
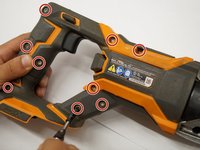
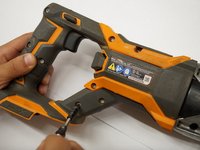
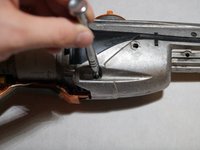
Use a T20 Torx screwdriver to remove the nine M4 X 16mm screws from the plastic housing.
-
-
-
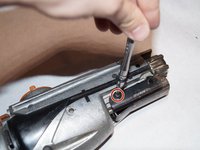
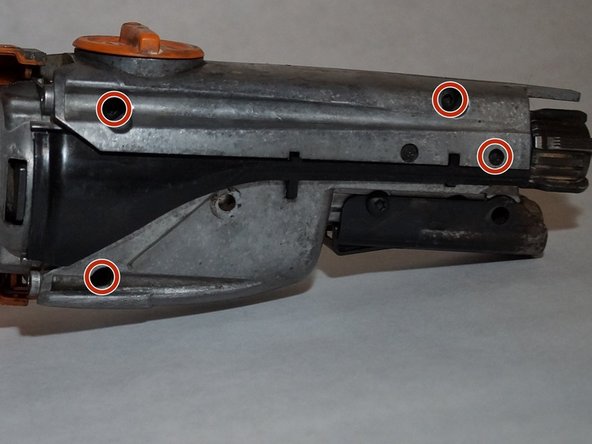
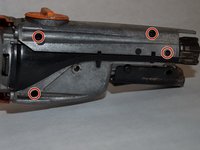
Use a JIS #1 screwdriver to remove the two M4 x 25mm screws on both sides of the metal housing.
-
-
-
-
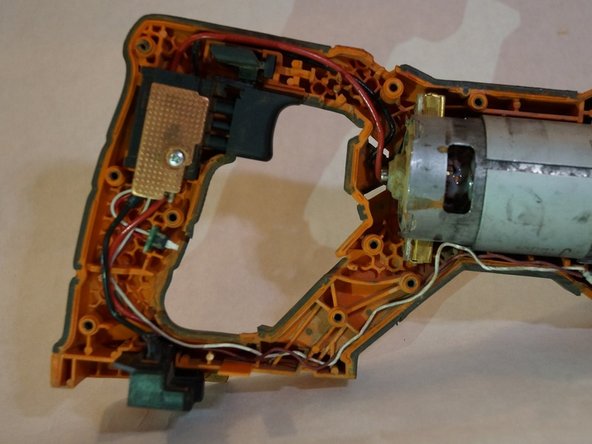
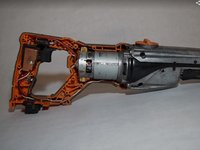
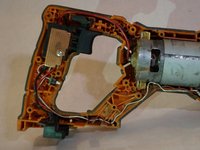
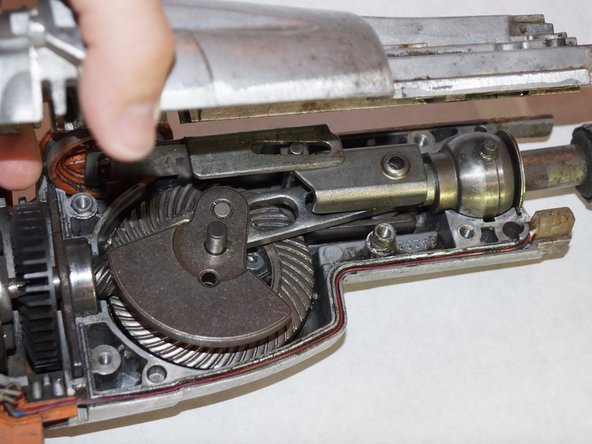
Remove one half of the plastic housing using a spudger so that the internal system is exposed.
-
-
-
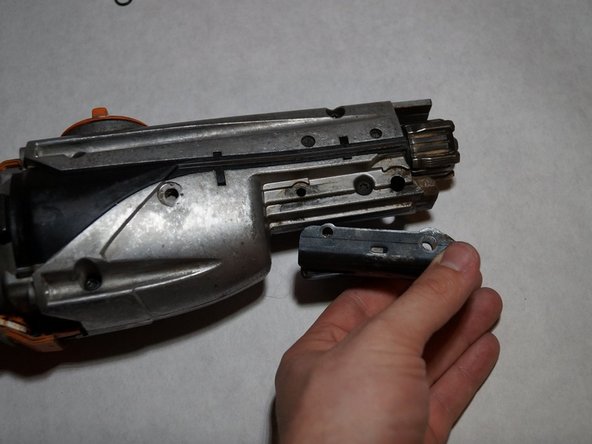
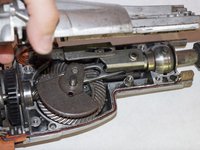
Remove the five T20 Torx screws from the gear assembly cover and pull the cover off.
-
-
-
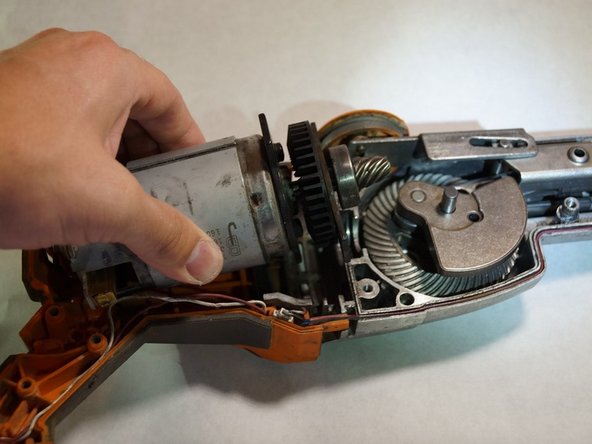
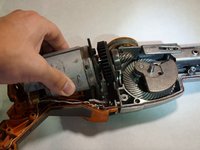
Carefully remove the motor making sure not to harm any of the wires that are attached. Place motor gently out of the way.
-
-
-
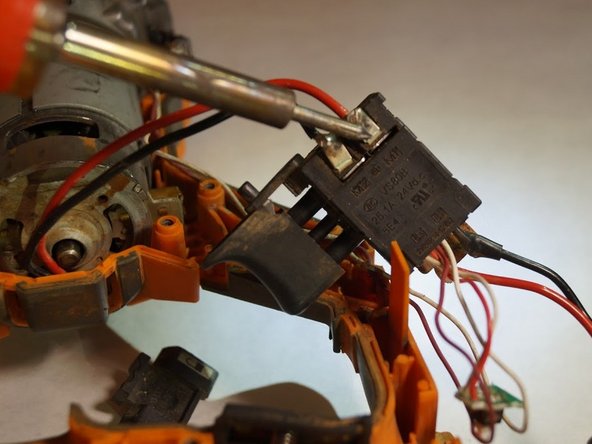
Remove the plastic wire covers to the red and black connections on the switch assembly.
-
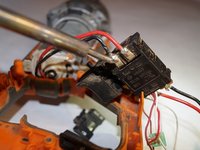
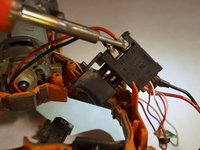
Desolder the connections on both the red and black wire using a soldering iron.
-
Once the solder is removed, pull out the wires with the battery port attached to the wires.
-
-
-
Solder both connections of the new motor replacement to the switch assembly.
-









To reassemble your device follow these instructions in reverse order.

Team

Western Carolina University, Team S1-G3, Virtue Spring 2019 Member of Western Carolina University, Team S1-G3, Virtue Spring 2019
WCU-VIRTUE-S19S1G3
4 Members
5 Guides authored
