
Rexing V1P Plus Front Camera Replacement

Ryan Horne and 4 other contributors
Last updated on May 17, 2023
Views: 468
View statistics:
- Past 24 Hours:
- 1
- Past 7 Days:
- 16
- Past 30 Days:
- 60
- All Time:
- 468
Comments: 0
No one has left comments on this guide. Will you be first?
Go to guide commentsCompleted: 1 2
1 person has marked this guide "completed." Will you be next?
2 people have marked this guide "completed." Including you — great job!
Favorites: 0 1
No one has favorited (and subscribed to) this guide. Will you be the first?
1 person has favorited (and subscribed to) this guide — and that's you!
Featured Student Guide
This guide has been the hard work of our awesome students and is found to be exceptionally cool by the iFixit staff.
Introduction
Go to step 1 ↓If the video from your Rexing V1P Plus front camera is not recording or displaying on the screen, your device's front camera could be damaged or faulty. This guide will show you how to remove and replace the front camera.
What you need
Tools


-
-
-
Begin by orienting the device with the LCD screen facing down.
-
Remove the four 6 mm screws, located on the backside of the device, using the Phillips #00 screwdriver.
 Ask FixBot
-
-
-
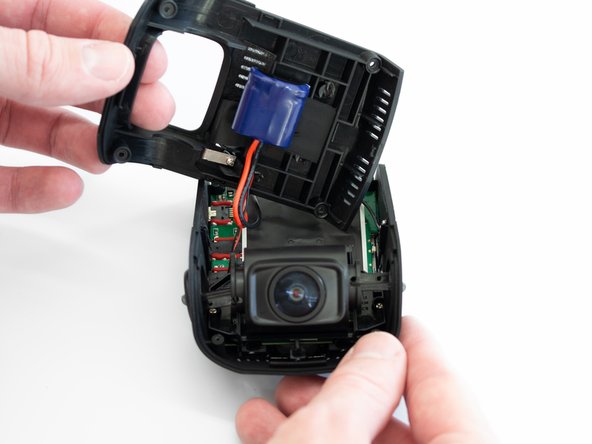
Remove the back cover of the device and place it to the side.
-
Rotate the device 180 degrees to where the camera is facing you.
-
-
-
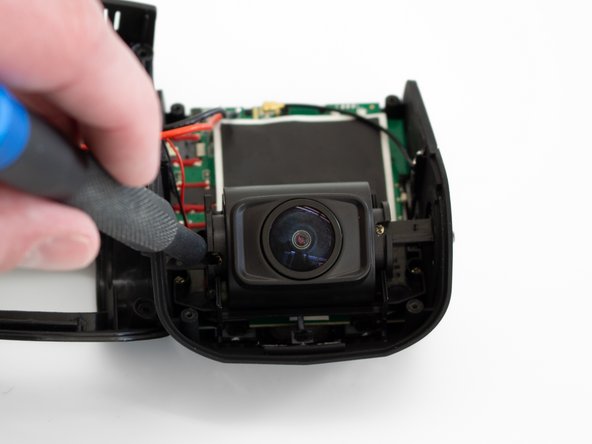
Remove the two 5 mm screws next to the lens using the Phillips #00 screwdriver.
-
-
-
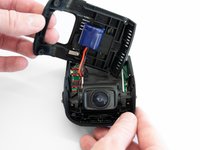
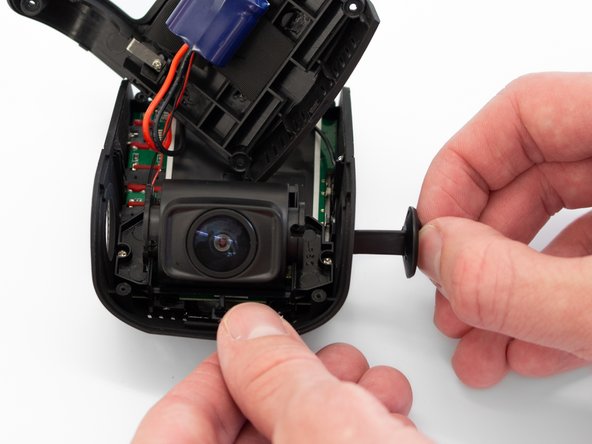
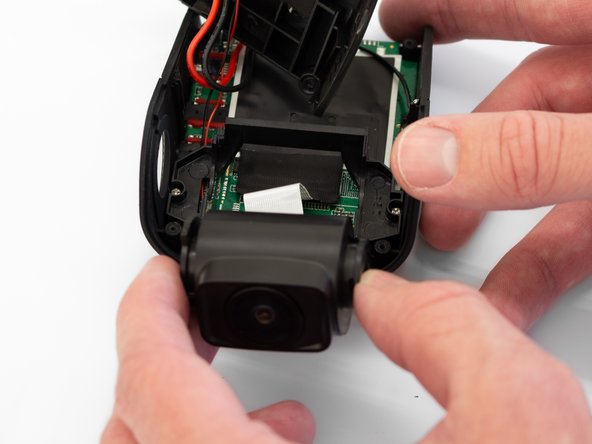
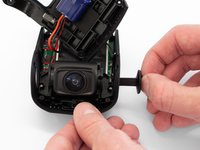
Remove the two camera angle adjusters from the side of the device and carefully pull out the lens.
-
-
-
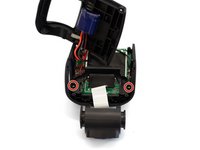
Remove the two 5mm screws securing the camera support bracket using the Phillips #00 screwdriver.
-
-
-
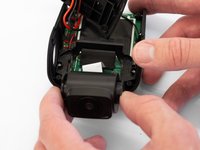
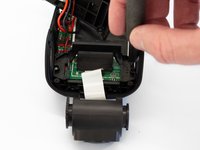
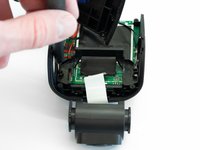
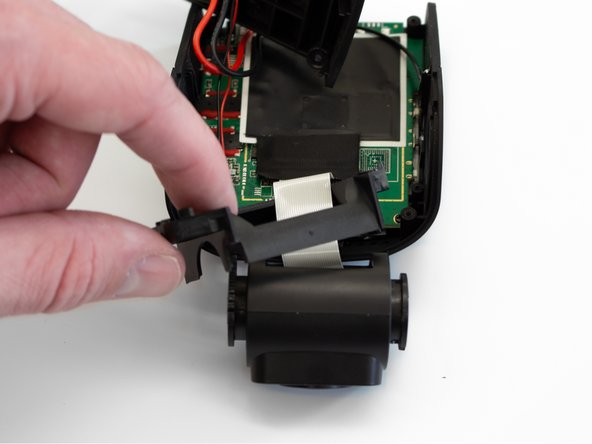
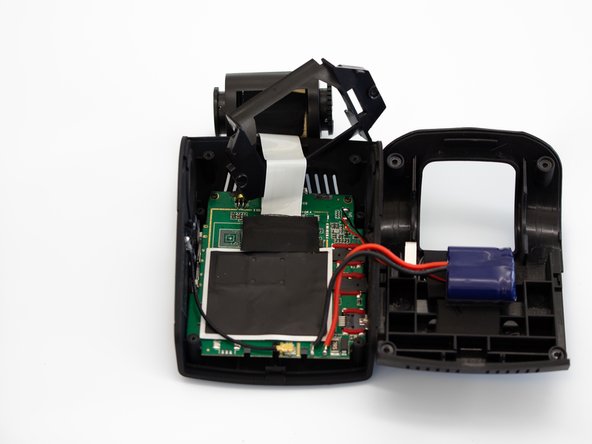
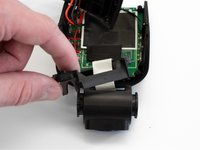
Carefully remove the plastic frame piece from its previously secured position on the motherboard.
-
Rotate the device 180 degrees to where the camera is facing away from you.
-
-
-
-
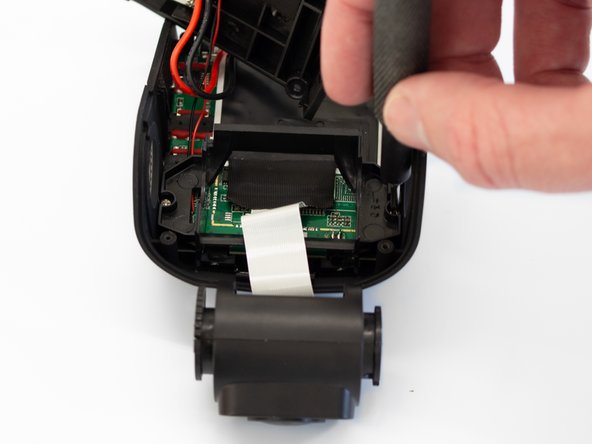
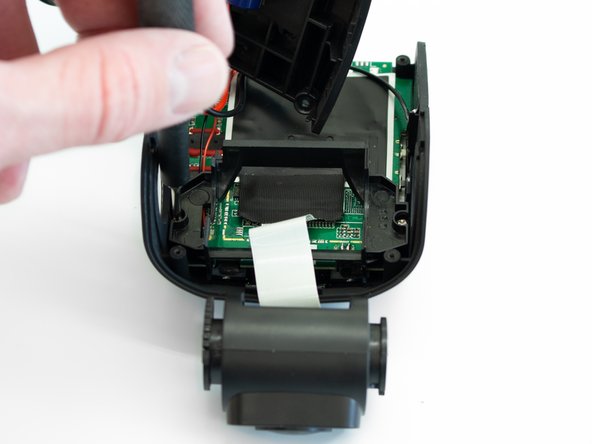
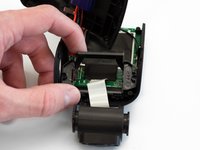
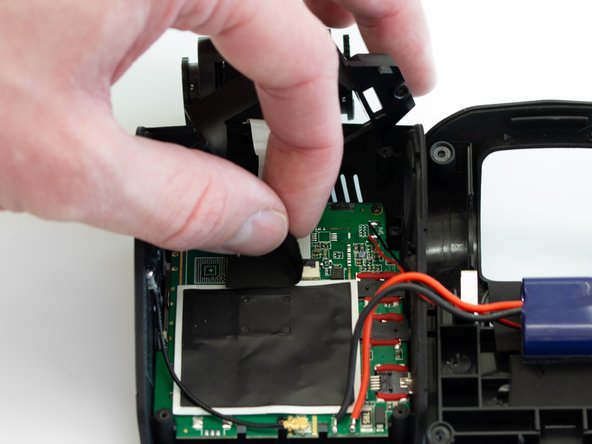
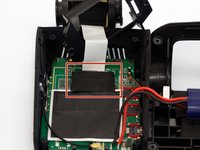
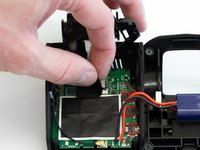
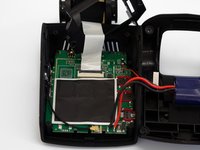
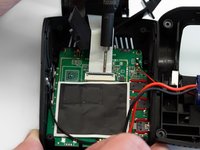
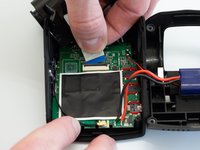
Carefully peel back the adhesive material covering the ribbon cable connection.
-
-
-
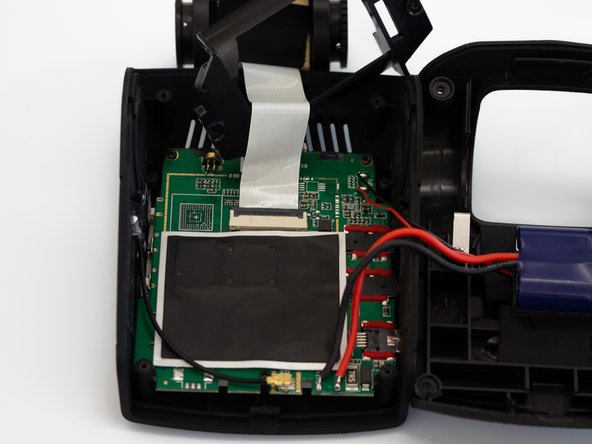
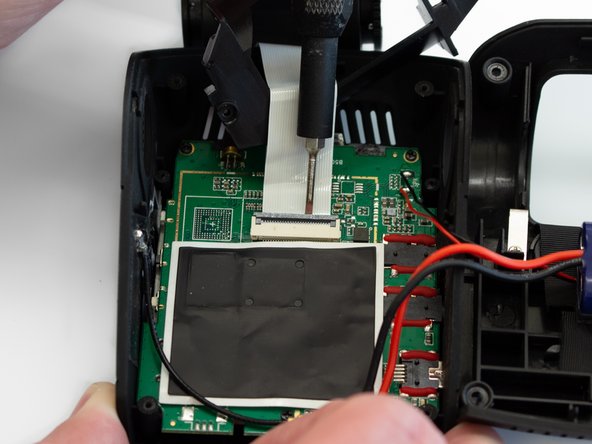
Using the Flathead 1.5mm screwdriver, or another pry tool, gently flip up the black ZIF connector locking flap to free the ribbon cable.
-
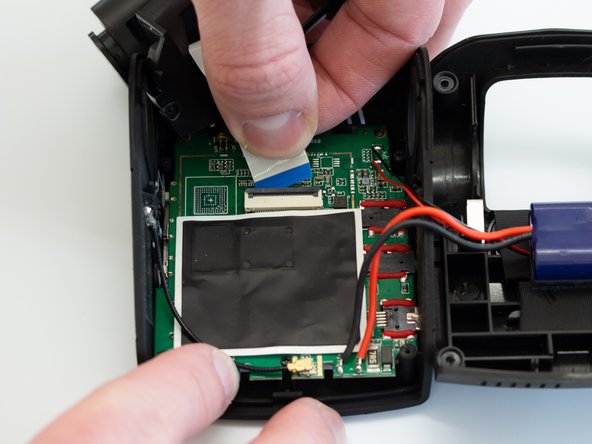
Once the connector is open, slide the ribbon cable out to remove it.
-
-





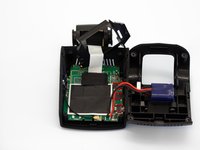

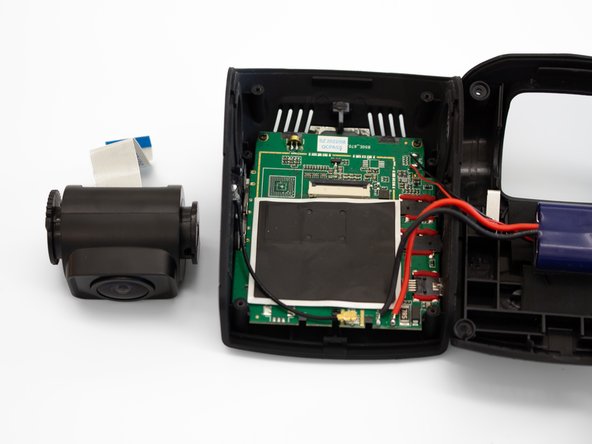
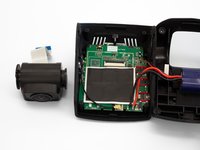
To reassemble your device, follow these instructions in reverse order.
Cancel: I did not complete this guide.
One other person completed this guide.

Team

Western Carolina University, Team 1-1, Virtue Spring 2023 Member of Western Carolina University, Team 1-1, Virtue Spring 2023
WCU-VIRTUE-S23S1G1
4 Members
60 Guides authored
