Introduction
This tutorial shows how to connect to the Digitech Jamman Solo debug port. It can be used to diagnose the pedal or even to rewrite a new firmware if the pedal internal memory got corrupted.
The pedal in the tutorial was not giving any sign of life except the main LED turning green at boot for one second, then turning off.
What you need
-
-
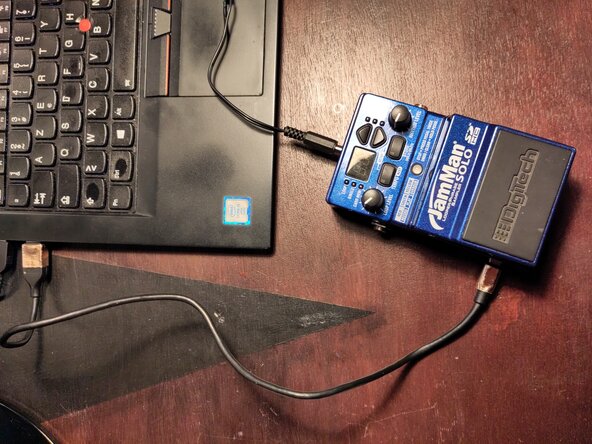
Before starting, plug your pedal to a computer using an USB mini B cable.
-
If your device is detected (for instance in Peripheral Manager for Windows users, with "lsusb" for Linux users)
-
Install the JamManager software from here
-
Try updating the firmware using JamManager
-
If your device is not detected, or if the firmware update fails, carry on with this tutorial
 Ask FixBot
-
-
-
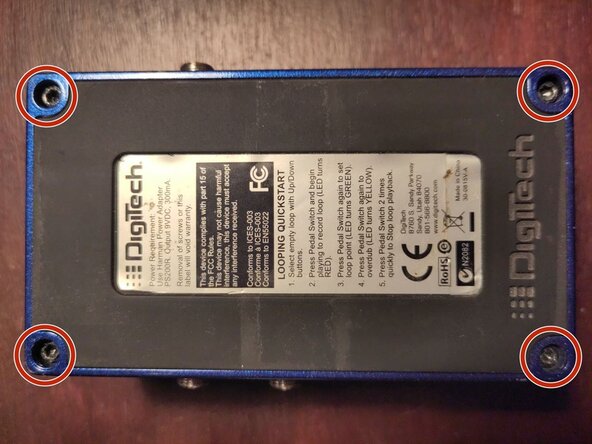
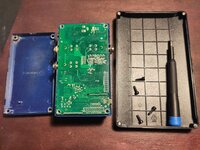
Unscrew the 4 Torx T15H holding the bottom plate
-
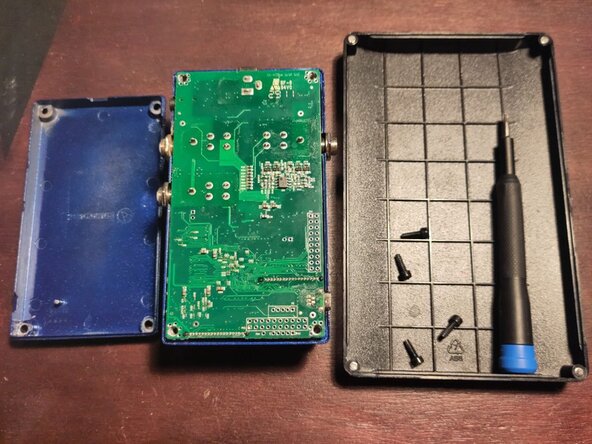
Free the bottom plate
-
-
-
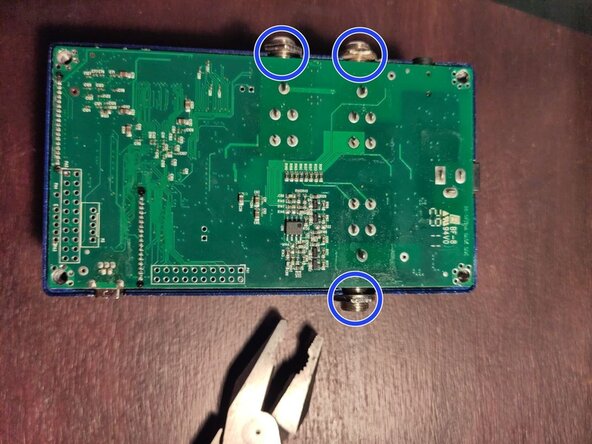
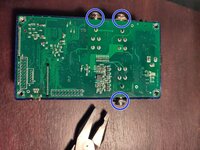
Unscrew the 3 jack connectors bolts
-
Lift the board from the top of the pedal
-
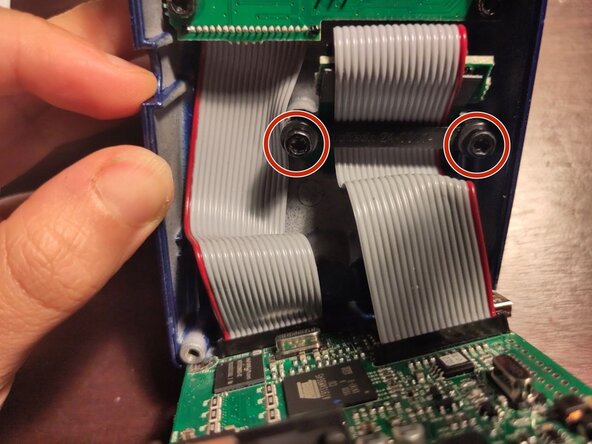
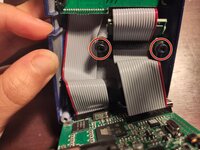
Unscrew the 2 Torx T15H holding the SD card
-
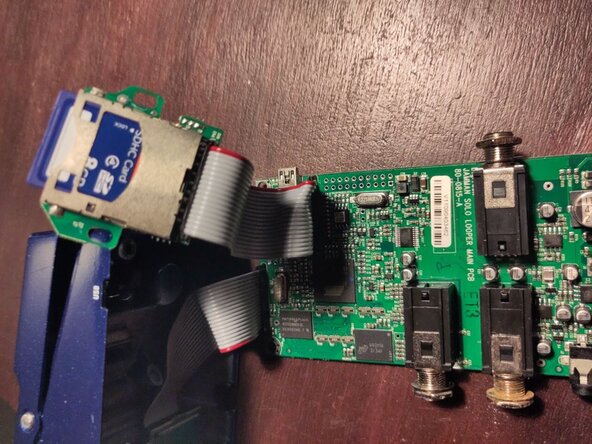
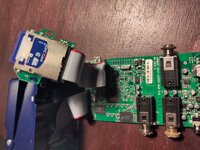
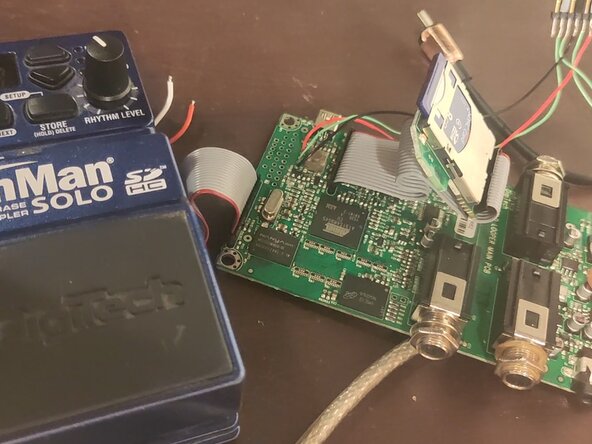
The board can be moved out of the pedal
-
-
-
-
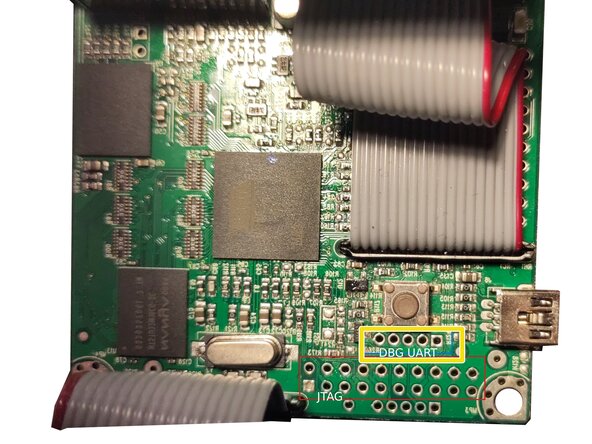
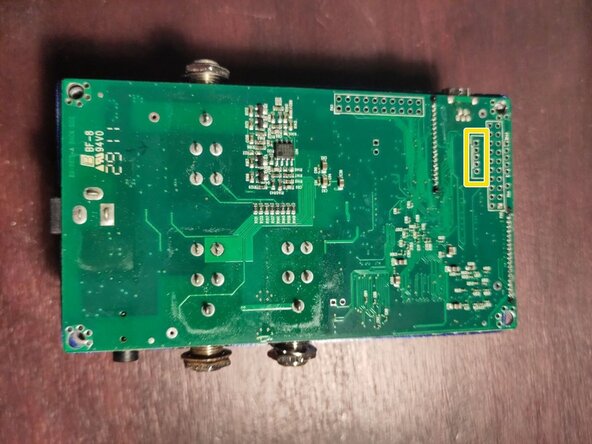
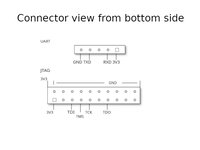
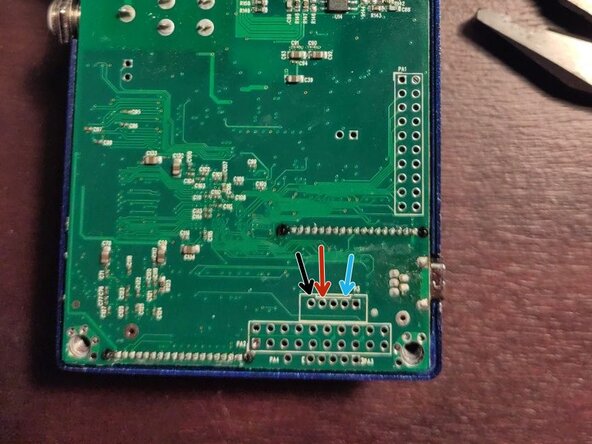
Spot the debug UART port
-
Under the button when looking from the top
-
Marked as "P3" when looking from the bottom
-
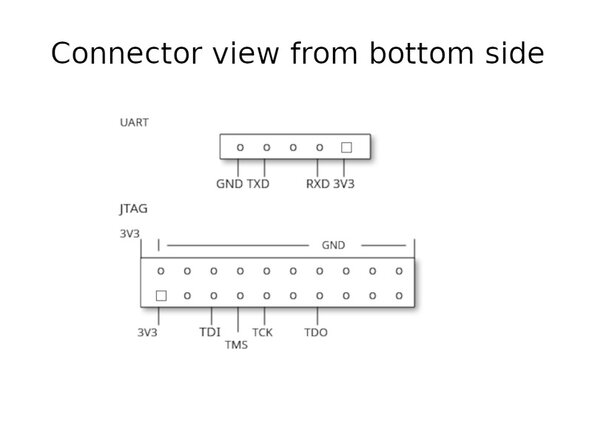
UART connection requires to connect TXD, RXD and GND
-
-
-
Solder a 3V3 USB-UART adapter to the pins by following this pinout
-
GND connected to the adapter GND
-
TX connected to the adapter RX
-
RX connected to the adapter TX
-
-
-
Connect to the USB-UART adapter using an appropriate software
-
PuTTy on Windows machines
-
Screen or Minicom on Linux machines
-
The serial parameters are: 115200, 2N1, no flow control
-
Once everything is connected, you can plug the 9V power supply to the pedal
-
It should display startup messages
-
Afterwards, it should give you a prompt with the possibility to interact with it
-
Try typing "ls"
-
-
-
If possible, ask a friend to do the same with a working pedal
-
On the working pedal, with the USB-UART probe and with an SD Card inserted, type:
-
etfsctl -d /dev/etfs2 -r /mnt/sdfs/etfs2.structured.bin
-
cp -r /mnt/nandfs/* /mnt/sdfs/nandfs_copy
-
Otherwise, recover the files from the Internet
-
Copy them from your computer to the SD card
-
-
-
Insert the SD card with the working files in the device and run:
-
etfsctl -d /dev/etfs2 -S -e -w /mnt/sdfs/etfs2.structured.bin -c
-
Once it is done, power cycle the device and checks if it works
-
If it is still missing files, run:
-
cp -r /mnt/sdfs/nandfs_copy/* /mnt/nandfs
-
Power cycle and verifies the device is working
-
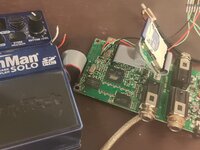
To reassemble your device, unplug it, unsolder the usb-serial adapter, and follow these instructions in reverse order.

