
Revlon 473 Shell Replacement

Jessica Leyva and 7 other contributors
Last updated on Jan 10, 2025
Views: 2K
View statistics:
- Past 24 Hours:
- 2
- Past 7 Days:
- 22
- Past 30 Days:
- 90
- All Time:
- 2,044
Comments: 0
No one has left comments on this guide. Will you be first?
Go to guide commentsCompleted: 1 2
1 person has marked this guide "completed." Will you be next?
2 people have marked this guide "completed." Including you — great job!
Favorites: 2 3
2 people have favorited (and subscribed to) this guide. Will you be next?
3 people have favorited (and subscribed to) this guide — including you!
Needs More Images
A few more images would make this guide's procedures crystal clear.
Better Introduction
Improve this guide by completing or revising its introduction.
What you need
Tools

-
-
-
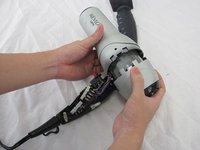
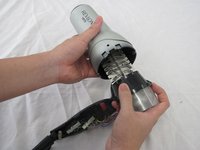
Separate the shell from the main component.
-
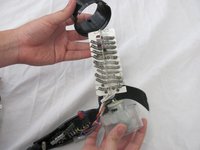
Check to ensure each piece is free from debris.
-
-

 Ask FixBot


To reassemble your device, follow these instructions in reverse order.
Cancel: I did not complete this guide.
One other person completed this guide.

Team

Cal Poly, Team 1-5, Propen Fall 2012 Member of Cal Poly, Team 1-5, Propen Fall 2012
CPSU-PROPEN-F12S1G5
3 Members
60 Guides authored
